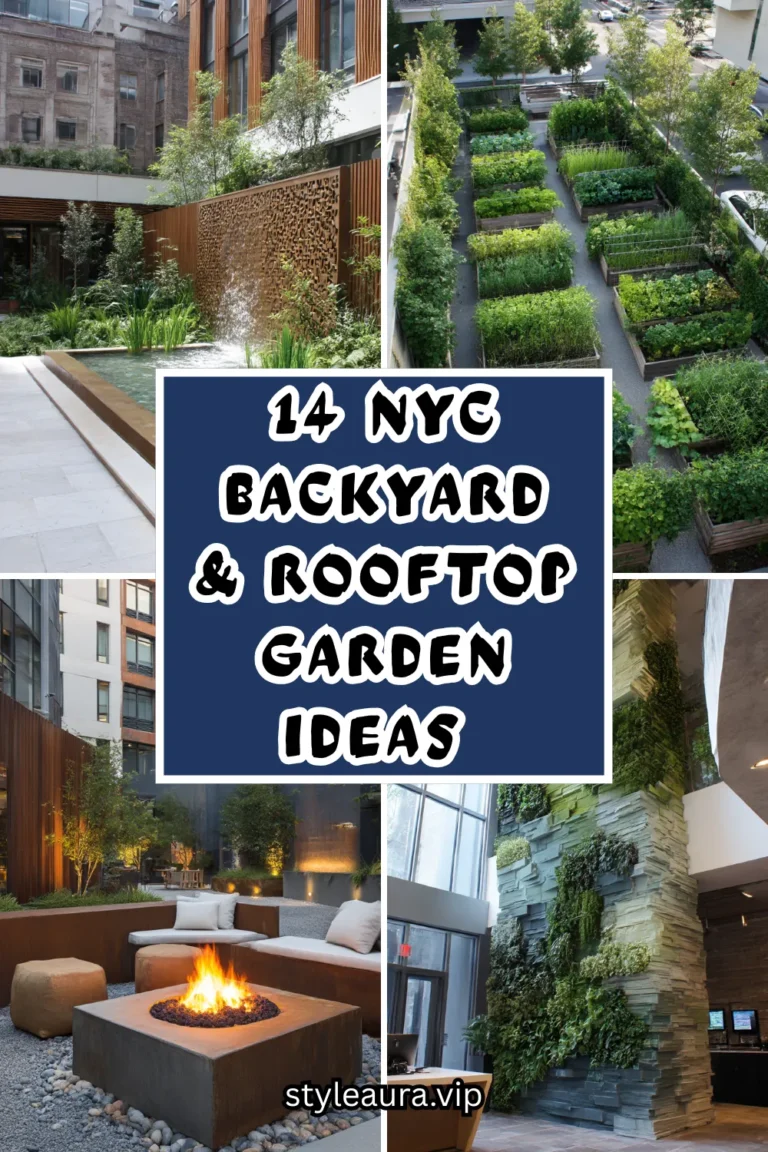
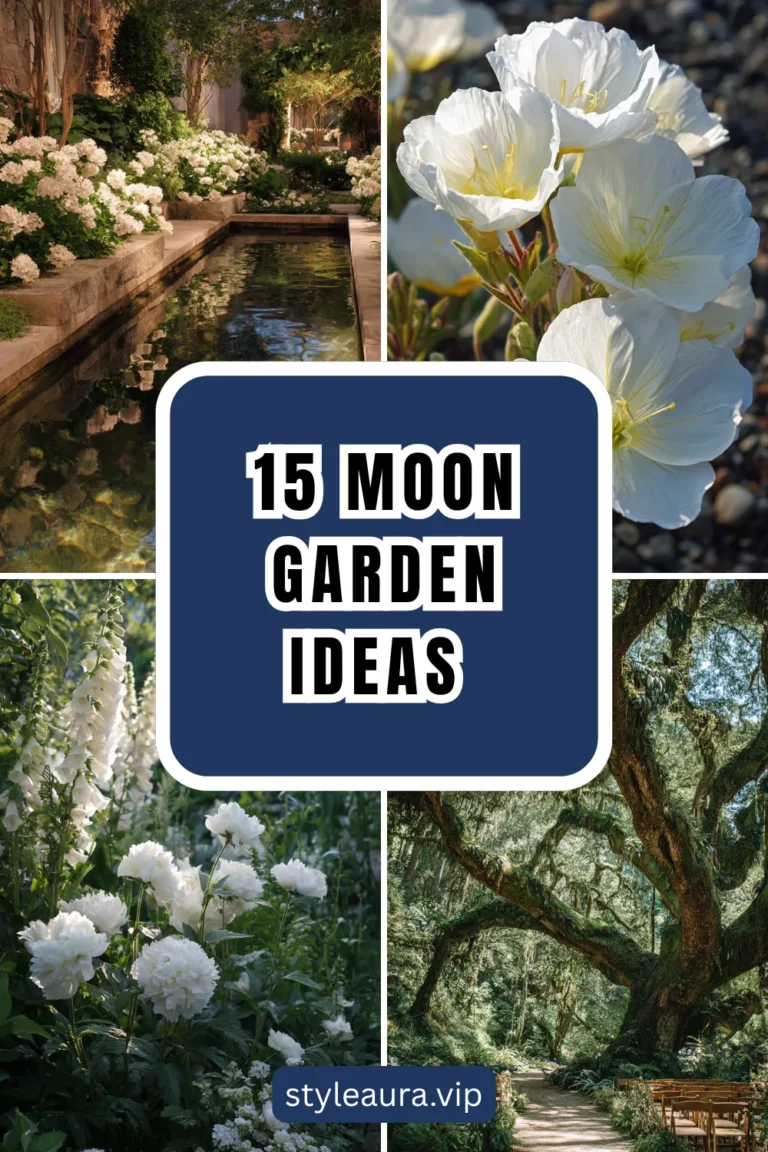
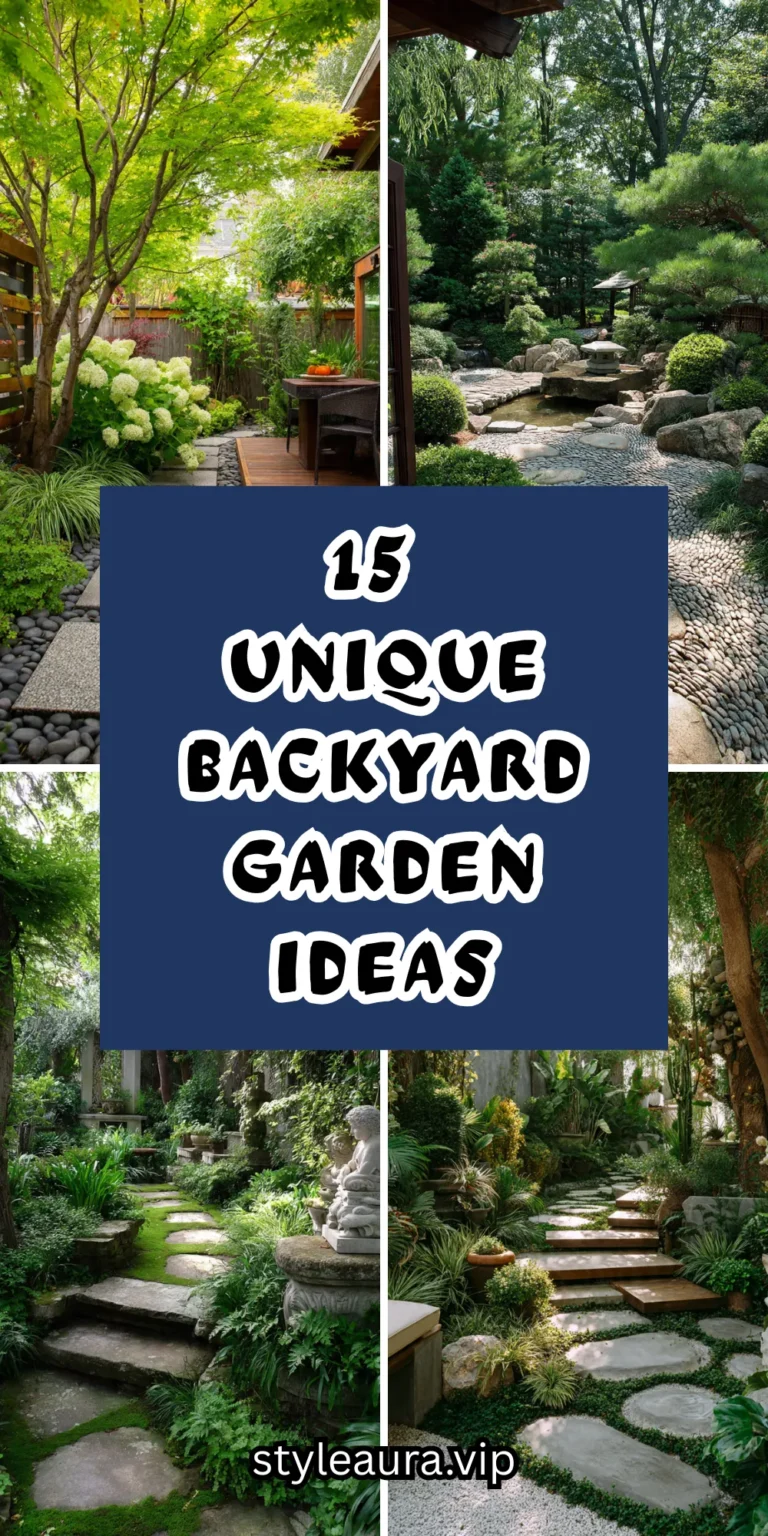
13 Glass Greenhouse Ideas That Double as a Living Room Extension
The glass room changed how much of my house actually felt like living space, and it did it without a full addition. Not the new sofa. Not the reorganized furniture. Not the extra square footage carved out of an existing room.
The glass.
Because a glass structure did something no interior renovation could. Before it: a living room with a hard edge where the wall met the yard, the garden always something viewed rather than occupied. After it: a room that blurs that edge entirely, plants and seating in the same light, the boundary between house and garden no longer a wall but a pane of glass.
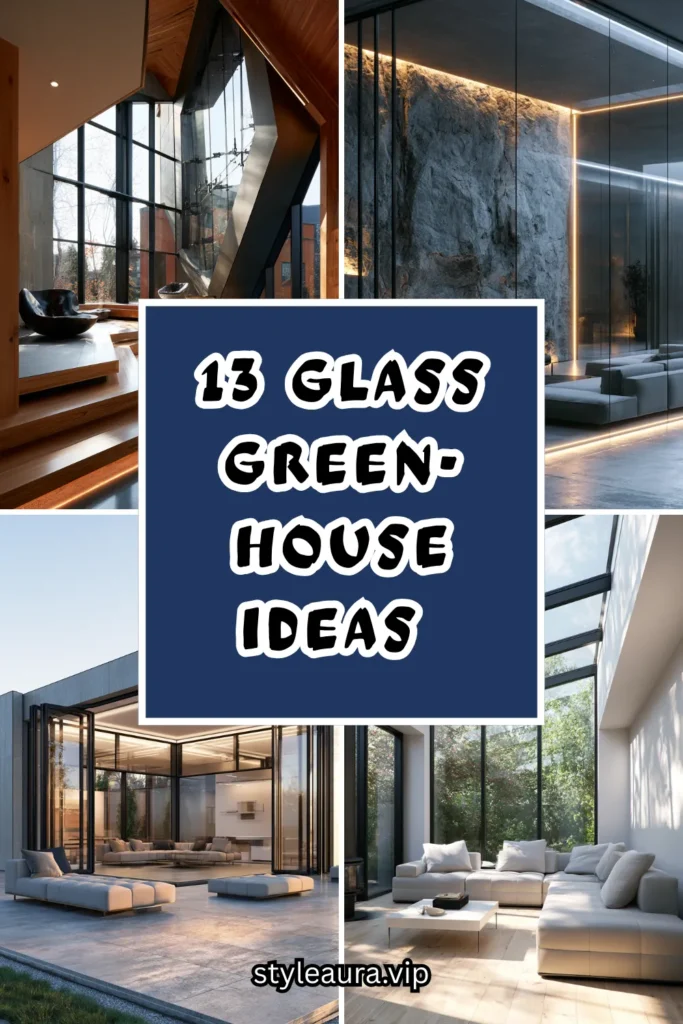
A glass greenhouse living room extension is not a greenhouse with a sofa pushed into it. It is a hybrid space, built from the start to hold both functions without either one compromising the other. The plants get the light they need. The seating gets a room worth sitting in. The house: extended, not just decorated.
Here are 13 glass greenhouse ideas that double as a living room extension — from the simplest lean-to addition to the most fully integrated glass room — built on that understanding.
Why a Glass Extension Works as Both Greenhouse and Living Space
The light-sharing principle
A greenhouse needs maximum light for plants. A living room benefits from maximum light for people. The two needs are, unusually, the exact same requirement — a rare case where a functional design decision and a comfort decision point in the same direction.
The temperature challenge
Without careful design:
A pure greenhouse: too hot in summer and too cold in winter for comfortable extended seating.
A pure living room extension: often under-glazed, missing the greenhouse benefit entirely.
With the right glazing and ventilation:
Double- or triple-glazed panels, combined with opening vents, moderate the swings enough for year-round comfortable use.
The room: usable for people on the same days it is good for plants, rather than one use crowding out the other.
The zoning solution
The successful hybrid rooms on this list all share one design principle: plants and seating are zoned within the room, not mixed randomly — a defined growing area and a defined seating area, both under the same glass roof.
The value case
A glass extension adds both usable living space and a genuine growing environment, which frequently makes it one of the higher-return additions to a home compared with either a plain sunroom or a plain greenhouse alone.
The Four Structural Approaches
Before choosing any design:
The lean-to glass room
Built against an existing exterior wall, sharing that wall as one full side.
The most common and cost-effective structural approach.
Often connects directly to an existing living room through a widened doorway or removed wall section.
The freestanding glass pavilion
A fully separate glass structure in the garden, connected to the house by a covered walkway or short path.
The most private and most garden-immersed option.
Requires the most independent heating and plumbing planning.
The full glass wall replacement
An existing living room’s exterior wall replaced entirely with glass, rather than a new structure added on.
Keeps the room’s original footprint while transforming its character.
The most disruptive renovation of the four, and often the most dramatic result.
The courtyard glass room
Built to enclose an existing courtyard or side yard, using two or three existing walls and adding glass on the remaining sides and roof.
Uses the smallest amount of new structure for the largest enclosed volume.
Depends on an existing courtyard or recessed exterior space to work.
1. The South-Facing Lean-To Living Room
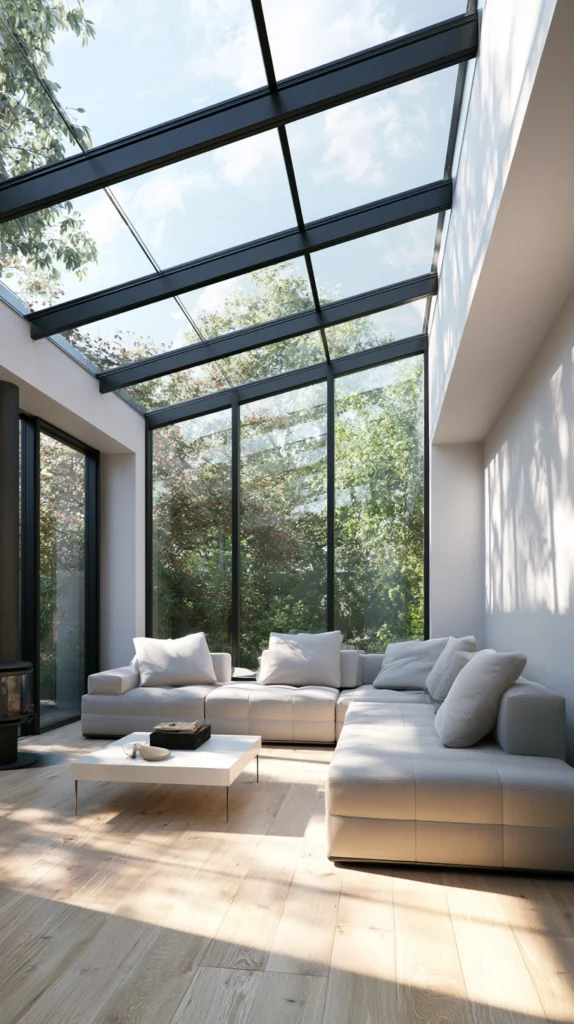
A glass lean-to structure built against the sunniest exterior wall of the house, connected directly to the existing living room through a widened opening.
Why south-facing orientation is worth prioritizing above all else
More than any other single decision, orientation determines whether this room succeeds as both a greenhouse and a comfortable living space. A south-facing lean-to receives the most consistent daily light of any orientation, in every season.
The structural connection
An existing window or doorway widened into a full opening, or a section of exterior wall removed entirely, merging the new glass room visually and physically with the original living room.
The glazing
Double-glazed low-E glass on the roof and walls, balancing plant-friendly light transmission with enough insulation for comfortable seating.
The zoning
Seating positioned closest to the connecting wall, plants positioned toward the outer glazed end, so the room reads as living space first and greenhouse second from the interior looking out.
The flooring
A continuous material from the original living room into the new space — the same tile or wood, or a closely matched material — reinforcing the sense of one extended room rather than two joined structures.
Cost breakdown: Lean-to structure and glazing: $3,000–8,000 Wall opening or removal: $800–2,500 Flooring continuation: $400–1,200 Total: $4,200–11,700
2. The Freestanding Glass Pavilion With a Garden Walkway
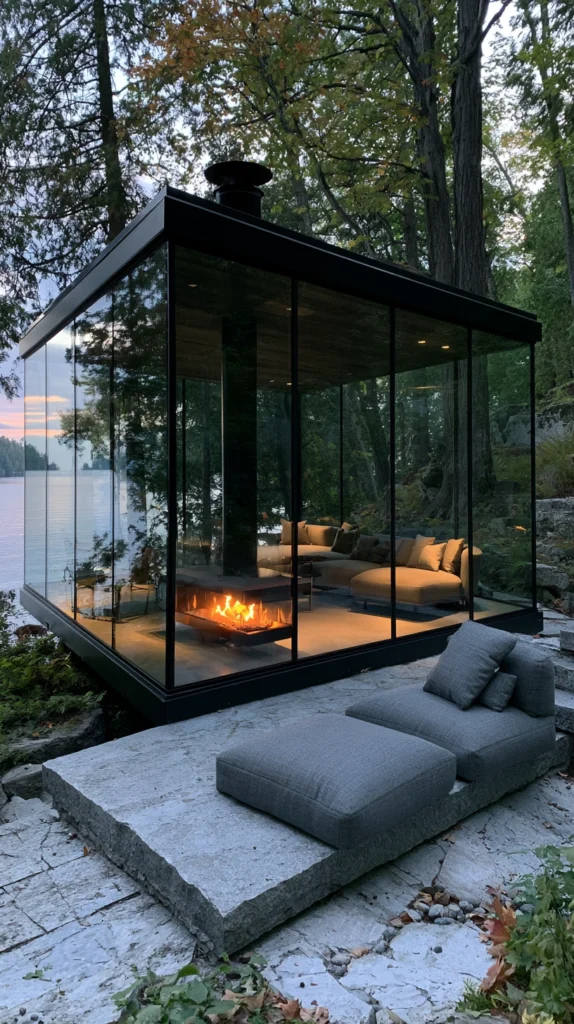
A fully separate glass structure positioned in the garden, connected to the main house by a short covered walkway, functioning as a destination room rather than a direct extension.
Why separation from the house has its own advantages
A freestanding pavilion is not limited by the house’s existing wall orientation or footprint, and it offers a genuine sense of leaving the house without leaving the property.
The siting
Positioned for the best available light and view on the property, independent of which direction the house itself faces.
The walkway
A covered path, at minimum a simple pergola with a roof panel, connecting the back door to the pavilion entrance and keeping the walk dry in rain.
The utilities
Water and electrical service run underground from the house, planned during initial construction since retrofitting utilities to a freestanding structure afterward is significantly more disruptive.
The interior
A wood-burning or electric stove for a freestanding structure without access to the home’s central heating system, sized to the pavilion’s actual volume.
The furnishing
Weather-tolerant seating fabric, since a detached glass structure experiences more temperature swing than one directly attached to the house.
Cost breakdown: Glass pavilion structure: $6,000–15,000 Covered walkway: $500–1,500 Utility trenching and hookup: $1,500–4,000 Stove or heater: $300–1,200 Total: $8,300–21,700
3. The Full Glass Wall Living Room Conversion
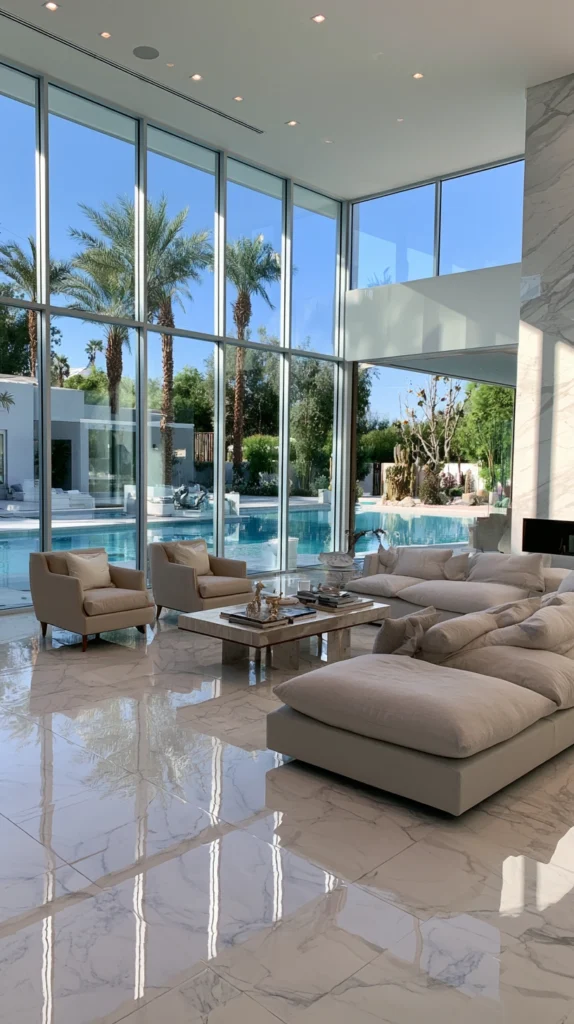
An existing living room’s exterior wall removed entirely and replaced with floor-to-ceiling glazing, transforming the character of the original room without adding new square footage.
Why this approach suits homes without room to expand outward
Where the yard is too small or the budget too tight for a new addition, replacing an existing wall achieves much of the same effect within the home’s current footprint.
The wall removal
A structural assessment first, since exterior walls are frequently load-bearing and any glazing replacement needs appropriate structural support built in.
The glazing system
Large-format glass panels or a folding glass wall system, chosen for the specific balance of view, light, and the degree of full-open access desired.
The plant zone
A built-in planter bed or a row of large floor pots along the base of the new glass wall, turning the transition zone itself into the growing area.
The ventilation
At least one section of the new glazing designed to open, since a sealed glass wall without any ventilation will overheat even a well-insulated room.
The interior adjustment
Furniture pulled back from the glass wall by a few feet, both to accommodate the plant zone and to avoid excessive heat or cold radiating off the glass onto seating positioned too close.
Cost breakdown: Structural wall removal and support: $2,000–6,000 Glazing system: $4,000–12,000 Built-in planter: $200–500 Total: $6,200–18,500
4. The Courtyard Enclosure Glass Room
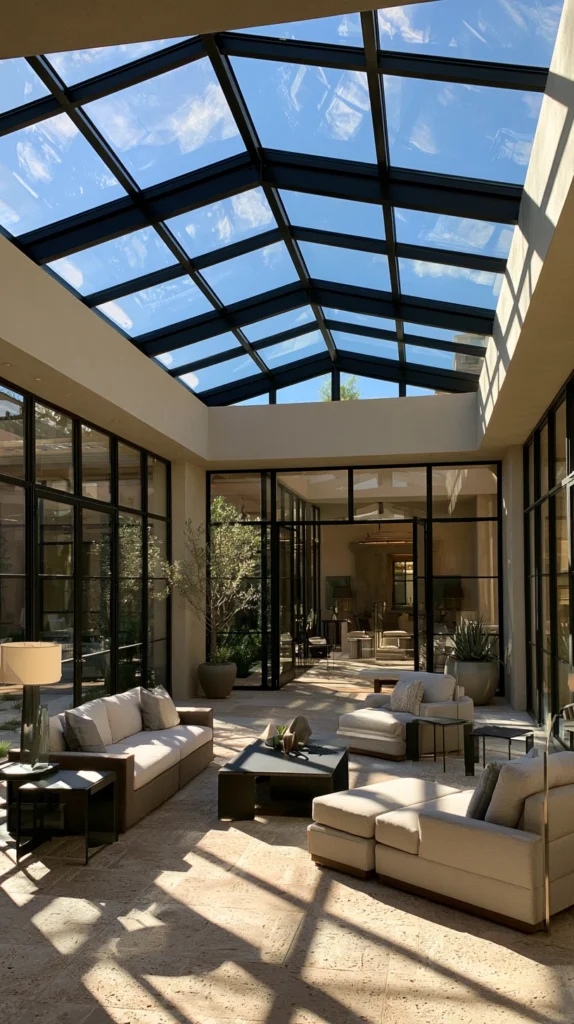
An existing courtyard or recessed side yard enclosed with glass on the open sides and roof, using two or three existing walls as the remaining structure.
Why an existing courtyard is the most efficient starting point
Two or three walls are already built and already insulated, leaving only the open side and the roof to glaze — often the lowest-cost route to a large enclosed glass volume.
The assessment
Confirming the existing walls are structurally sound and appropriately weatherproofed to serve as permanent interior walls of the new enclosed room.
The roof
A glazed roof spanning the courtyard, supported by a lightweight steel or aluminum frame bearing on the existing walls.
The open side
Glazed with either fixed panels or a folding/sliding glass wall, depending on how much the room needs to open fully to the remaining garden.
The zoning
Seating positioned against the solid existing walls, where the space feels most enclosed and room-like; plants positioned along the new glazed side, closest to the light.
The drainage
Courtyards are frequently designed with a floor drain already in place, worth locating and preserving during the conversion for easy plant watering without water damage concerns.
Cost breakdown: Roof glazing and frame: $2,500–6,000 Open-side glazing (fixed or sliding): $2,000–5,000 Interior finishing: $500–1,200 Total: $5,000–12,200
5. The Sunken Seating Pit Within the Glass Room
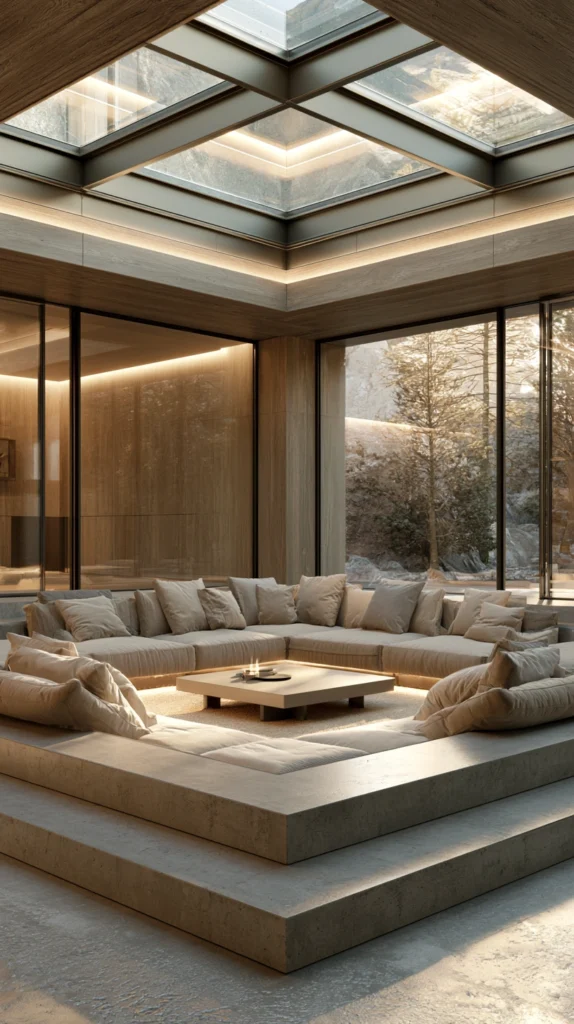
A lowered seating area built into the floor of the glass room, creating a distinct, intimate zone for people while the surrounding raised floor area holds the plants.
Why a level change works better than a simple floor plan division
A sunken seating pit creates a physical, not just visual, boundary between the living space and the growing space, without needing a wall that would block light or views within the room.
The construction
A section of the floor excavated or built down, framed with a low retaining wall or step, and finished with built-in bench seating around the perimeter of the pit.
The seating
Built-in bench seating with deep cushions, taking advantage of the sunken level to create a genuinely cozy, enclosed feeling despite the glass walls surrounding the whole room.
The surrounding plant level
The raised floor area around the pit, at standard floor height, holding the plant benches and pots, visually framing the seating area from slightly above.
The steps
A shallow step or two down into the pit, wide enough to also double as informal extra seating when the space is used for a gathering.
The central feature
A small fire pit or low table at the center of the sunken seating, giving the pit its own focal point independent of the plants around it.
Cost breakdown: Sunken pit construction: $1,500–3,500 Built-in bench seating and cushions: $600–1,200 Central fire pit or table: $150–400 Total: $2,250–5,100
6. The Vertical Plant Wall Living Room Extension
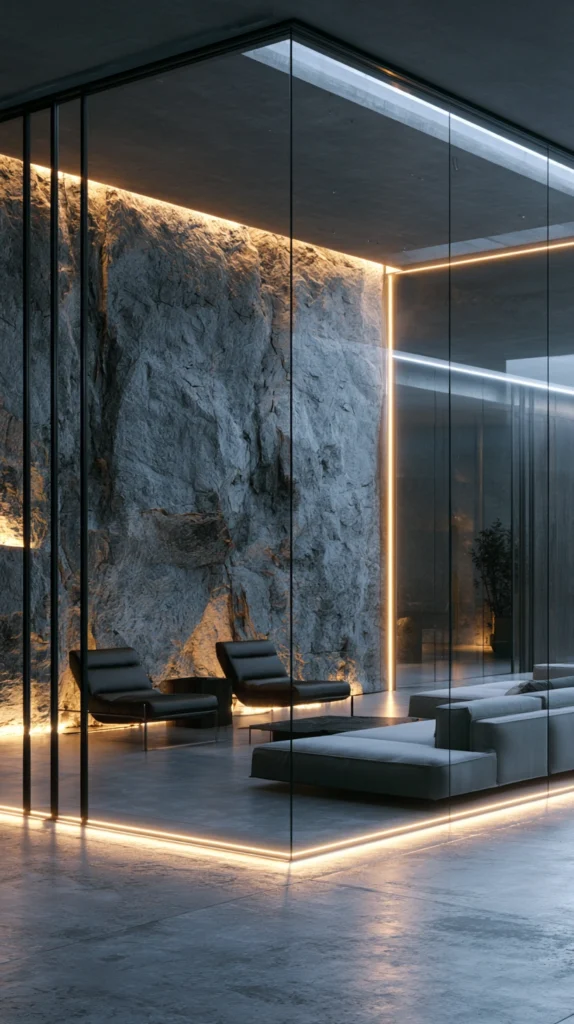
A glass room where the plant collection is arranged entirely on a vertical wall rather than on floor-level benches, maximizing usable floor space for seating and furniture.
Why vertical planting suits a living-focused hybrid room
Traditional greenhouse benching consumes significant floor area — a vertical wall achieves the same or greater plant density while leaving the floor almost entirely open for furniture.
The wall system
A modular living wall panel, mounted on one solid interior wall of the glass room, or on a partition built specifically to hold the vertical planting.
The irrigation
A drip irrigation system built into the wall, since hand-watering a full vertical wall is significantly more time-consuming than watering benched pots.
The seating
Positioned to face the living wall, using it as the room’s visual centerpiece in place of a television or fireplace.
The remaining glazing
Full glass on the roof and the remaining walls, ensuring the vertical plant wall still receives adequate light despite not being directly against the glazing itself.
The lighting
A supplemental grow light strip along the top of the living wall, compensating for any light lost to the wall’s orientation relative to the glazing.
Cost breakdown: Living wall system: $400–1,000 Drip irrigation: $150–350 Grow light strip: $60–150 Total: $610–1,500
7. The Dining and Greenhouse Combined Extension
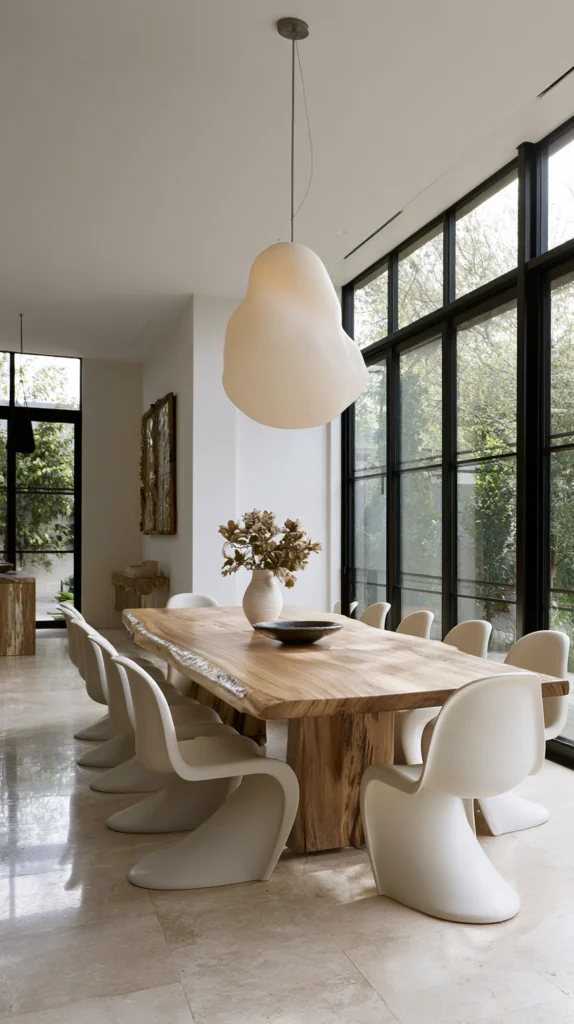
A glass room organized around a dining table rather than a sofa, positioned among the plants for a greenhouse dinner-party feel used regularly rather than only on special occasions.
Why dining suits a glass room especially well
A dining table, unlike a sofa, does not need to face a focal point like a television, which frees the room’s layout to be organized entirely around the plants and the light instead.
The table placement
Centered in the room, with plant benches or hanging plants arranged around the perimeter, so diners are genuinely surrounded by greenery rather than viewing it from a distance.
The lighting
A pendant light hung low over the table, on a dimmer, since daytime relies on the glazing but evening dining needs its own dedicated light source.
The climate consideration
Steam and cooking smells should stay in the kitchen — this room works as a dining extension connected to, but not merged with, the kitchen itself, to avoid excess humidity or odor affecting the plants.
The overhead plants
Hanging planters suspended from the roof structure, positioned to avoid trailing directly over the table itself but still visible from every seat.
The flooring
An easily cleaned surface — tile or sealed concrete — given the higher likelihood of spills in a room used for regular dining.
Cost breakdown: Dining table and chairs (existing or new): $0–800 Pendant light: $60–150 Hanging planters: $40–90 Total: $100–1,040
8. The Reading and Propagation Corner Combo
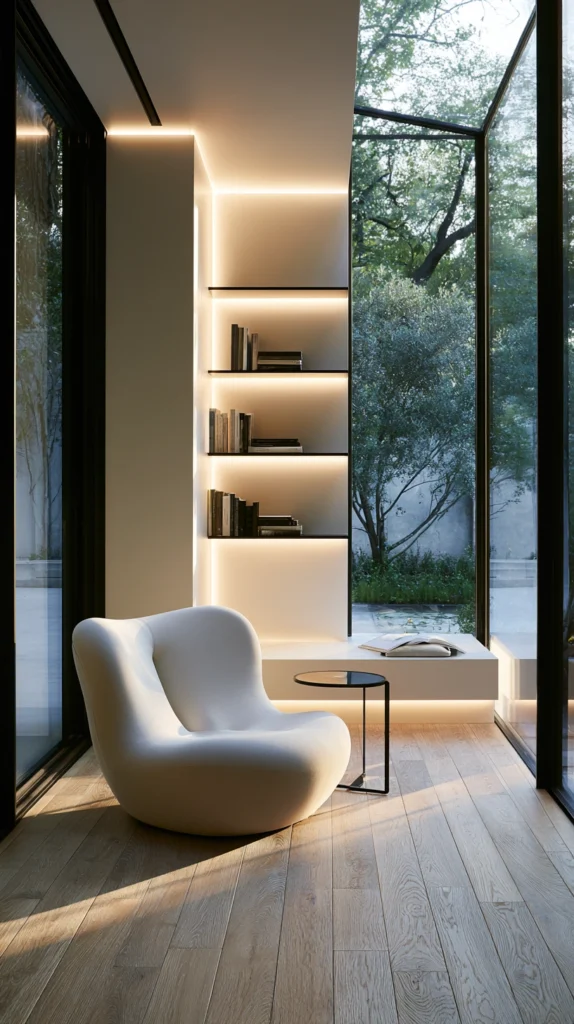
Within a larger glass room, a specific corner dedicated to both a reading chair and a small seed-starting or propagation station, combining two quiet, solitary activities in one spot.
Why these two activities pair naturally
Both reading and tending propagation trays are slow, attentive activities that benefit from the same kind of quiet, well-lit corner — neither needs the room’s full square footage to itself.
The chair
A single comfortable armchair, positioned to face both the propagation trays and the wider room, so tending the plants does not require getting up from the seat.
The propagation station
A small shelf or narrow bench beside the chair, holding seed trays or cuttings, close enough to check and mist without leaving the reading spot.
The lighting
A grow light positioned over the propagation shelf specifically, separate from the room’s general light, since propagation trays often need more consistent, closer light than the ambient level in the wider room provides.
The side table
Large enough for both a book and a small watering can or mister, keeping both activities within arm’s reach of the chair.
The boundary
A small rug beneath the chair and shelf, distinguishing the corner as its own zone within the larger open room.
Cost breakdown: Armchair (existing or new): $0–300 Propagation shelf and trays: $30–60 Grow light: $30–60 Small rug: $30–60 Total: $90–480
9. The Bi-Fold Door Glass Extension
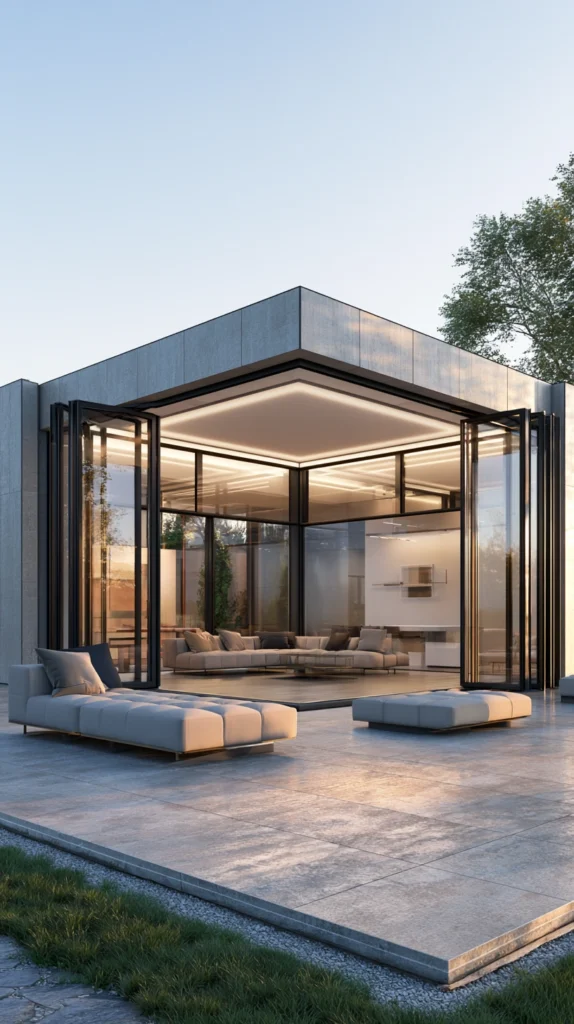
A glass room fitted with a full wall of bi-fold or accordion-style doors, allowing the entire glazed side to open completely and merge the room with the outdoor garden beyond it.
Why full-opening glazing changes the room’s character
A fixed-glass room is always, to some degree, separate from the garden it overlooks. A bi-fold wall removes that separation entirely on the days it makes sense to.
The door system
A multi-panel bi-fold or accordion glass door spanning one full wall, folding back completely to one or both sides when opened.
The threshold
A level, flush threshold where the room meets the patio or garden beyond, avoiding a step that would interrupt the sense of one continuous space when the doors are open.
The plant placement
Positioned away from the direct path of the folding doors, since open panels need clear space to swing back without catching on pots or benching.
The seasonal use
Doors open for most of spring through fall, closed and sealed for winter, the room shifting between an open-air garden room and an enclosed glass greenhouse across the year.
The screening option
Retractable insect screening on the track alongside the glass doors, for warm evenings when open air is wanted without the insects that come with it.
Cost breakdown: Bi-fold door system: $2,500–6,000 Flush threshold installation: $500–1,200 Retractable screening: $300–700 Total: $3,300–7,900
10. The Heated Floor Glass Room
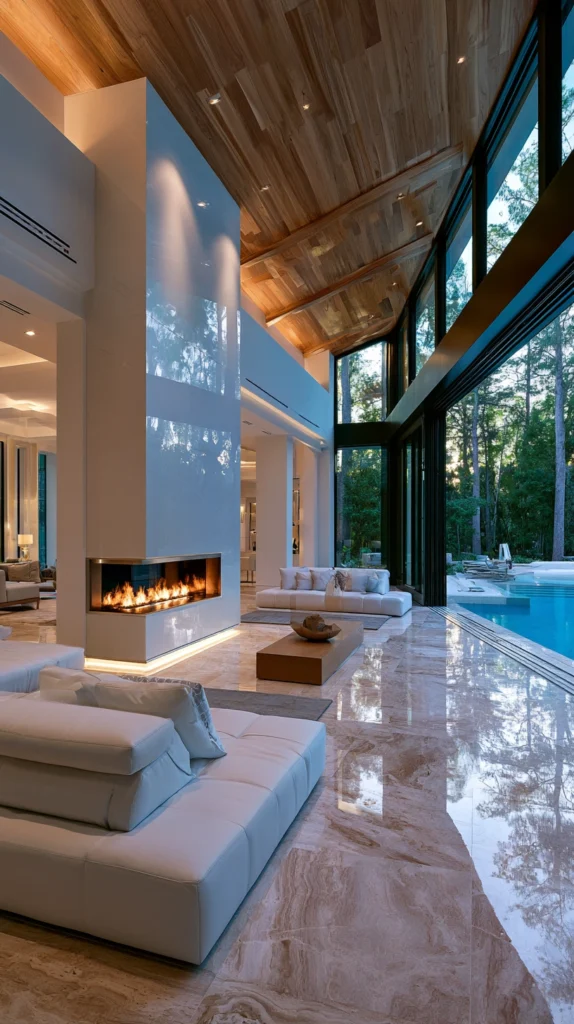
A glass extension fitted with radiant floor heating rather than a conventional space heater or radiator, keeping both the seating area and the plant benches at a consistent warm temperature.
Why radiant floor heat suits this hybrid use particularly well
A conventional heater warms the air unevenly, often leaving a room’s edges cold even while the center is comfortable. Radiant floor heat warms the whole surface evenly, benefiting both people sitting at floor level and plant roots in pots resting directly on that floor.
The system
Electric or hydronic radiant heating cable or piping installed beneath the finished floor surface, sized to the room’s total square footage.
The floor finish
Tile, stone, or polished concrete over the heating system, all of which conduct and hold radiant heat well compared with wood or carpet.
The thermostat
A dedicated thermostat for the glass room, separate from the rest of the house, allowing the space to be kept at a temperature suited to plants even when the main house runs cooler.
The plant benefit
Warm root zones support healthier growth through winter months, an advantage a floor-heated room offers that a purely air-heated room does not.
The comfort benefit
Bare feet on a warm floor, even in a glass-walled room in January — the detail that makes the space feel genuinely livable rather than merely tolerable in cold weather.
Cost breakdown: Radiant floor heating system: $800–2,500 Floor finish (tile or stone): $400–1,000 Dedicated thermostat: $100–250 Total: $1,300–3,750
11. The Mixed-Material Glass and Brick Extension
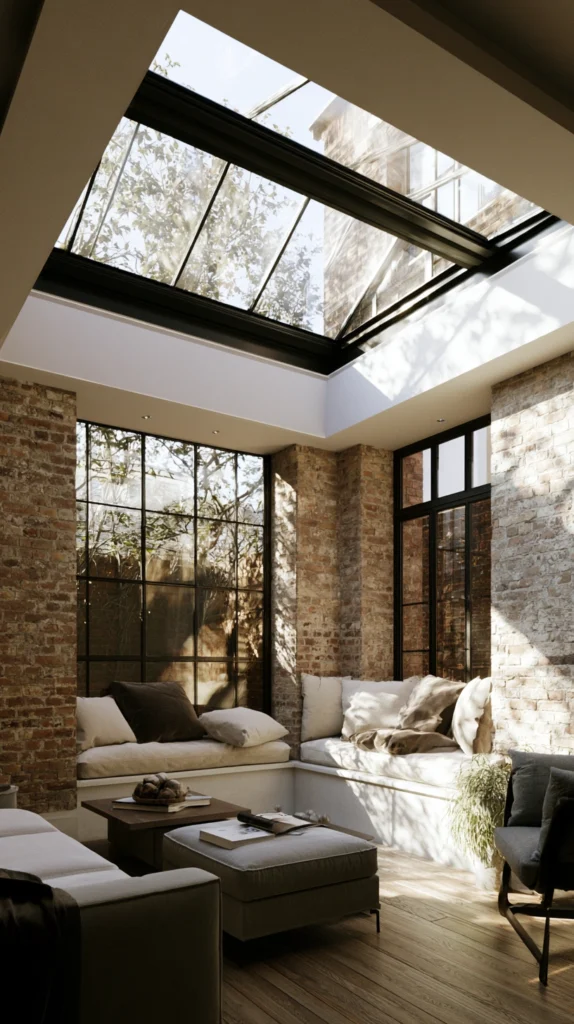
A glass room built with brick or stone lower walls and glazing above, rather than glass from floor to ceiling, balancing the greenhouse’s light needs with the enclosed, grounded feeling of a conventional room.
Why partial solid walls can improve the living room function
Fully glazed rooms can feel exposed and shelterless as living spaces, even when the light is welcome. Solid lower walls provide the sense of enclosure a comfortable seating area benefits from, while the upper glazing still delivers ample light.
The wall height
Solid material to roughly 3 feet, glazing from that height to the roofline, keeping the light-to-plants ratio high while grounding the room visually.
The material choice
Brick or stone that matches or complements the existing house exterior, so the extension reads as integrated rather than an obviously separate addition.
The seating placement
Positioned against the solid lower walls, where the enclosure feels most complete, with plants on benches positioned to take advantage of the upper glazing directly above them.
The window seats
A built-in bench along the solid wall height, doubling as both extra seating and a plant display shelf at the transition line between brick and glass.
Cost breakdown: Brick or stone lower wall construction: $1,500–4,000 Upper glazing: $2,000–5,000 Built-in bench: $200–500 Total: $3,700–9,500
12. The Multi-Level Terraced Plant and Seating Room
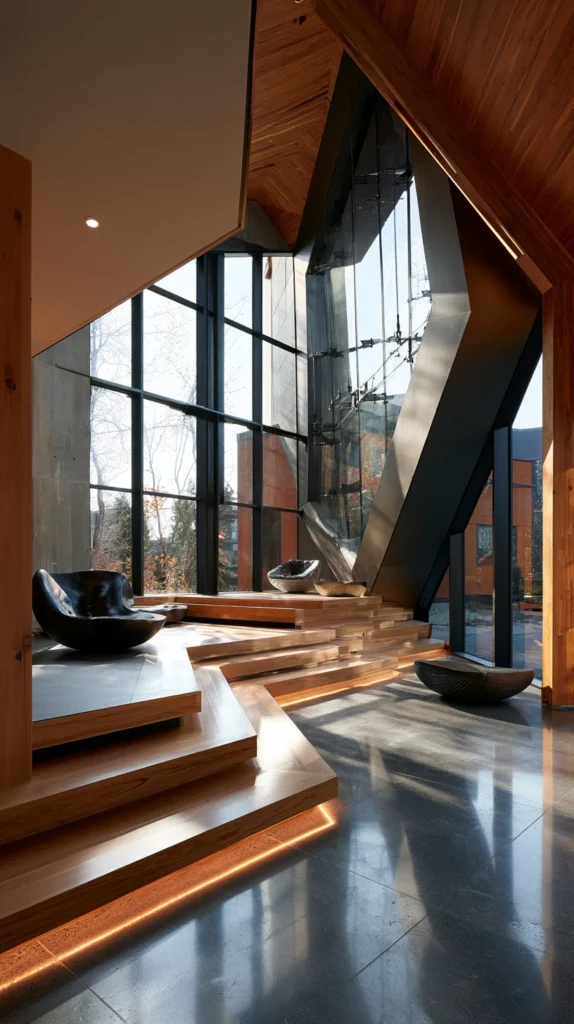
A glass room built on a sloped site, using the natural grade change to create terraced levels — plants on the upper terrace closest to the glazing, seating on a lower terrace set back into the room.
Why a sloped site is an opportunity rather than an obstacle
Rather than leveling the ground entirely, a terraced design works with the existing slope, creating natural separation between the growing zone and the seating zone through elevation rather than partition walls.
The terracing
Two or three shallow terraced levels, retained with low walls, following the natural grade of the site rather than requiring extensive excavation or fill.
The plant terrace
Positioned highest and closest to the glazed wall, receiving the most direct light and providing a green backdrop viewed from the lower seating terrace.
The seating terrace
Set back and lower, creating a more enclosed, sheltered feeling even within a fully glazed structure, similar in effect to the sunken seating pit approach but shaped by the site’s existing slope.
The steps between levels
Wide, shallow steps between each terrace, doubling as informal extra seating for gatherings larger than the main seating area accommodates.
The drainage
Terraced structures on a slope need careful drainage planning at each retained level, to prevent water pooling against the retaining walls during heavy rain or regular watering.
Cost breakdown: Terracing and retaining walls: $1,200–3,000 Structure and glazing: $3,000–7,000 Drainage: $300–700 Total: $4,500–10,700
13. The Complete Glass Living Room Greenhouse (The Fully Integrated Room)
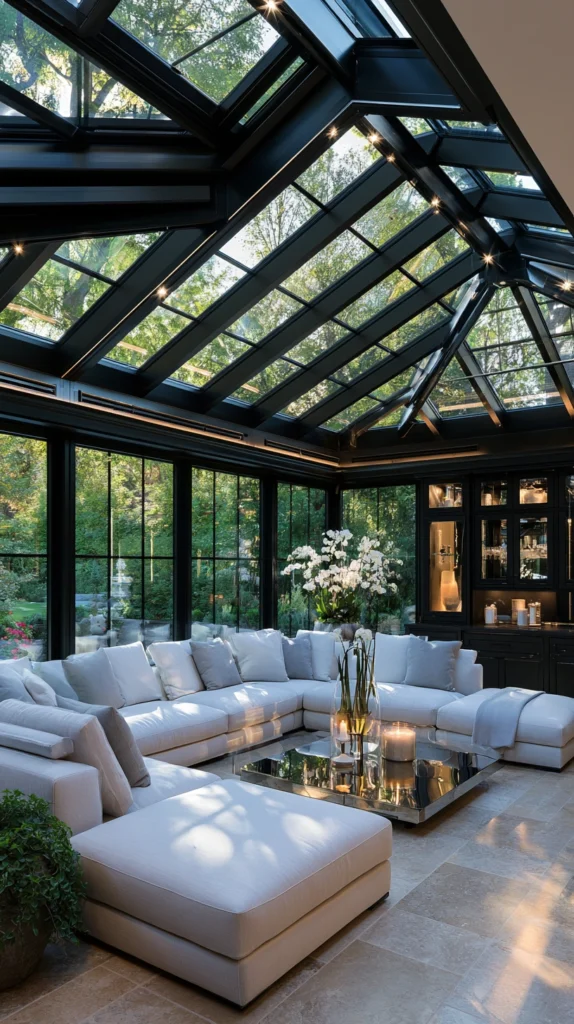
A complete glass room combining several of the approaches above — proper glazing, defined zoning between plants and seating, radiant or supplemental heat, and a full connection to the main house — designed as a genuine year-round living space.
What separates the complete room from a greenhouse with a chair in it
A greenhouse with a chair added: still primarily a greenhouse. A complete glass living room extension: a room designed from the outset to succeed at both functions equally, with every material and layout decision serving that dual purpose.
The elements of the complete glass living room greenhouse
The glazing
Double-glazed, low-E glass on the roof and walls, balancing light transmission with genuine thermal comfort.
The zoning
A clear seating zone and a clear plant zone, separated by level change, a partial wall, or simple furniture arrangement, but always deliberately defined.
The heat
Radiant floor heating or a small stove, sized to keep the room usable through the coldest months rather than only in the warm season.
The ventilation
Opening roof vents or a bi-fold wall section, preventing the room from overheating on sunny days regardless of the outdoor temperature.
The connection to the house
A wide opening or removed wall section linking the new room directly to the existing living space, so the extension reads as part of the house rather than a separate structure tacked onto it.
The furnishing
Weather-appropriate fabric and finishes throughout, since even a well-insulated glass room experiences more light and temperature variation than a conventional interior room.
The plants
A defined collection — benched, wall-mounted, or terraced — chosen and positioned for the specific light and humidity conditions the finished room actually provides.
The complete design in action
A Sunday afternoon in late autumn:
2pm: Low autumn sun flooding through the glazed roof, the radiant floor already holding the morning’s warmth.
2:15pm: Coffee in the seating zone, the plant zone a few feet away catching the same light from a slightly different angle.
3pm: A vent cracked open as the sun briefly overheats the room, closed again twenty minutes later as a cloud passes.
5pm: The room still comfortable as the light fades, warm enough from the floor heating to stay without a jacket.
The complete glass living room greenhouse: not a greenhouse borrowed for seating, and not a living room with plants added, but a single room genuinely built for both.
Cost breakdown for the complete room: Assuming a starting point of an existing exterior wall: Structure and double-glazed glazing: $4,000–10,000 Wall opening or removal connecting to the house: $800–2,500 Radiant floor heating: $800–2,500 Ventilation (vents or bi-fold section): $500–2,000 Seating and furnishing: $500–1,500 Plant zone (benches or living wall): $200–600 Total: $6,800–19,100
Phased over two or three seasons:
Season one ($4,500–9,000): The core structure and glazing Basic connection to the house Initial seating
Season two ($1,500–4,000): Radiant floor heating or a stove Proper ventilation A defined plant zone
Season three ($800–2,000): Finishing details — a living wall, terracing, or a full bi-fold wall upgrade Additional furnishing
The glass living room greenhouse: not a weekend project but a genuinely dual-purpose room built with intention over time.
The Question Before Any Glass Extension Design
Before choosing a structure, a glazing type, a layout:
What is the primary reason for wanting this room?
If the answer is: more usable living space with better light — the full glass wall conversion or the south-facing lean-to.
If the answer is: a true garden retreat separate from the house — the freestanding glass pavilion.
If the answer is: year-round comfort without sacrificing plant health — the heated floor room or the multi-season insulated approach.
If the answer is: the lowest possible disruption to the existing house — the courtyard enclosure.
The design follows the site and the balance of priorities between plants and people. Every idea on this list serves that balance differently. The question is which balance is right for this house and this household.
The single sunny corner turned into a small glass reading nook: still extends the living space. The complete room, built with intention: a genuine year-round extension of the house.
That extension: the whole point of the glass.
Getting Started This Weekend
The immediate glass extension solution:
Track the sun across the intended wall for one full day before designing anything.
The orientation, more than any material choice, determines whether the finished room succeeds.
Decide on the zoning before choosing furniture.
Where the seating goes and where the plants go — settled early, not worked out after the glass is already up.
Get a structural assessment before removing or widening any existing wall.
The connection to the house is the detail most likely to need a professional, even in an otherwise DIY-friendly project.
Plan the ventilation from the very first sketch.
A beautiful glass room that overheats by June will not get used as a living room at all.
The rest of the design: the elaboration of this moment.
The glass: the beginning. The room: what grows and gets lived in inside it.