14 Greenhouse Shed Combo Ideas for a Functional Garden Space
The greenhouse-shed combo solved a problem I did not know I had until it was gone: the constant walk between two separate structures, tools in one building and seedlings in another, neither one quite finishing the job on its own.
Not the bigger greenhouse. Not the tidier shed. Not the extra shelving or the better latch or the reorganized tool wall.
The combination.
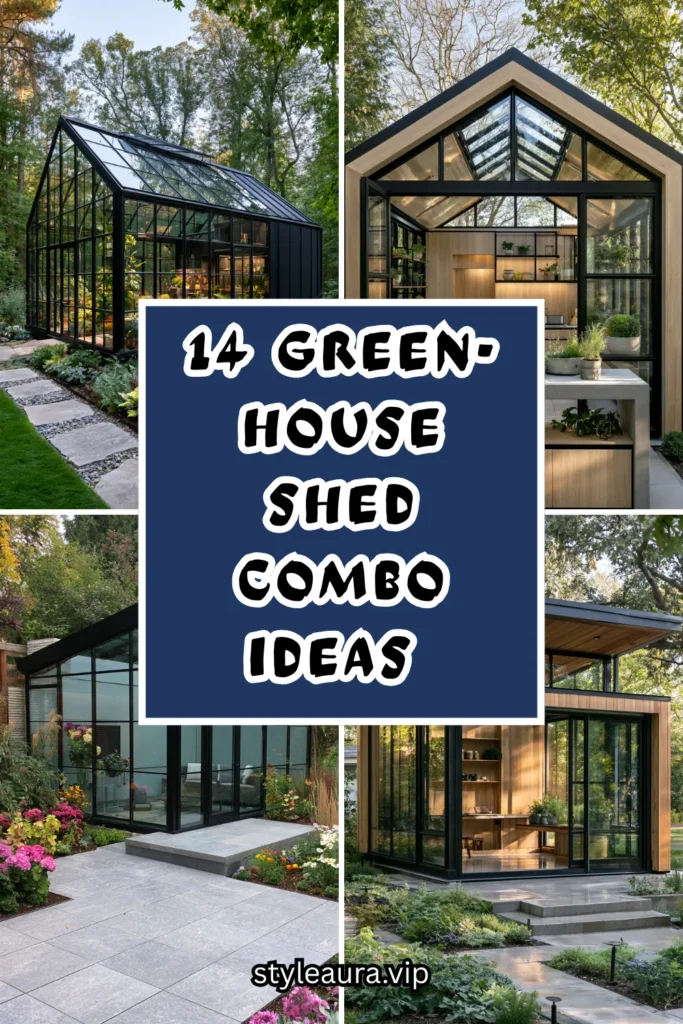
Because putting both functions under one roof did something neither structure alone could do. Before it: a greenhouse for growing, a shed for storage, a walk between them every single time a tool was needed mid-task. After it: one building, one door, everything within arm’s reach of whatever is actually happening that day.
A greenhouse-shed combo is not two small buildings merged for the sake of it. It is a workflow decision. The seed trays and the trowel live in the same structure. The overwintering plants and the lawn mower share one roof. The garden: organized around how it is actually used, not around two separate categories of building.
Here are 14 greenhouse-shed combo ideas — from the simplest partition wall to the most fully integrated structure — built on that understanding.
Why a Combined Structure Works Better Than Two Separate Ones
The workflow equation
Without a combo structure:
Tools in the shed. Seedlings in the greenhouse. A repot, a prune, a transplant: three trips across the yard for one task.
The greenhouse: often left untidy, since tools have to be carried in and back out again.
The shed: often damp near the door, from wet boots tracked between the two buildings.
With a combo structure:
Tools within reach of the potting bench. A repot, a prune, a transplant: one stop, start to finish.
The greenhouse side: stays organized, since everything needed is already there.
The shed side: stays dry, separated from the humid growing space by a proper partition.
The footprint advantage
A single combined structure typically uses less total yard footprint than two separate buildings, since it shares one set of exterior walls and one roofline. The land saved often equals the space of a second small garden bed.
The cost case
Materials for one shared wall, one shared roof structure, and one foundation cost meaningfully less than the equivalent materials for two freestanding buildings of the same combined size.
The climate separation
The one design requirement that makes a combo structure work: the growing side and the storage side need different humidity levels, and the wall between them has to actually separate those two climates, not just visually divide the space.
The Four Combo Layouts
Before choosing any design:
The side-by-side split
Two roughly equal halves under one roof, a solid partition wall between them.
The simplest layout to plan and build.
Each side gets its own door.
The lean-to combo
A greenhouse built onto the side of an existing shed, sharing one wall.
The lowest-cost option if a shed already exists.
Requires no new shed construction at all.
The loft combo
Storage in a loft or upper level, growing space below.
Maximizes floor space for plants.
Requires a taller structure and a ladder or stair.
The through-structure combo
A single open building with growing benches at one end and a tool wall at the other, no solid partition at all.
The most open and flexible layout.
Depends on good ventilation to manage the shared humidity.
1. The Solid Partition Wall Combo
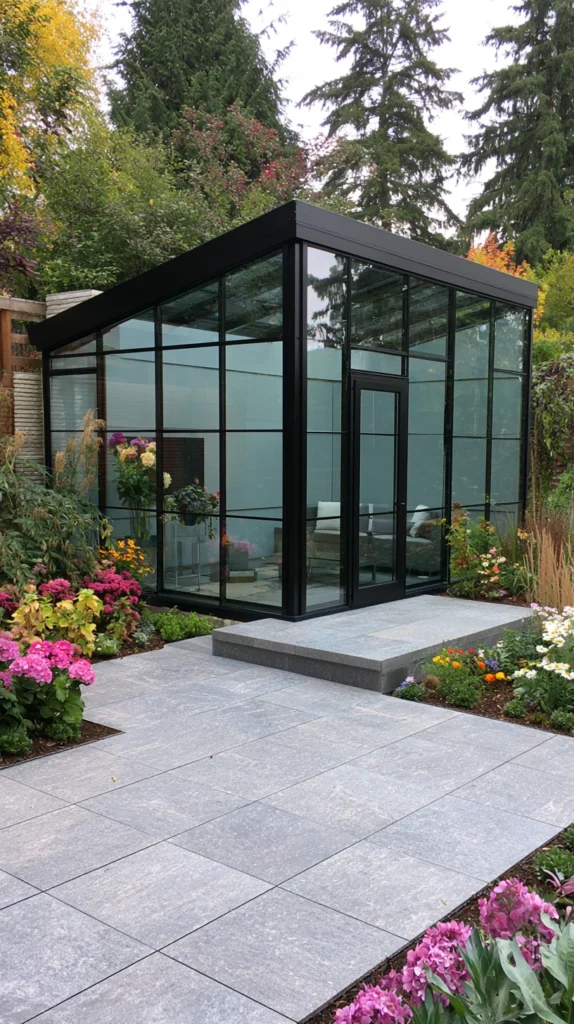
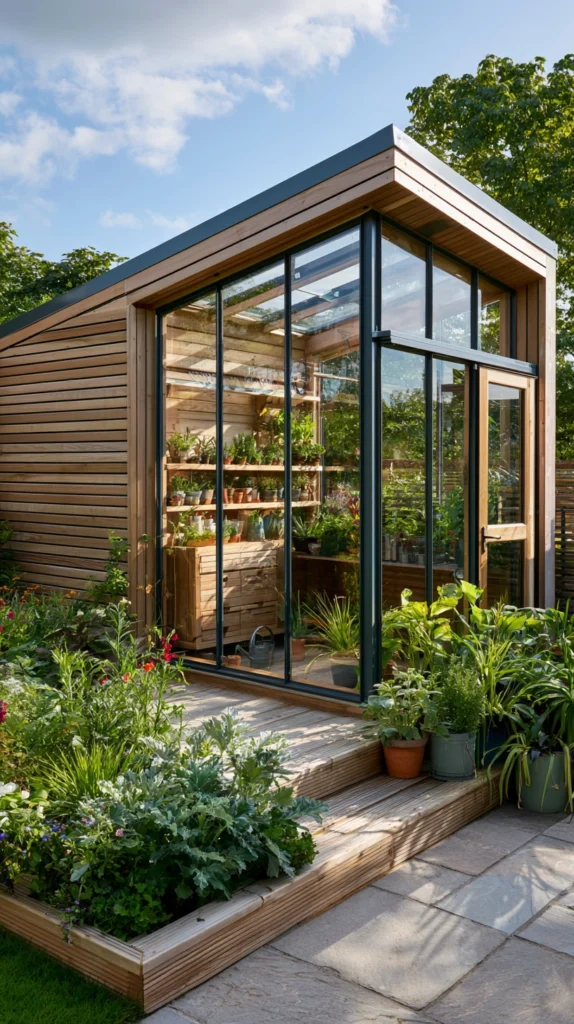
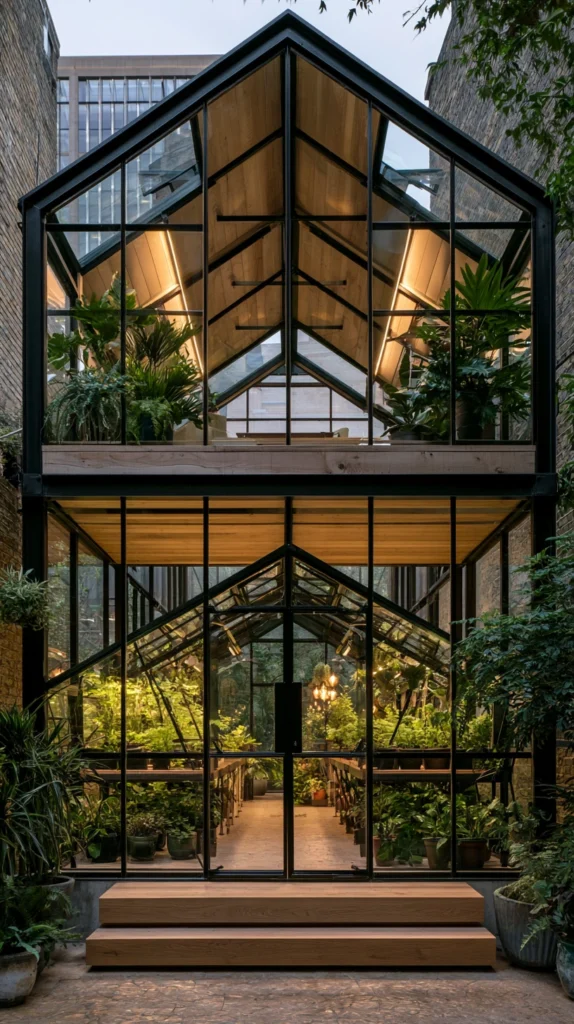
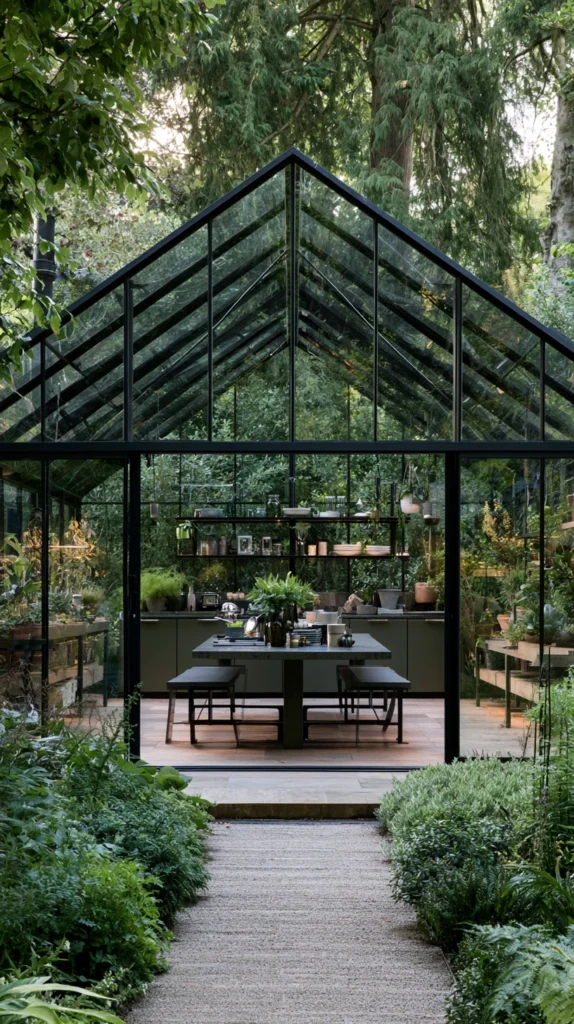
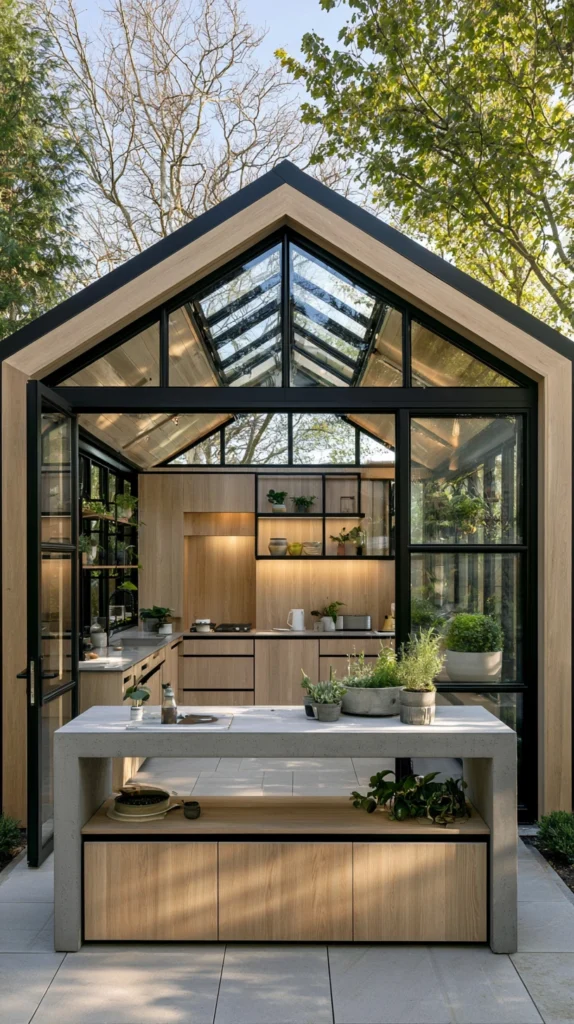
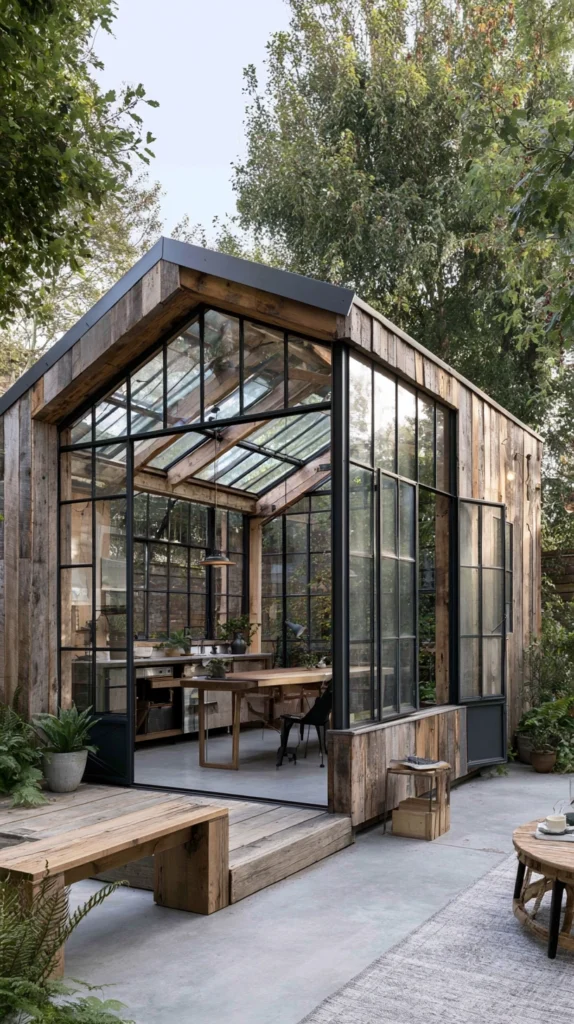
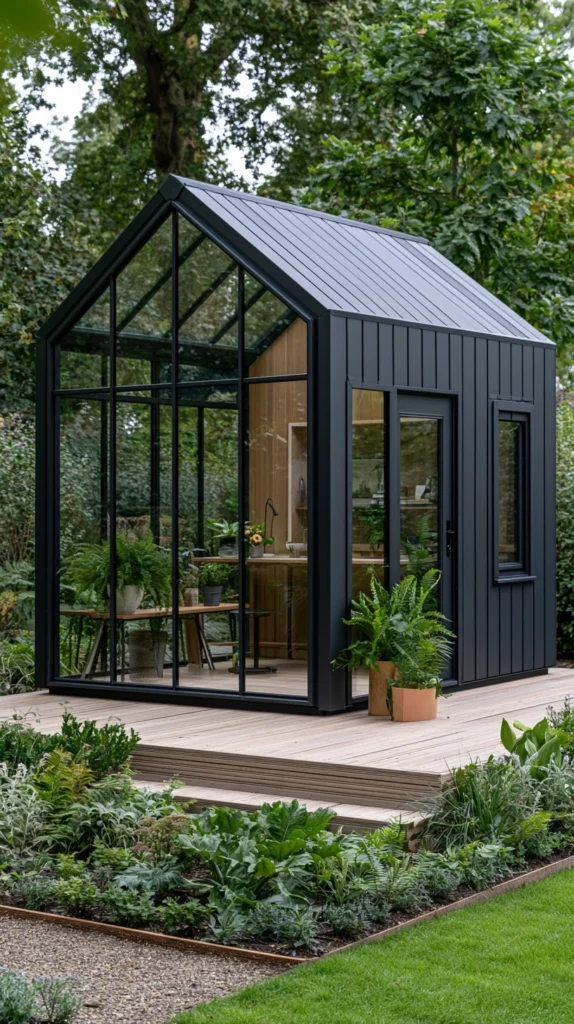
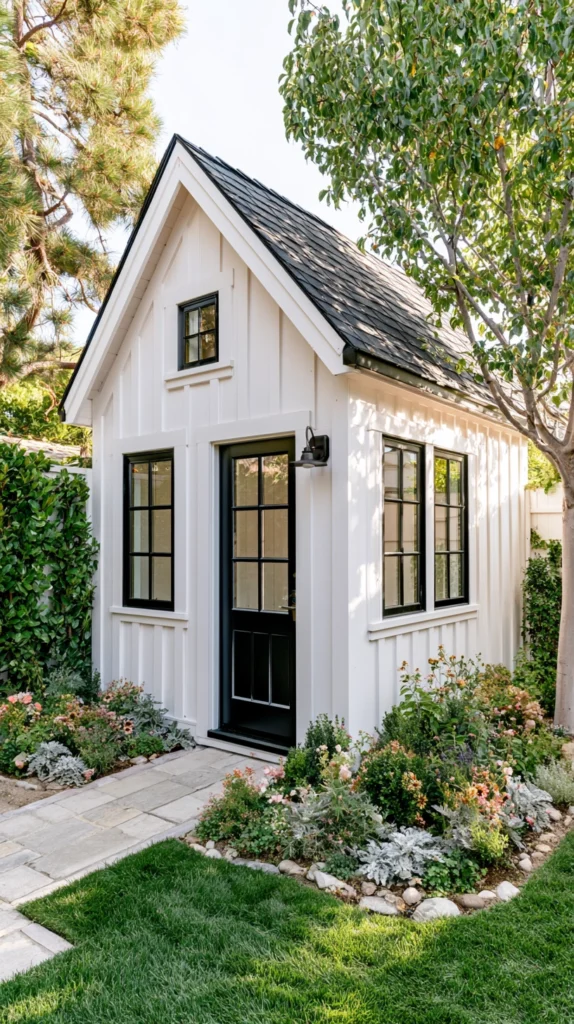
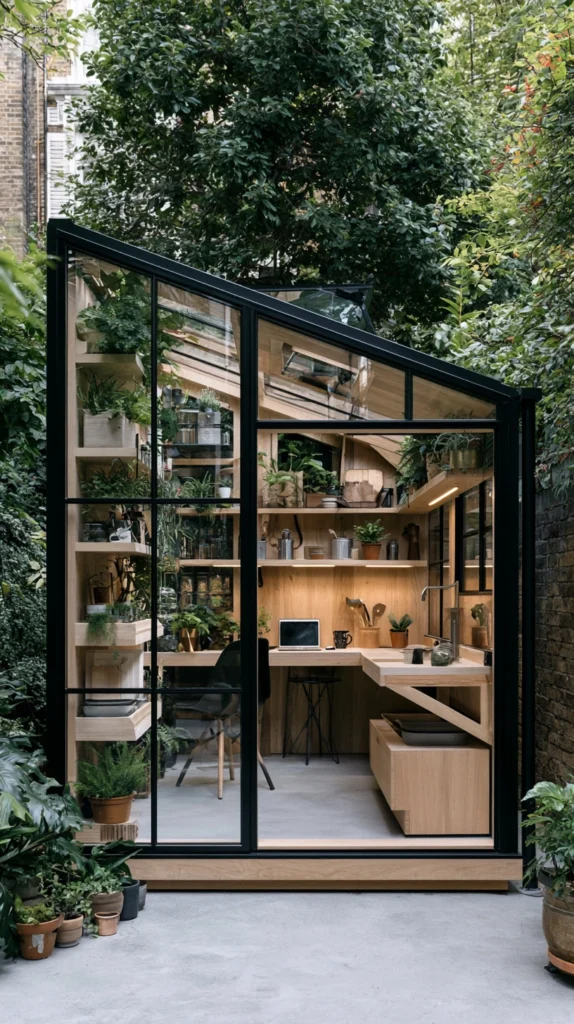
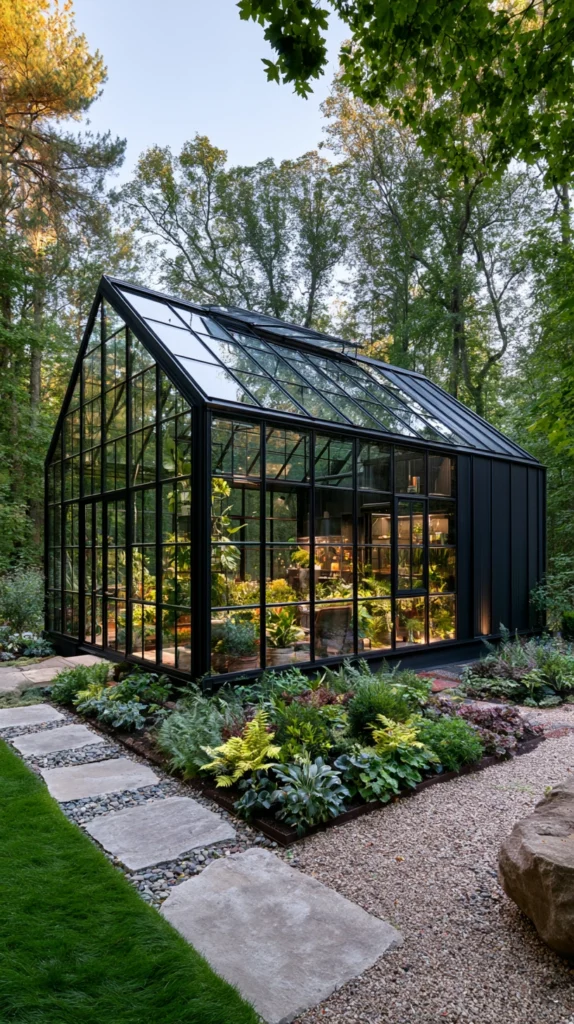
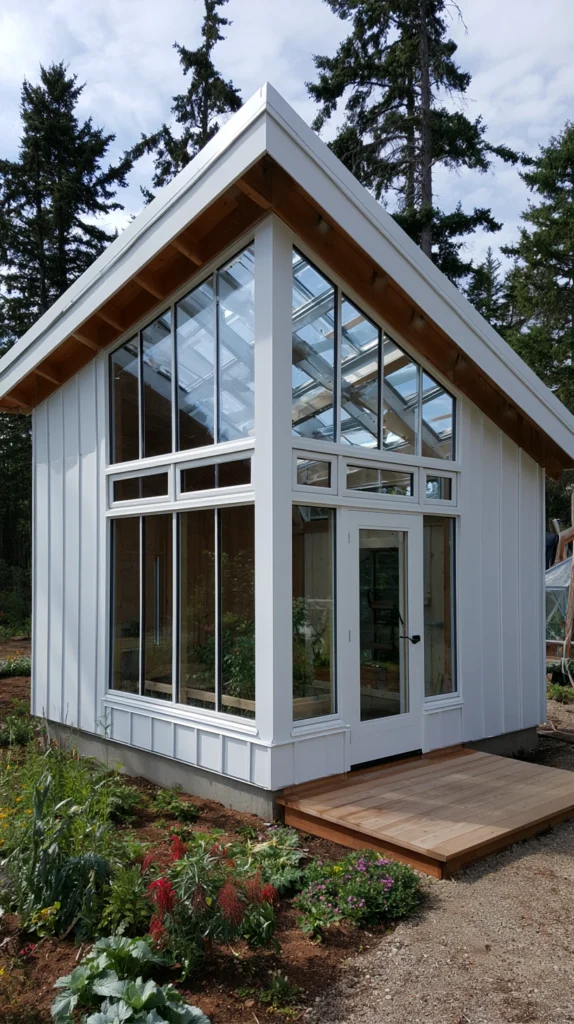
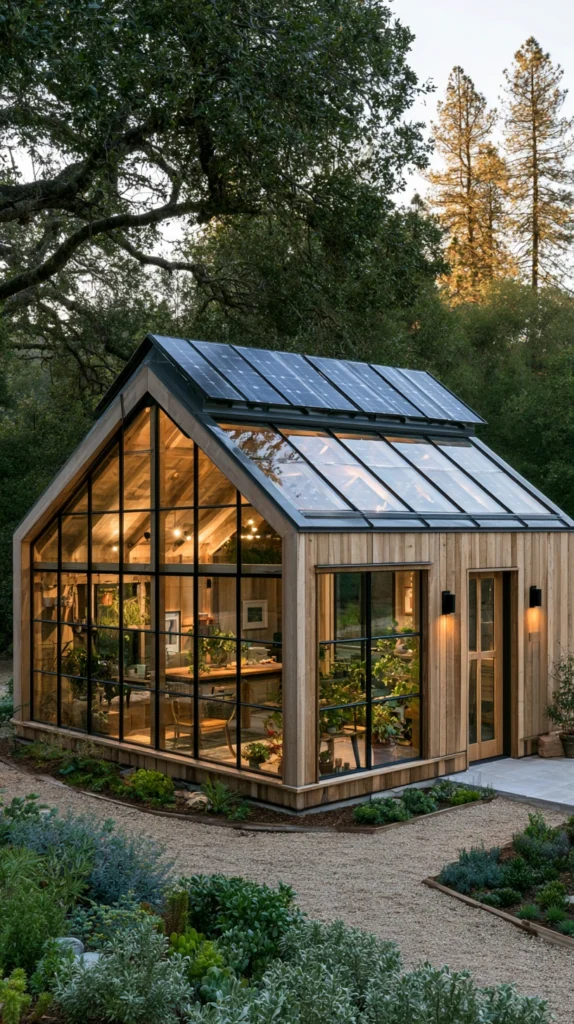
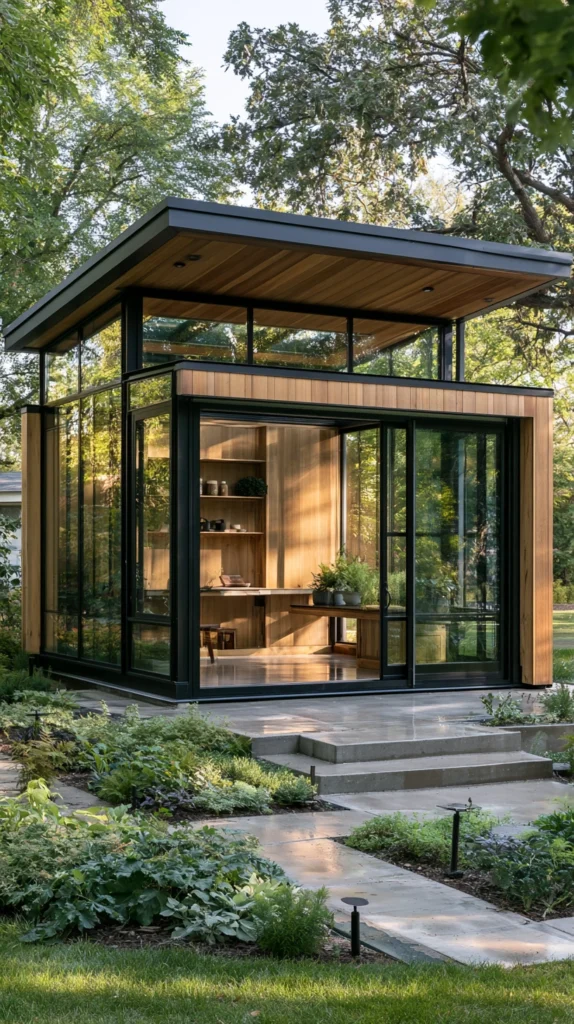
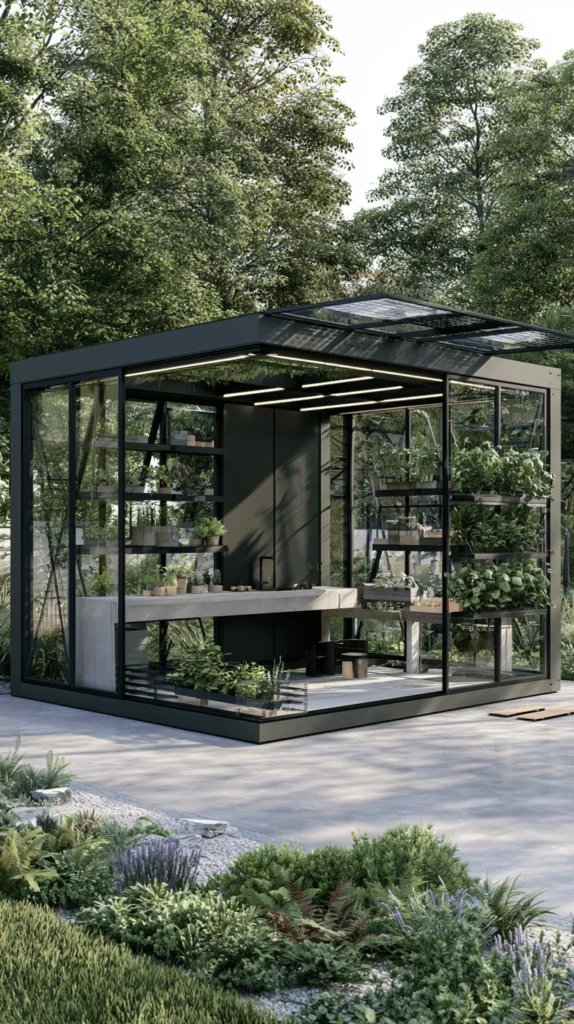
A single rectangular structure divided down the middle by a solid interior wall, greenhouse on one side and shed on the other, each with its own exterior door.
Why the solid wall is the standard approach
A true wall, insulated and sealed, is the only way to fully separate the humid growing side from the dry storage side without one climate compromising the other.
The wall
Framed lumber, insulated, and finished on the shed side to resist moisture wicking through from the greenhouse side.
A single interior door in the partition, for convenience, kept closed during active growing seasons to maintain humidity on the greenhouse side.
The greenhouse side
Polycarbonate or glass glazing on the roof and at least two walls, for maximum light.
The shed side
Solid walls, a workbench, and wall-mounted tool storage, built like a conventional shed interior.
The doors
Separate exterior doors for each side, so the shed can be accessed without walking through the greenhouse and tracking in soil or water.
Cost breakdown: Lumber frame and partition wall: $300–600 Polycarbonate glazing (greenhouse side): $150–350 Shed-side finishing (workbench, shelving): $100–250 Doors and hardware: $100–200 Total: $650–1,400
2. The Lean-To Greenhouse Against an Existing Shed
A polycarbonate or glass greenhouse built directly onto the exterior wall of an already-existing shed, requiring no new shed construction at all.
Why this is the lowest-cost combo option
If a shed already stands in the yard, this design adds only the greenhouse portion, using the shed’s existing wall as one full side of the new structure.
The wall selection
The south- or west-facing exterior wall of the shed, for maximum daily sun exposure on the greenhouse side.
The greenhouse frame
A simple sloped lean-to frame, built from lumber or aluminum, attached to the shed wall with appropriate flashing to prevent water intrusion at the joint.
The connecting door
A new doorway cut into the shed wall where the two structures meet, so tools can be reached from the greenhouse side without going back outside.
The waterproofing
Flashing at the roofline where the greenhouse meets the shed is the detail most likely to be skipped and most likely to cause problems later — proper flashing here prevents water running down the shed wall.
Cost breakdown: Lean-to greenhouse frame and glazing: $400–900 New doorway cut and door: $150–300 Flashing and waterproofing materials: $40–80 Total: $590–1,280
3. The Loft Storage, Ground-Floor Greenhouse
A taller structure with an open ground floor dedicated entirely to growing space, and a storage loft built above, accessed by a ladder or narrow stair.
Why stacking vertically works for a small footprint
On a lot too small for a wide combo structure, building up rather than out preserves the full ground floor for plants while still providing real storage capacity.
The ground floor
Left almost entirely open, with benches along the perimeter walls and the center kept clear for larger potted plants or a small working area.
The loft
Framed across the upper portion of the structure, positioned toward the north or shaded side so it does not block light from reaching the plants below.
The access
A fixed ladder for infrequently used storage, or a proper narrow staircase if the loft will be accessed daily.
The load
The loft framing built to support the actual weight of stored items — bagged soil and full watering cans are heavier than most people estimate.
The ventilation
A gap or vent between the loft and the roof peak, so heat rising from the greenhouse floor does not simply collect and overheat stored items above.
Cost breakdown: Taller structure frame: $500–1,000 Loft framing and flooring: $150–350 Ladder or stair: $80–250 Total: $730–1,600
4. The Open Through-Structure Combo
A single greenhouse-shed building with no solid interior wall at all — growing benches at one end, a tool wall and workbench at the other — relying on airflow rather than a partition to manage the shared space.
Why an open layout can work despite the shared climate
Not every combo needs a hard partition. With good ventilation and careful tool selection, a fully open layout keeps humidity manageable while giving the whole structure a single, uninterrupted feel.
The layout
Growing benches along the glazed end of the structure, receiving the most light; the tool wall and workbench at the solid, opposite end.
The ventilation
Roof vents or a ridge vent running the length of the structure, essential in an open-plan combo to prevent the tool end from becoming as humid as the growing end.
The tool selection
Rust-resistant or coated tools stored on the open wall, since even good ventilation will not fully eliminate the ambient humidity reaching that end of the structure.
The transition zone
A change in flooring material — gravel under the benches, a solid mat or boards near the tool wall — marking the shift between the two functions without a physical wall.
Cost breakdown: Structure frame and glazing: $500–1,000 Benches: $80–180 Tool wall and workbench: $100–200 Ridge or roof venting: $60–120 Total: $740–1,500
5. The Potting Bench Bridge Combo
A structure organized around a single central potting bench that straddles the boundary between the growing side and the storage side, functioning as the working heart of the whole building.
Why the bench is the design anchor here
Most greenhouse-shed tasks — repotting, seed starting, tool cleaning — happen at a bench, not standing among the plants or digging through storage. Centering the design on that bench keeps the whole workflow efficient.
The bench placement
Positioned at the transition point between the humid and dry sides, close enough to reach both a watering source and dry tool storage without stepping away.
The bench construction
A water-resistant surface — treated wood, metal, or a poured concrete top — since the bench will be wet from potting mix and watering cans regularly.
The storage beneath
Open shelving or bins under the bench for pots, soil bags, and frequently used small tools, kept close at hand during active potting work.
The water source
A small sink or a hose bib mounted near the bench, avoiding trips outside mid-task for water.
The lighting
A dedicated task light directly over the bench, since this is the one spot in the structure where fine work — seed sorting, precise pruning — actually happens.
Cost breakdown: Potting bench: $100–250 Under-bench storage: $40–90 Small sink or hose bib installation: $60–200 Task light: $25–50 Total: $225–590
6. The Salvaged Materials Combo Shed
A greenhouse-shed structure built primarily from reclaimed windows, doors, and lumber, keeping the overall build cost significantly lower than new materials would allow.
Why salvage suits this project particularly well
A combo structure needs a mix of solid wall material and glazing, and both are commonly available secondhand — solid doors and windows for the shed side, additional windows for the greenhouse side.
The sourcing
Salvage yards, demolition sites, and renovation project giveaways for both windows and usable lumber.
The shed side construction
Reclaimed doors used as wall panels where their size allows, framed in around the gaps with standard lumber.
The greenhouse side construction
Salvaged windows fitted into a simple frame, sized to whatever collection of windows has actually been gathered rather than to a fixed plan.
The character
Mismatched frame colors and styles left as-is across both sides, the patchwork look consistent with the low material cost rather than disguised.
The finishing
A single coat of exterior sealant across all salvaged wood, to bring the mismatched pieces into a slightly more unified appearance without full repainting.
Cost breakdown: Salvaged windows and doors: $0–150 Lumber frame: $150–300 Sealant and hardware: $40–80 Total: $190–530
7. The Prefab Shed With a Greenhouse Extension
An off-the-shelf prefabricated storage shed, purchased as a standard unit, with a greenhouse extension added onto one side after the fact.
Why starting with a prefab shed simplifies the project
A prefab shed arrives largely pre-engineered, removing most of the structural planning from half the project — the remaining work is designing and attaching the greenhouse portion.
The shed
A standard prefabricated resin, metal, or wood shed, chosen in a size that leaves adequate yard space for the greenhouse extension beside it.
The extension
A simple lean-to greenhouse frame attached to one exterior wall of the shed, following the same approach as the lean-to combo but starting from a brand-new rather than existing shed.
The connecting doorway
Cut into the shed wall during installation, ideally planned before the shed is fully assembled rather than modified afterward.
The warranty consideration
Cutting into a prefab shed’s wall may affect its manufacturer warranty — worth checking before modification, or worth choosing a shed model sold without that concern.
Cost breakdown: Prefab shed: $400–1,200 Greenhouse extension: $300–700 Doorway modification: $100–200 Total: $800–2,100
8. The Potting Shed Aesthetic Combo
A greenhouse-shed structure designed with cottage-garden charm as a deliberate goal, using traditional materials and detailing rather than a purely utilitarian build.
Why aesthetics matter even in a working structure
A structure used daily is worth making pleasant to be in, and traditional potting shed detailing costs little extra while changing how the space feels entirely.
The materials
Painted timber cladding, rather than plain plywood or metal siding, in a muted heritage color — sage, slate blue, or soft white.
The windows
Multi-pane windows on the greenhouse side, even if simulated with applied grille bars over a single pane, for the traditional cottage-garden look.
The roof
A pitched roof rather than a flat one, ideally with a small cupola or weathervane if the budget allows — details that read as intentional rather than purely functional.
The door
A Dutch door on the shed side, allowing the top half to stand open for ventilation and light while keeping the bottom half closed to pets or wandering garden visitors.
The surrounding
Climbing plants — clematis, climbing roses — trained up the exterior walls over time, softening the structure into the garden itself.
Cost breakdown: Painted timber cladding: $150–350 Multi-pane windows: $100–250 Dutch door: $150–350 Total: $400–950
9. The Compact Backyard Combo (Under 100 Square Feet)
A small-footprint combo structure, kept under 100 square feet total, designed for yards too tight for a larger building.
Why a compact design still works as a true combo
A small structure does not need to sacrifice the dual function — it needs tighter, more deliberate planning of exactly what goes where.
The layout
A narrow structure, often 6 feet by 12 feet or similar, with roughly a third dedicated to storage and the remainder to growing space.
The storage side
Vertical wall-mounted storage only — pegboard, hooks, narrow shelving — since floor space cannot be spared for freestanding shelving units.
The greenhouse side
A single row of benching along one long wall, rather than benches on both sides, to leave a walkable aisle.
The door
One shared door for the whole structure, rather than separate doors for each side, since the compact size makes a second doorway impractical.
The multi-use furniture
A narrow bench that folds up against the wall when not in use, freeing floor space for larger potted plants during the growing season.
Cost breakdown: Compact structure frame and glazing: $300–600 Wall-mounted storage: $40–80 Fold-up bench: $50–100 Total: $390–780
10. The Chicken Coop Adjacent Combo
A greenhouse-shed structure built directly beside or sharing a wall with an existing chicken coop, taking advantage of the coop’s ambient warmth in cold months.
Why proximity to livestock helps
A chicken coop generates real heat from the birds themselves, and a greenhouse wall built adjacent to that warmth benefits from a small but genuine temperature boost on cold nights.
The shared wall
Insulated and vented appropriately, since the greenhouse benefits from some warmth transfer but should not share air directly with the coop for hygiene reasons.
The layout
Coop on one end, storage shed in the middle, greenhouse on the far end — the greenhouse positioned to receive the most benefit from the coop’s heat without direct contact.
The manure use
Composted chicken manure, aged appropriately before use, becomes a ready fertilizer source for the greenhouse plants just steps away.
The ventilation
Kept fully separate between the coop and greenhouse sides, since coop humidity and ammonia levels are not suitable for a growing environment.
Cost breakdown: Shared structure frame: $400–800 Insulated dividing walls: $100–200 Ventilation for each zone: $60–120 Total: $560–1,120
11. The Rainwater Harvesting Combo Roof
A greenhouse-shed structure with a roof specifically designed to collect and channel rainwater into a storage tank, supplying the greenhouse’s watering needs.
Why the roof becomes a functional element
A combo structure already has a substantial roof area — using it to collect water reduces the ongoing cost and effort of keeping the greenhouse side watered.
The roof design
A single sloped roof, or a valley roof directing runoff toward one collection point, rather than a design that scatters water off multiple edges.
The gutter and downspout
Standard gutter guided into a downspout feeding directly into a storage barrel or tank positioned beside the structure.
The storage tank
A food-grade barrel or purpose-built rain barrel, elevated slightly on a stand so gravity assists the flow when watering.
The filtration
A simple mesh screen at the gutter or downspout entry point, keeping leaves and debris out of the stored water before it reaches the plants.
The overflow
An overflow outlet directed away from the structure’s foundation, preventing pooling water from undermining the base over time.
Cost breakdown: Gutter and downspout: $50–120 Rain barrel or storage tank: $60–150 Stand and overflow fittings: $30–60 Total: $140–330
12. The Off-Grid Solar Combo
A greenhouse-shed structure fitted with a small solar panel system, powering lighting, a fan, and basic climate control without needing a connection to household electricity.
Why solar suits a detached combo structure
Running an electrical line from the house to a detached structure can be costly and disruptive. A small solar setup avoids that expense for basic power needs.
The panel
A single small solar panel mounted on the roof’s south-facing slope, sized to the structure’s actual power needs rather than oversized.
The battery
A deep-cycle battery paired with the panel, storing power for use after dark or on overcast days.
What it powers
A small fan, LED task lighting, and possibly a USB charging point — modest loads suited to a small panel, rather than a full heating system.
The wiring
Kept simple and low-voltage throughout, avoiding the complexity and cost of a full household-grade electrical installation.
The placement
Panel angled and oriented for maximum year-round sun exposure, checked against the specific latitude and roof pitch of the structure.
Cost breakdown: Solar panel and mounting: $100–250 Battery and charge controller: $80–180 Wiring, fan, and LED lighting: $50–100 Total: $230–530
13. The Multi-Season Insulated Combo
A greenhouse-shed structure built with real insulation in the walls and roof of both sides, extending usability through the coldest months rather than shutting down in winter.
Why insulation changes the structure’s whole value
An uninsulated combo structure is essentially a three-season building, useful from spring through fall and largely dormant in winter. Insulation extends that usefulness across the full year.
The wall insulation
Standard fiberglass or rigid foam insulation within stud-framed walls on the shed side, and insulated glazing panels or double-wall polycarbonate on the greenhouse side.
The roof insulation
Matched to the wall approach, since an uninsulated roof loses heat as fast as an uninsulated wall, regardless of what the walls themselves do.
The heat source
A small space heater or heat mat system sized to the greenhouse side’s square footage, since even good insulation needs a heat source behind it in true winter cold.
The vapor barrier
A proper vapor barrier on the shed side, preventing the greenhouse’s humidity from migrating into the storage area and causing tool rust or wood rot over time.
The payoff
A structure that functions for seed starting in February and season-extended harvests into December, rather than standing empty for a third of the year.
Cost breakdown: Wall and roof insulation: $150–350 Double-wall polycarbonate (greenhouse side): $100–250 Small heater or heat mat system: $60–200 Vapor barrier material: $30–60 Total: $340–860
14. The Complete Greenhouse-Shed Combo (The Fully Functional Structure)
A complete combo structure combining several of the approaches above — a clear partition, dedicated storage, a working potting bench, water access, and proper ventilation — sized and built for genuine year-round garden use.
What separates the complete structure from a basic combo build
A basic combo: two functions sharing a roof. A complete combo structure: a fully planned workflow, where every tool, every bench, and every climate zone was positioned with intention rather than added as an afterthought.
The elements of the complete combo structure
The layout
A solid partition wall between the greenhouse and shed sides, with a central potting bench positioned at the transition point between them.
The greenhouse side
Polycarbonate glazing, benching along the perimeter, and a roof vent for temperature control.
The shed side
Wall-mounted tool storage, a small workbench, and shelving for pots, soil, and seasonal equipment.
The water
A rain barrel fed by the roof’s gutter system, plus a small hose bib near the potting bench.
The power
A small solar setup for basic lighting and a fan, avoiding the cost of running electrical service to a detached structure.
The insulation
Enough wall and roof insulation, paired with a small heater, to keep the structure usable into the colder months rather than only in the warm season.
The complete design in action
An early spring Saturday:
9am: The greenhouse side already ten degrees warmer than the yard, seed trays lined up on the bench from the week before.
9:15am: A quick step through the partition door for the trowel and the labels, no walk across the yard required.
9:30am: New trays potted at the central bench, watered from the hose bib, set back on the greenhouse benching to start their season.
10am: Tools cleaned and rehung on the shed wall before stepping back outside — the whole task completed without leaving the building once.
The complete greenhouse-shed combo: not two structures pretending to be one, but a single space built entirely around how the garden actually gets worked.
Cost breakdown for the complete structure: Assuming a starting point of nothing: Structure frame, partition, and roof: $500–1,000 Polycarbonate glazing: $150–350 Shed-side storage and workbench: $150–300 Potting bench: $100–250 Rain barrel and gutter system: $100–230 Small solar setup: $150–350 Insulation and small heater: $150–350 Total: $1,300–2,830
Phased over two or three seasons:
Season one ($500–900): The basic frame and partition Simple greenhouse glazing A single storage wall
Season two ($400–700): The potting bench Rain barrel system Basic shelving
Season three ($400–1,200): Insulation and a small heater Solar power for lighting and a fan Finishing details and cladding
The greenhouse-shed combo: not a weekend project but a working structure built with intention over time.
The Question Before Any Greenhouse-Shed Combo Design
Before choosing a layout, a size, a material approach:
What is the primary reason for wanting this combined structure?
If the answer is: saving yard footprint — the solid partition wall combo or the loft storage design.
If the answer is: a shed already exists — the lean-to greenhouse extension.
If the answer is: the lowest possible cost — the salvaged materials combo or the compact under-100-square-foot design.
If the answer is: true year-round use — the multi-season insulated combo.
The design follows the yard already available and the season the garden actually needs help with. Every idea on this list serves a different combination of the two. The question is which combination fits this space and this gardener.
The smallest partitioned combo in the right spot: still saves the daily walk between two buildings. The complete structure, built with intention: a genuinely efficient working garden space, year-round.
That efficiency: the whole point of the combo.
Getting Started This Weekend
The immediate greenhouse-shed combo solution:
Check whether a shed already exists before planning a full new structure.
The lean-to extension is the fastest and cheapest route in if it does.
Sketch the workflow before sketching the building.
Where the potting happens, where the tools live, where the water comes from — the layout follows the task, not the other way around.
Plan the partition before building either side.
The one detail that determines whether the structure actually works as a combo, or just becomes a humid shed.
Start with one shared door if the budget is tight.
A second door and a full partition can always be added later; the structure itself is the harder part to change.
The rest of the design: the elaboration of this moment.
The structure: the beginning. The combo: what grows and gets stored inside it.