13 Fall Closet Organization Ideas to Start the Season Right
The closet transition between summer and fall is one of those tasks that either happens deliberately or turns into months of half-done sorting. Sundresses pushed to the back, sweaters buried under things that don’t belong, a coat that can’t be found on the first cold morning.
Doing it deliberately takes a few hours. The result is a closet that makes getting dressed in fall genuinely easier — the right things are visible, the right things are accessible, and the seasonal chaos that usually happens gradually has already been handled.

These thirteen ideas cover the full transition: what to remove, what to add, how to store what’s leaving, how to organize what’s staying, and the small systems that keep the fall closet functional through November.
1. Do a Full Summer Pull-Out Before Adding Fall Pieces
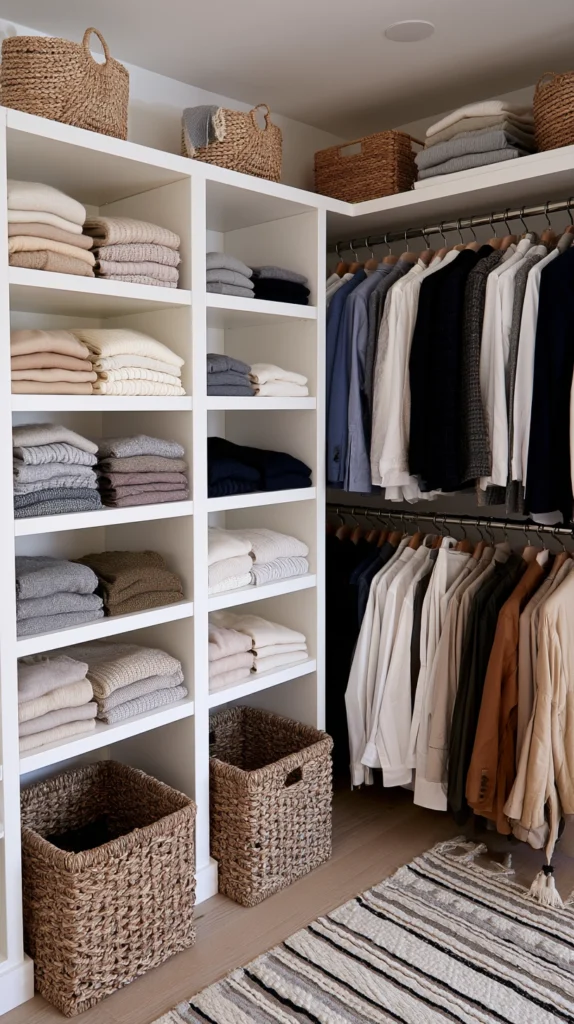
The most common closet organization mistake is adding fall clothes on top of summer ones.
It creates a closet where nothing is visible, hangers are jammed together, and the seasonal pieces that should be front and center are buried in the middle of everything else. The transition doesn’t work unless the summer items come out first.
Pull every summer item off the rod and out of the drawers. Put them in a staging area — the bed, a clothing rack, the floor — before making any decisions about storage. This gives you a clear view of what the closet actually holds and how much space exists for fall.
It takes longer than the partial swap most people do. The result is a closet that functions as an actual fall wardrobe rather than a crowded hybrid of two seasons.
Tip: Do this on a day when you have a minimum of three uninterrupted hours. Starting a full pull-out and stopping halfway leaves the bedroom unusable and reduces the chance the project gets finished properly.
Budget: $0
2. Sort Summer Clothes Into Three Piles Before Storing
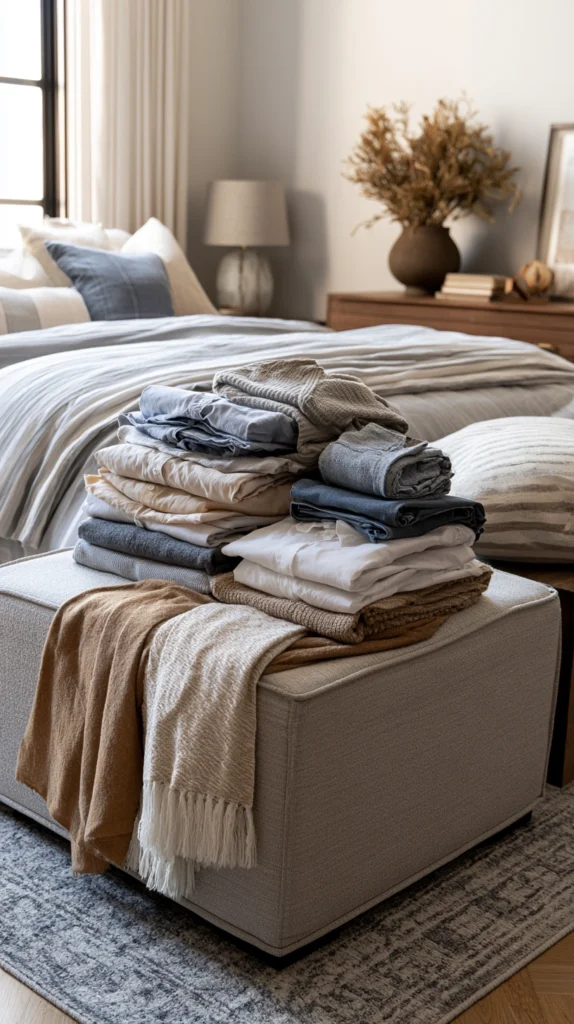
Before anything goes into storage, it needs to go through a three-pile sort: store, donate, discard.
Summer clothes that didn’t get worn this season almost certainly won’t get worn next summer either. Storing them is just delaying the decision by twelve months while they take up space in a vacuum bag or storage bin.
The store pile gets cleaned and packed away. The donate pile goes into a bag immediately — not a maybe-donate pile that sits in the corner for three months. The discard pile is for anything damaged, stained, or worn beyond reasonable repair.
This sort is what separates a closet that gets better each year from one that accumulates incrementally without ever getting cleared out.
Tip: When in doubt about an item, flip its hanger backward before returning it to the closet. If it hasn’t been worn by the end of the season with the hanger facing that way, the decision to donate makes itself the following year.
Budget: $0
3. Wash Everything Before Storing, Not After
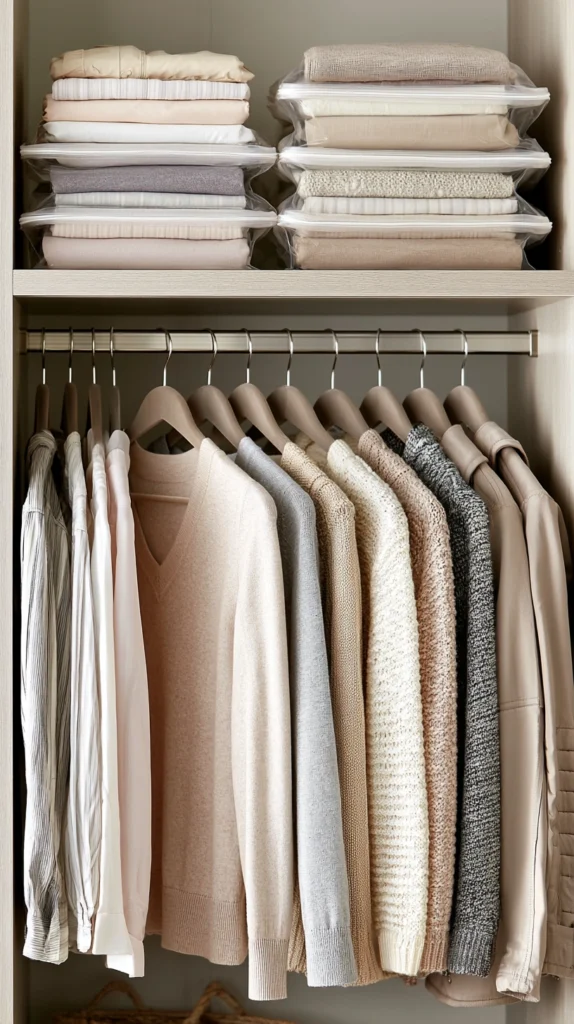
Most people intend to wash stored clothes before wearing them again next year. Most people forget and wear them anyway.
The correct sequence is to wash everything going into storage before it goes in. This removes body oils, sweat residue, and invisible staining that sets permanently during months of storage — particularly in warm, dark conditions inside vacuum bags or sealed bins.
Summer clothes stored without washing emerge with yellowing, permanent odors, and set stains that won’t come out regardless of what they’re washed with. Summer clothes stored clean come out the following season ready to wear.
This adds time to the transition but removes the “why did this stain set” problem entirely.
Tip: Add a dryer sheet or a small cedar block inside each storage bag or bin. Cedar repels moths naturally without the chemical smell of mothballs — it’s the appropriate choice for stored clothing, particularly natural fiber pieces like linen and cotton.
Budget: $5–$10 for cedar blocks or dryer sheets
4. Use Vacuum Storage Bags for Bulky Summer Items
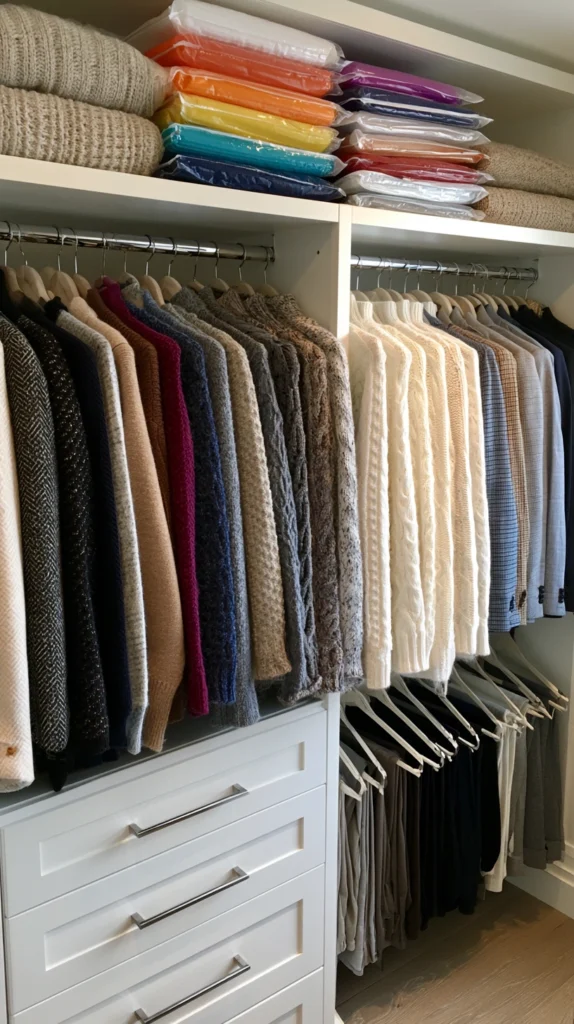
Bulky summer items — beach towels, lightweight quilts, extra pillows, swimsuit cover-ups — take up significant storage space in their natural form. Vacuum storage bags compress them to roughly a third of their volume.
Use the bags with a vacuum cleaner’s hose attachment rather than rolling the air out manually. The mechanical suction removes significantly more air and creates a flatter, more compact result. Store compressed bags under the bed, on a high closet shelf, or in a suitcase that would otherwise sit empty.
For fall closet purposes, the space recovered from compressing bulky summer items is usually enough to accommodate fall pieces that were previously stored elsewhere.
Vacuum storage bags in the large size (good for bedding and multiple clothing items) run $15–$25 for a pack of six.
Tip: Don’t overstuff vacuum bags. A bag compressed to its absolute limit puts stress on the seams and frequently develops small leaks that allow air to re-enter. Fill each bag to three-quarters of its rated capacity for a seal that holds through the full season.
Budget: $15–$25 for a pack of bags
5. Bring Fall Clothes In by Category, Not All at Once
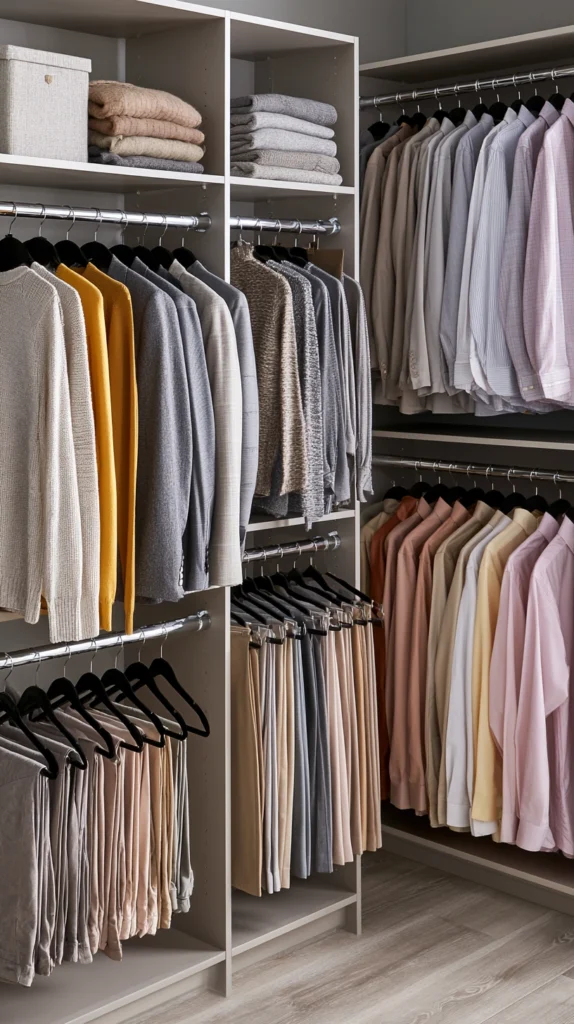
Once the summer clothes are out, fall pieces come back in by category rather than as a single mass transfer.
Start with the items you’ll wear most in early fall — lighter sweaters, transitional layers, fall-weight trousers. Hang these at the front of the rod where they’re immediately accessible. Mid-fall and heavier winter pieces go behind them.
This sequencing means the closet stays usable throughout the transition rather than temporarily doubling in density as everything comes in at once. It also reveals early which fall pieces need cleaning, mending, or replacement before they’re needed — better to discover a sweater needs repair in October than on the first cold morning in November.
Tip: Check every fall piece for pills, loose buttons, broken zippers, and stains before hanging it. Anything that needs attention gets put directly into a “repair” pile rather than hung with the wearable items — mixing fixable and ready-to-wear pieces is how good items get forgotten.
Budget: $0
6. Organize by Color Within Each Category
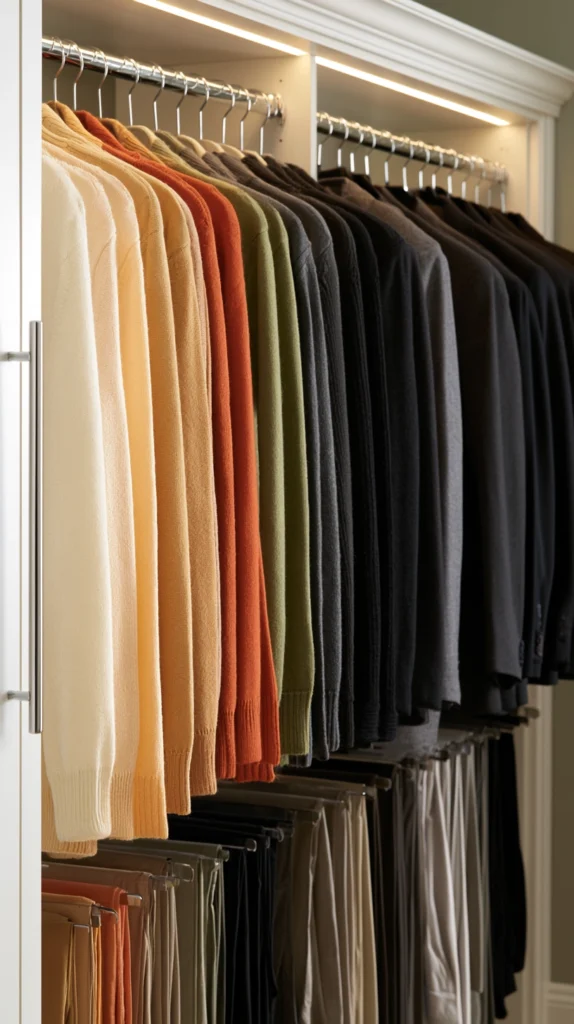
Within each clothing category — sweaters, shirts, trousers, jackets — organize by color from light to dark.
This isn’t primarily aesthetic. It makes specific items findable in a way that random hanging doesn’t. A mid-grey sweater in a dark-to-light sweater section is instantly locatable. The same sweater mixed in with pieces of all colors requires scanning the entire category.
It also makes gaps in the wardrobe visible. A color sequence with no olive green where you expected an olive sweater, or no camel where you need a camel layer, shows clearly what’s missing rather than requiring a full mental inventory to identify.
For fall specifically, this system also reveals the palette of the existing wardrobe — useful information when deciding whether to add pieces.
Tip: Use the same sequence throughout the entire closet: light to dark, left to right. Consistency across categories means the system becomes automatic — you know where things are without thinking about it after the first week.
Budget: $0
7. Add a Dedicated Scarf and Hat Shelf or Basket
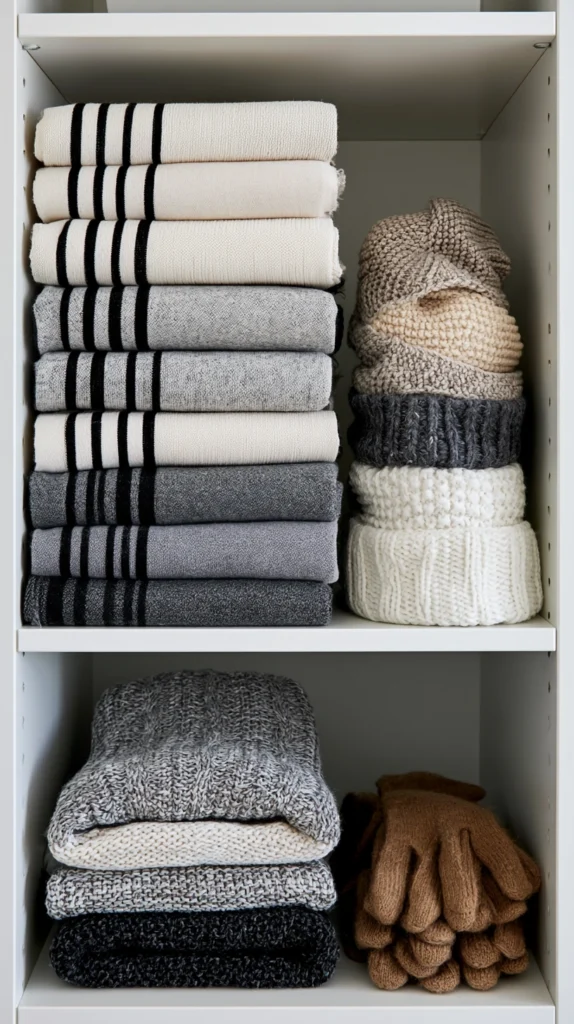
Fall accessories — scarves, hats, gloves, beanies — are frequently the most disorganized part of a seasonal closet because they have no designated home.
They end up on the top shelf in a pile that avalanches when disturbed, stuffed into a drawer they don’t quite fit, or dropped on a chair near the door where they live until spring.
A dedicated shelf or a single large basket for all fall accessories creates the home they need. Everything goes in there, everything comes out of there, and the organization elsewhere in the closet doesn’t get disrupted by accessories being distributed across multiple uncertain locations.
A fabric cube storage basket (13×13×13 inches) holds a full season’s worth of scarves, hats, and gloves in a single contained unit. These run $6–$12 at IKEA, Target, or Amazon.
Tip: Fold scarves in a flat rectangle and store them vertically in the basket rather than coiled or bunched. Vertical storage makes every scarf visible from the top without removing other items — the same logic as file folders in a drawer versus a stack of papers.
Budget: $6–$15
8. Switch to Matching Velvet Hangers Throughout the Fall Closet

Mixed hangers — wire, plastic, and wooden in various states of damage — make a closet look cluttered regardless of how organized the clothes themselves are.
Switching to matching velvet hangers takes under an hour and changes the visual quality of the closet immediately. The slim profile of velvet hangers (about 1/3 the width of standard plastic hangers) creates significantly more rod space — a rod that held 20 plastic-hung items holds 30–35 velvet-hung ones.
The velvet surface also prevents items from sliding off during retrieval, which reduces the pile of fallen items on the floor that most closets develop.
A pack of 50 velvet hangers runs $10–$18 on Amazon. This is usually enough for a standard single-rod closet.
Tip: Buy all the hangers you need at once rather than replacing gradually. A closet with thirty velvet hangers and ten remaining plastic ones still looks inconsistent. The full impact only appears when the switch is complete.
Budget: $10–$20
9. Store Off-Season Boots and Sandals Separately
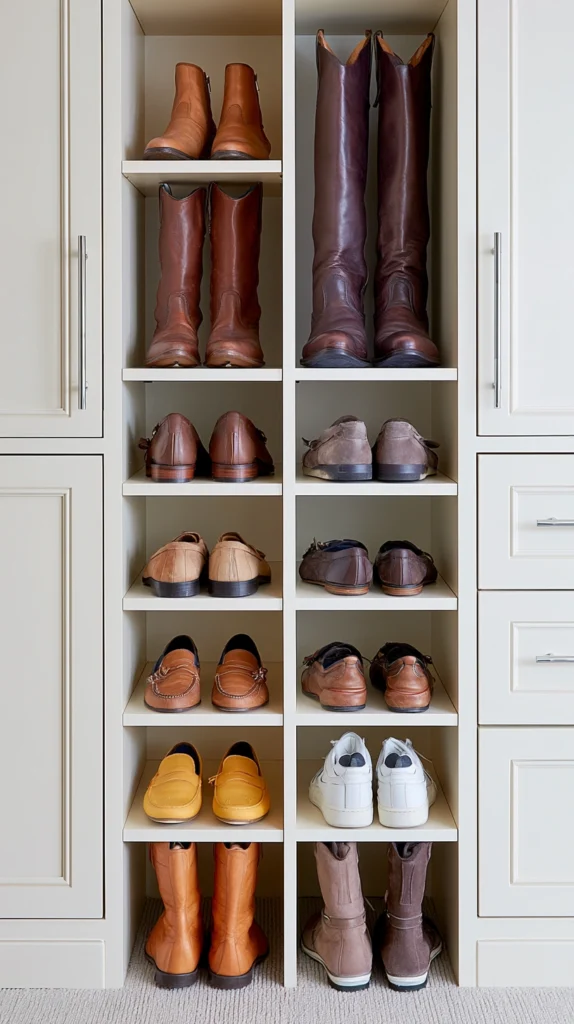
Shoes from two seasons in the same floor space create the most visually chaotic part of any closet. Fall boots mixed with summer sandals means neither is easily accessible and the floor looks perpetually disorganized.
Move summer sandals to a storage bin, a suitcase, or an under-bed shoe organizer. Bring fall boots to the accessible zone — on the floor, on a boot rack, or in clear shoe boxes at the front of the closet.
For boots specifically, store them upright to preserve their shaft shape. A boot shaper insert (cedar or plastic) keeps the shaft from collapsing and developing creases during the weeks between wearings. Boot shapers run $8–$20 per pair.
If the closet floor can’t accommodate all fall shoes at once, keep the three or four most-worn pairs accessible and rotate others from a bin as needed.
Tip: Add a small brush or a lint roller to the shoe zone for a 30-second clean before wear. Keeping it visibly in the shoe area means it actually gets used — a brush in a drawer somewhere gets skipped.
Budget: $8–$20 for boot shapers, $15–$30 for a bin or shoe rack
10. Create a Capsule Fall Section at the Front of the Rod
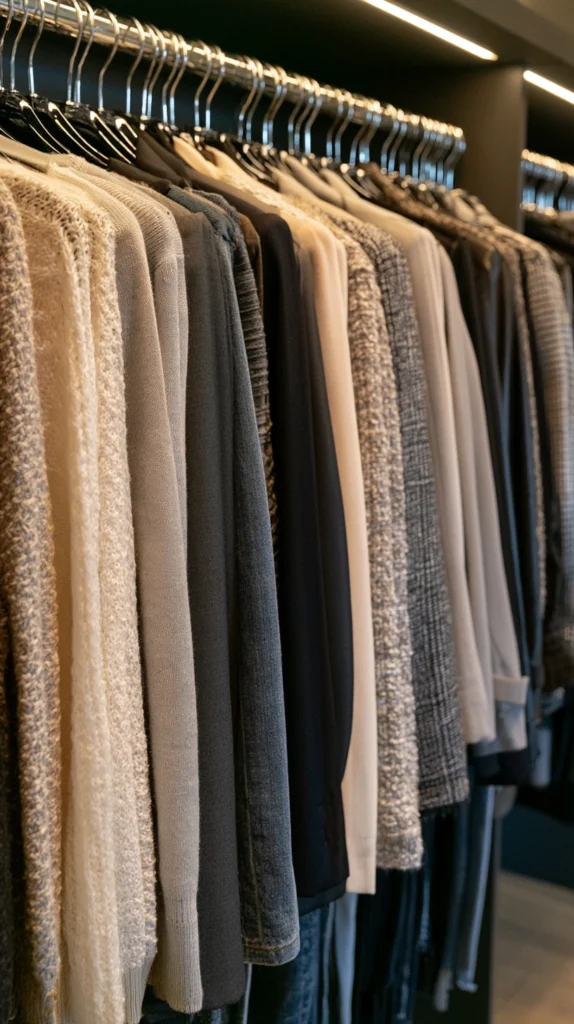
A fall capsule — the ten to fifteen pieces that get worn most often — deserves its own section at the very front of the closet rod.
These aren’t all the fall clothes. They’re the ones that work together most easily, require no special occasion, and form the practical core of what gets worn Monday through Friday. A few sweaters, a pair of jeans, a couple of trousers, one jacket, one shirt layer.
Having this section separated from the full wardrobe means getting dressed on a busy morning requires looking at fifteen pieces rather than forty. Decisions made in the morning from a smaller, curated group are faster and more consistent than decisions made from an overwhelming full wardrobe.
Change the capsule monthly as the season deepens — lighter layers move to the back as heavier pieces move forward.
Tip: Limit the capsule section to the space covered by your arm span from the front of the rod. If you have to take a step to reach a capsule item, it’s not functioning as a front-and-center quick-access section.
Budget: $0
11. Use the Top Shelf for Rarely Needed Items Only
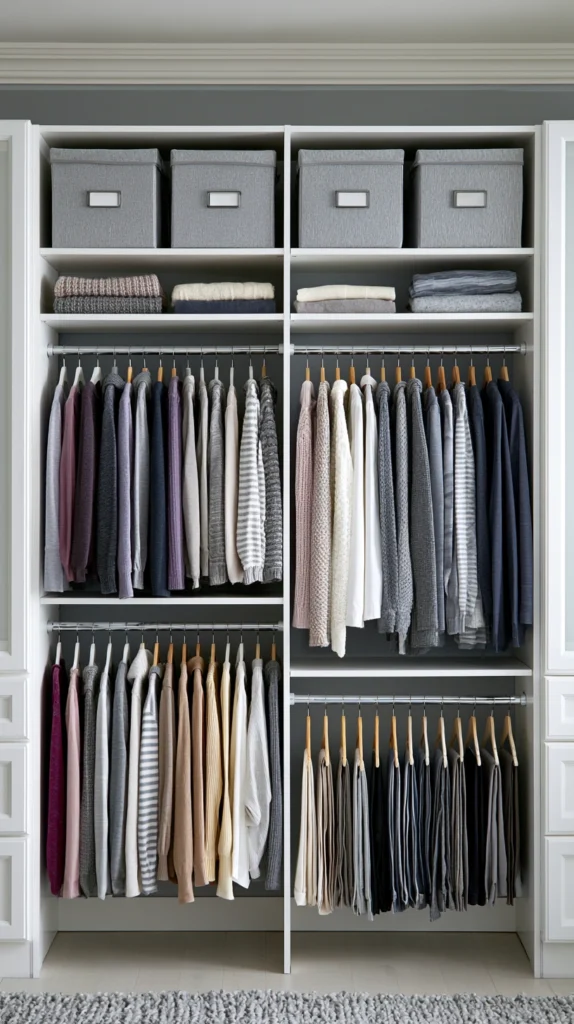
The top shelf of a closet is the hardest to access. Putting frequently needed fall items there is one of the most consistent reasons closets remain disorganized throughout the season.
Reserve the top shelf for: off-season items that didn’t make it to storage, specialty occasion wear used once or twice a year, and sentimental items that aren’t in active rotation. Everything that gets reached for more than once a month belongs at eye level or below.
This sounds obvious but most closets violate it consistently — everyday sweaters get pushed to the top shelf when the rod is full, which means they get pulled down, disrupt adjacent items, and never quite get put back properly.
Tip: Store top-shelf items in labeled bins rather than loosely. A labeled bin pulled down as a unit is manageable. Loose stacked items on a top shelf cascade when one thing is removed — which is why top-shelf items tend to stay undisturbed long past when they should have been accessed.
Budget: $8–$20 for storage bins with labels
12. Add a Hook System Behind the Closet Door
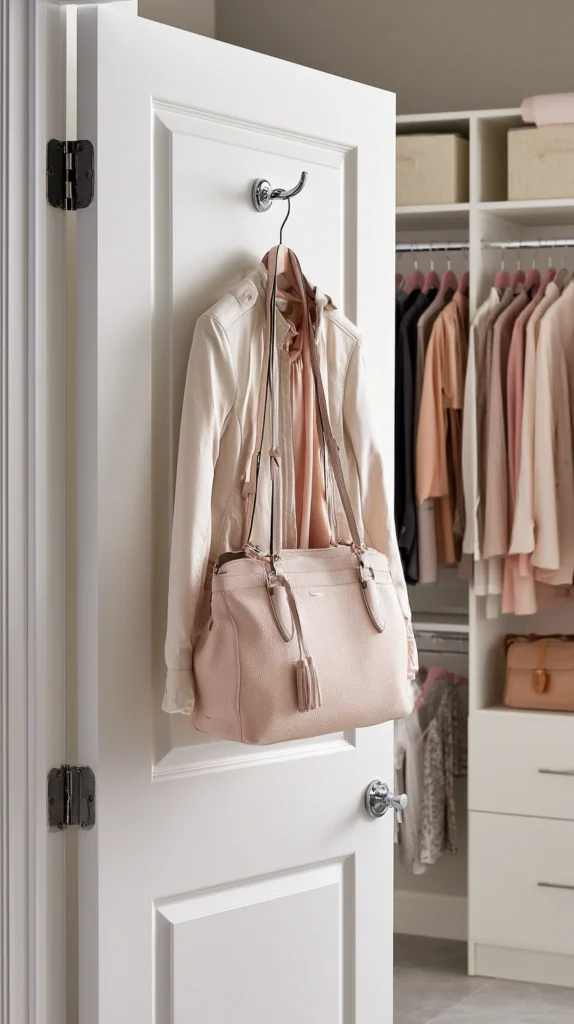
The back of a closet door is usually unused vertical space that solves several small fall organization problems at once.
An over-door hook rack holds: tomorrow’s outfit laid out the night before, a robe used morning and evening, frequently worn jackets that don’t need to be fully hung, and bags or purses in active weekly rotation.
For fall specifically, the over-door hook for tomorrow’s outfit is particularly useful because fall dressing involves more layers — checking that a sweater, shirt, jacket, and trouser combination works together is easier done the night before than at 7am.
Over-door hook racks with four to eight hooks run $10–$20 at Amazon, Target, and IKEA. No tools required — they hang over the door edge.
Tip: Limit the door hooks to items in current rotation. The moment a coat that’s not being worn this week goes on a hook, the system loses its function as a quick-access zone and starts functioning as secondary overflow storage.
Budget: $10–$20
13. Do a 15-Minute Closet Reset Every Two Weeks
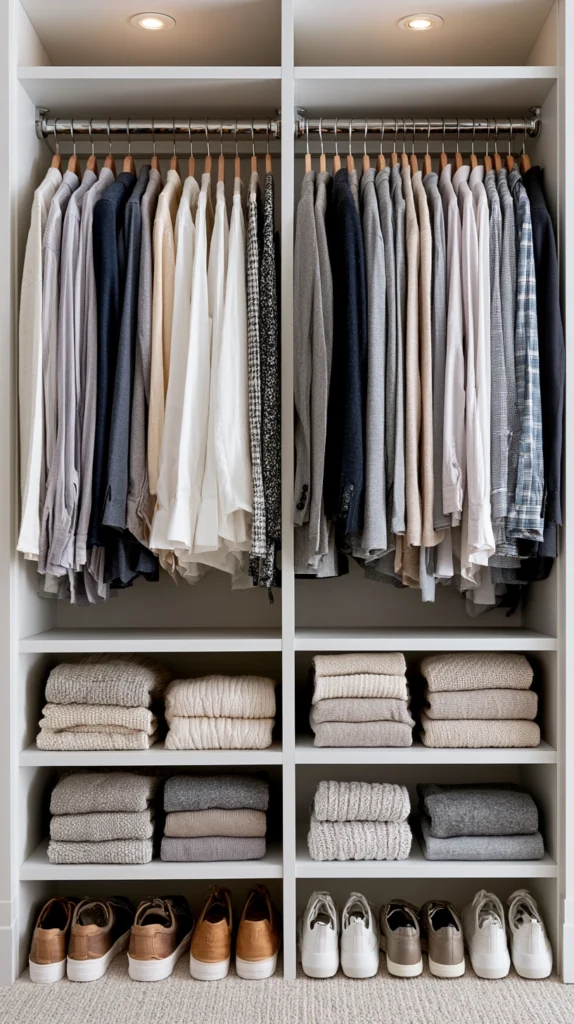
A closet organized in early October doesn’t stay that way through November without maintenance.
The pieces that fall off hangers, the scarves that don’t quite make it back to the basket, the shoes left on the wrong side — these accumulate at a rate that makes the closet feel disorganized again within three weeks if nothing is done.
A 15-minute reset every two weeks — re-hanging what’s fallen, returning accessories to their basket, moving worn pieces to the visible rotation and pushing unworn ones back — keeps the organizational work done in early fall intact through the end of the season.
This is significantly easier than re-doing the full organization after it has deteriorated. The 15-minute reset works on a closet that’s 80% intact. It doesn’t work on one that’s completely collapsed back into its pre-organization state.
Tip: Tie the reset to something that already happens regularly — a Sunday evening routine, the day before laundry day, the first of the month. A closet reset without a recurring trigger gets postponed indefinitely.
Budget: $0
Final Thoughts
A fall closet that works is one where the right things are visible and the wrong things are out of the way.
The transition from summer to fall is the moment to do both — move what’s not needed, organize what is, and build the small systems that keep it that way. Done properly once at the start of the season, it removes a low-level daily friction that most people don’t notice until it’s gone.
Start with the full pull-out and the three-pile sort. Everything else is easier once the closet holds only what belongs in fall.