14 Wedding Donut Wall Ideas for a Fun Sweet Display
A donut wall solves a problem most dessert tables don’t: guests standing around awkwardly, unsure whether it’s okay to touch anything yet.
Pull a donut off a peg and the whole table becomes interactive instead of decorative. That single shift, from “display” to “activity,” is why this trend has stuck around long after it first showed up at reception venues.
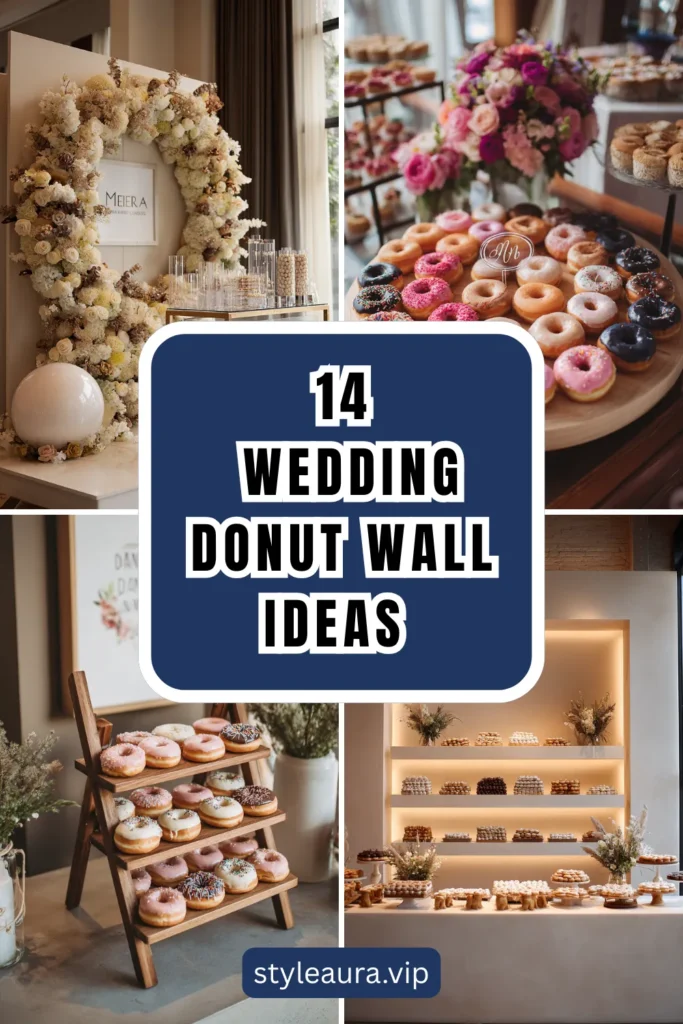
It’s also one of the more forgiving DIY projects on a wedding to-do list. The wall itself is simple carpentry, the styling has real room for personal taste, and donuts are far more forgiving to transport and display than a tiered cake.
Anyone who’s stressed over a cake surviving a car ride to the venue will appreciate that a box of donuts loaded onto a wall at the reception itself removes most of that particular anxiety entirely.
Below are 14 directions for building one, organized by what actually changes: the wall structure itself, then the styling choices layered on top of it.
Basic Tools and Materials Checklist
Before diving into specific structure ideas, here’s what most builds have in common regardless of which style you choose.
- A saw for cutting the base panel, whether pegboard, plywood, or a repurposed piece like a ladder
- A drill for creating dowel holes if your base material doesn’t already have pre-spaced holes like standard pegboard
- Wood glue or a hot glue gun for securing dowels in place
- Sandpaper for smoothing any rough edges on both the base and dowels
- Paint, stain, or a sealant if you want a finished, non-raw-wood look
- A stable easel, wall mount, or freestanding base appropriate to whichever structure style you choose
Most of these tools are things a hardware store rental counter or a handy family member can cover without needing to purchase specialty equipment for a one-time project.
Wall Structure Ideas
The wall itself is the foundation everything else depends on, and there’s more variation possible here than most people expect.
1. The Classic Pegboard Grid

A plain pegboard painted to match your palette, with evenly spaced dowels, is the most common version for good reason: it’s cheap, sturdy, and endlessly customizable.
- Standard pegboard from a hardware store, cut to your target size and framed with simple trim
- Wooden dowels cut to 3-inch lengths, sanded smooth, glued into the pegboard holes at consistent intervals
- Paint or stain before inserting dowels, since painting around them afterward gets messy fast
- Mount on an easel or lean against a sturdy wall support rather than freestanding, since a fully loaded wall gets heavier than people expect
- Test the finished wall with a full load of donuts at least once before the wedding day, since weight distribution issues only show up once every peg is filled
Budget: $40–$90 depending on size and finish quality.
2. The Round Donut Wreath Display
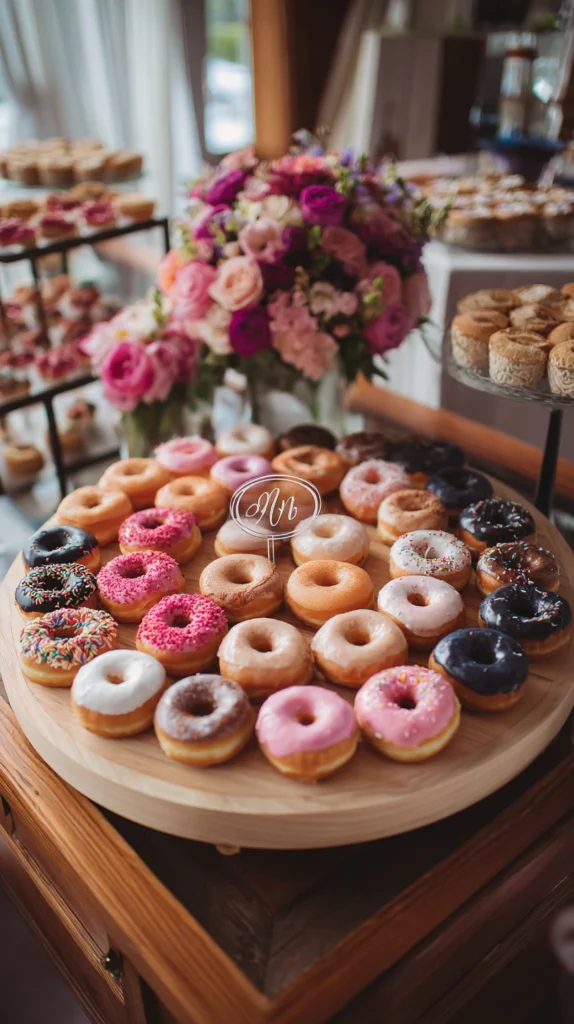
Instead of a flat grid, dowels arranged in concentric circles on a round wood base create a wreath-like shape that reads as more of a statement piece than a standard wall.
- A round plywood base, 24 to 36 inches in diameter, with dowels arranged in two or three circular rings
- Works well displayed flat on a table rather than mounted vertically, since the circular pattern reads best from above or at a slight angle
- Leave the center open for a small floral or greenery accent, tying it visually to other reception decor
- Consider a lazy susan base underneath for larger versions, letting guests rotate the display to reach donuts from a single standing position
Budget: $35–$70 depending on base size.
3. The Ladder-Style Display
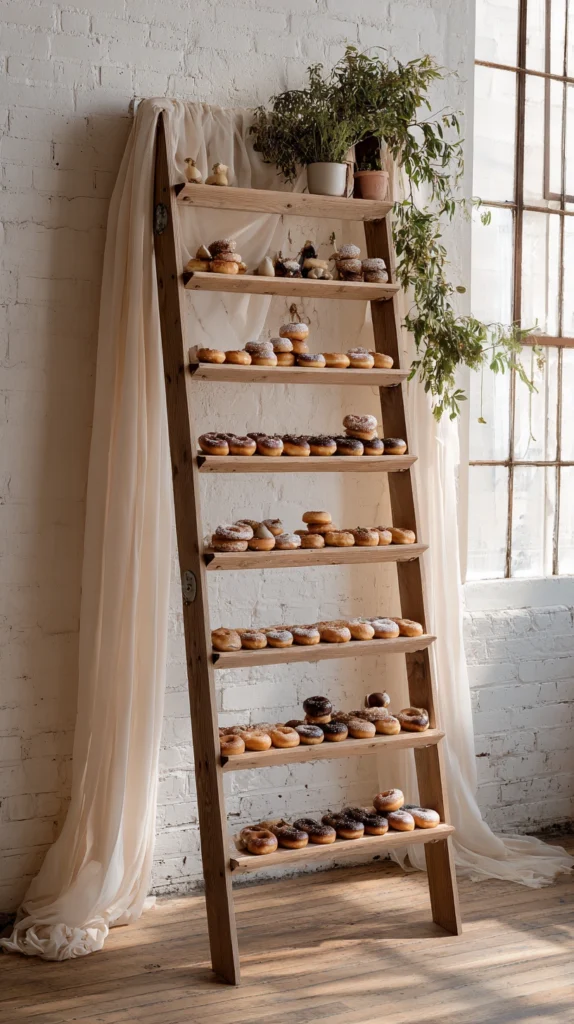
A vintage or repurposed wooden ladder, leaned against a wall or freestanding with a stabilizing base, holds donuts on dowels lashed across each rung.
- Source a wood ladder from a salvage yard, thrift store, or family garage
- Attach short dowel pegs across each rung using twine or small brackets
- Requires no painting or building from scratch if the ladder already has character worth keeping visible
- Check the ladder’s stability on your actual venue floor beforehand, since uneven outdoor ground can make a leaned ladder less secure than it seems in a garage test run
Budget: $10–$30 if the ladder is sourced secondhand, which is most of the appeal of this option.
4. The Modular Hexagon Wall
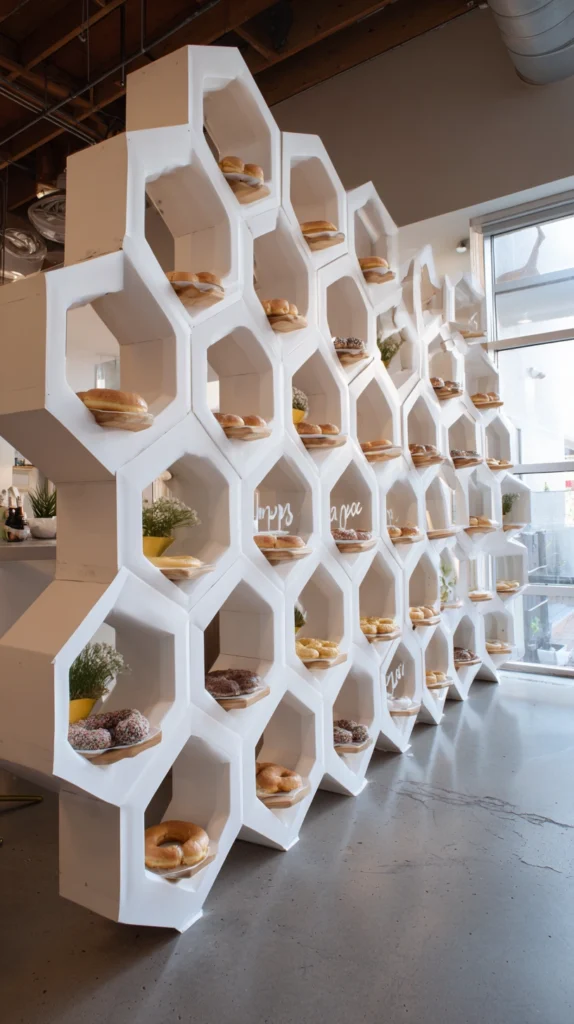
Small hexagonal wood panels, each holding a handful of dowels, get arranged together into a honeycomb pattern that can scale up or down based on guest count.
- Cut hexagon panels from plywood, roughly 12 inches across each
- Drill 3 to 5 holes per hexagon for dowels, then arrange panels together in a honeycomb pattern
- The modular format means you can add or remove panels without rebuilding the whole structure, useful if your final guest count shifts
- Number each panel on the back before disassembly, since reassembling a honeycomb pattern correctly gets confusing fast without a clear reference
Budget: $50–$100 depending on how many hexagon panels are needed.
5. The Freestanding A-Frame Wall
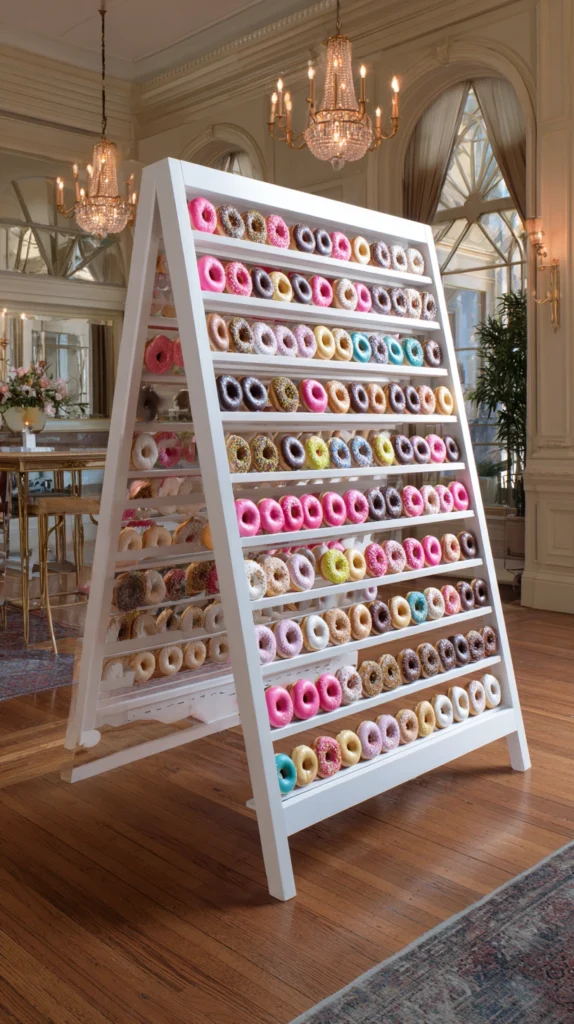
For couples without a wall to lean a display against, an A-frame structure stands independently, which also makes it easier to walk around and load from both sides.
- Build two matching pegboard or plywood panels, hinged together at the top like an A-frame ladder
- Stabilize with a wood brace across the base to prevent tipping once loaded with weight
- This format works particularly well for outdoor receptions without a sturdy wall or easel nearby
- Loading donuts on both sides means roughly double the capacity of a single flat wall in the same footprint, worth factoring into your total donut order
Budget: $60–$110, generally the higher end of DIY wall structures due to the additional bracing hardware required.
Styling and Theme Ideas
Once the structure is built, the styling choices are what actually tie the donut wall into your broader wedding aesthetic.
6. Color-Blocked by Wedding Palette
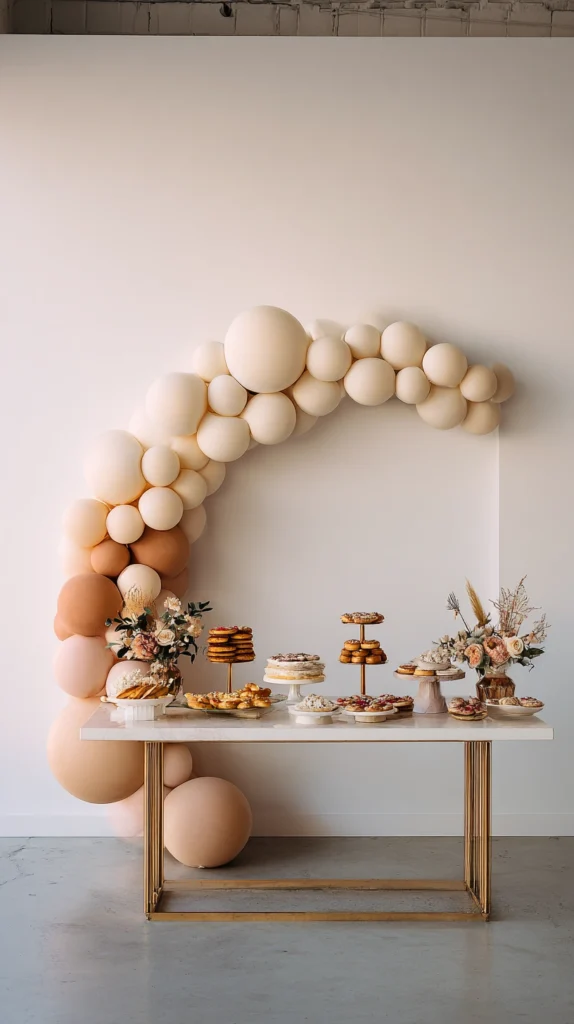
Rather than mixing donut flavors randomly across the wall, group them by color to match your wedding palette, creating a gradient or color-blocked effect.
- Order or bake donuts glazed specifically in your palette’s core colors
- Arrange in horizontal color bands or a gradient from light to dark across the wall
- Works especially well photographed straight-on, since the color pattern reads clearly from a distance
- Confirm with your bakery early whether custom glaze colors carry an upcharge, since this varies significantly between vendors
7. Flavor-Labeled With Small Signage

Small chalkboard or printed tags beneath each donut variety help guests navigate the wall and add a polished, considered touch.
- Use small wood or chalkboard tags, hung or propped beneath each flavor grouping
- Include a note for any allergen-relevant flavors, like nut-based toppings, which guests genuinely appreciate having flagged
- Keep tag design consistent with your other wedding signage for a cohesive look
- Assign tags before donuts arrive, so placement doesn’t become a rushed, last-minute task during setup
8. A Seasonal Flavor Lineup

Choosing donut flavors that reflect your wedding season ties the display into the broader day in a way generic flavors don’t.
- Fall: apple cider, maple bacon, pumpkin spice
- Spring: lemon glaze, strawberry, lavender honey
- Summer: key lime, blueberry, classic glazed
- Winter: peppermint, hot chocolate, spiced eggnog
- Pair seasonal flavors with matching seasonal signage or table styling nearby, extending the theme beyond just the donuts themselves
9. Mini Donuts for a Denser, Fuller Wall
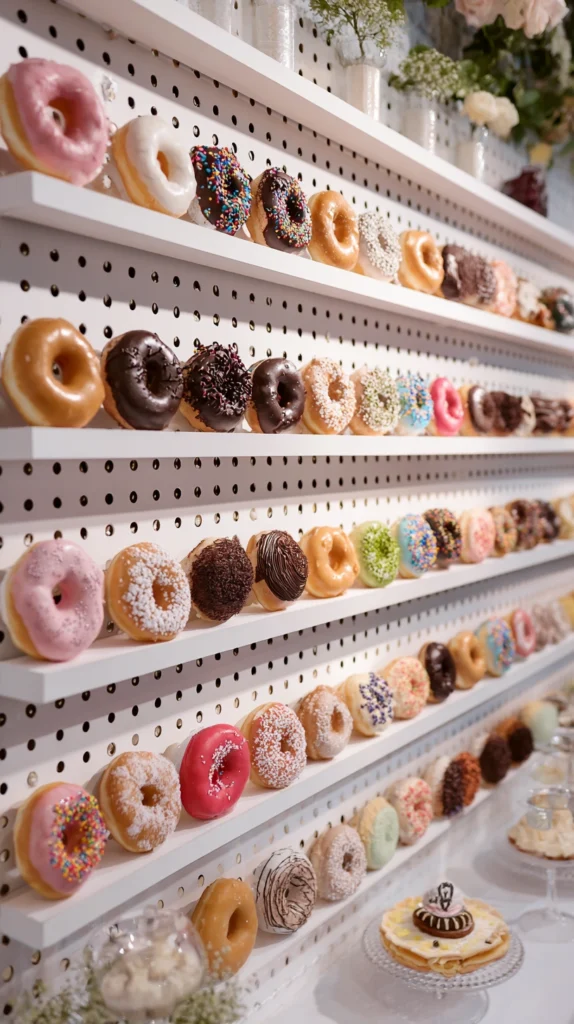
Standard-size donuts leave visible gaps between pegs on a densely built wall. Mini donuts fill the same wall with more pieces, creating a fuller visual effect and smaller portions for guests.
- Source mini donuts specifically, rather than cutting standard donuts down, since cut donuts dry out faster and look less finished
- Space dowels closer together than you would for standard-size donuts, since minis need less clearance
- A fuller wall photographs better and tends to look more abundant even with a smaller total dessert budget
- Mini donuts also work well for guests who want to sample multiple flavors without committing to a full-size portion each time
10. A Two-Tier Height Display
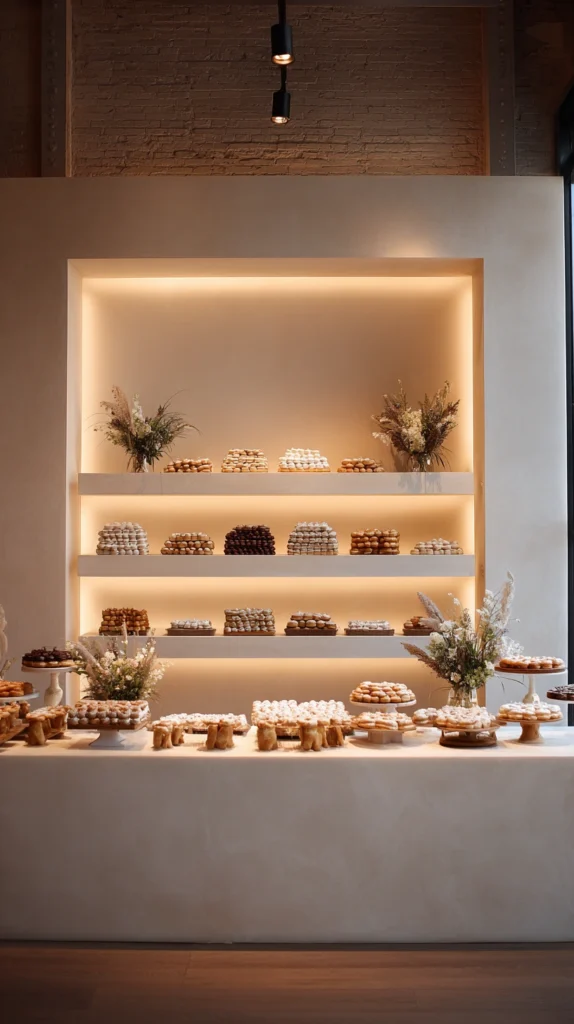
Building the wall with two distinct height sections, rather than one uniform grid, adds visual interest and makes the display easier to photograph from multiple angles.
- Lower section for easy guest access, upper section as more of a visual display than something guests reach for directly
- Works particularly well combined with the ladder-style structure from earlier in this list
- Keep the upper section’s donuts as a backup supply, refreshed down to the lower section as the reception progresses
- This structure also naturally separates flavors by tier, which doubles as an organizational system alongside the visual benefit
11. Metallic and Floral Accents Woven Into the Wall
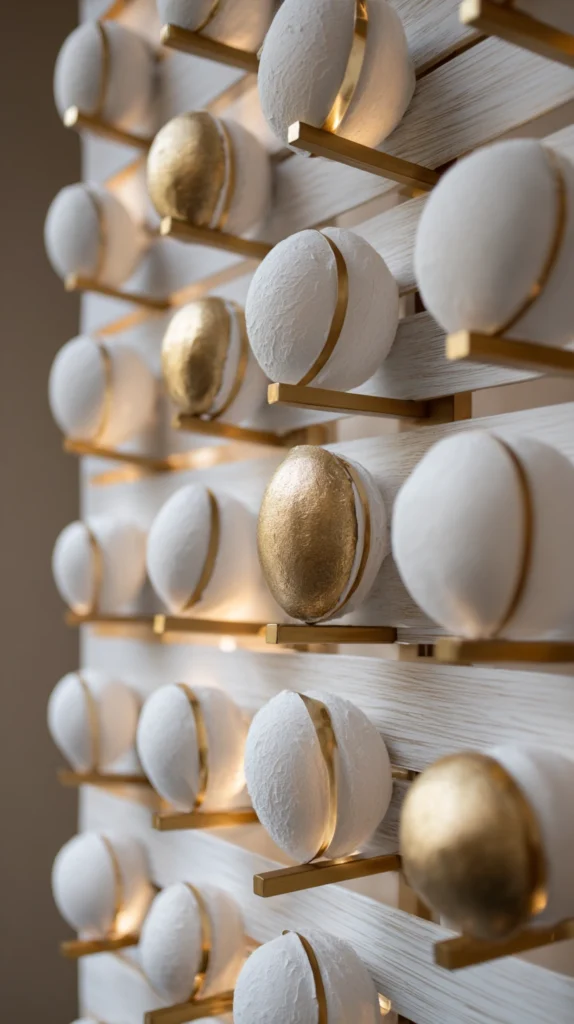
Small floral sprigs or metallic accent pieces tucked between dowels turn the wall into more of a full decor element rather than a standalone dessert station.
- Tuck small greenery sprigs or dried flowers into gaps between loaded dowels
- Add a few metallic accent pins or small ribbon streamers at the wall’s corners for polish
- Keep floral additions minimal and secured, since anything loose near a food display needs to stay out of the way of actual donuts
- Coordinate these accents with your existing floral or centerpiece choices so the wall doesn’t read as a separate design decision from the rest of the reception
12. A Donut Wall Doubling as the Guest Book Backdrop
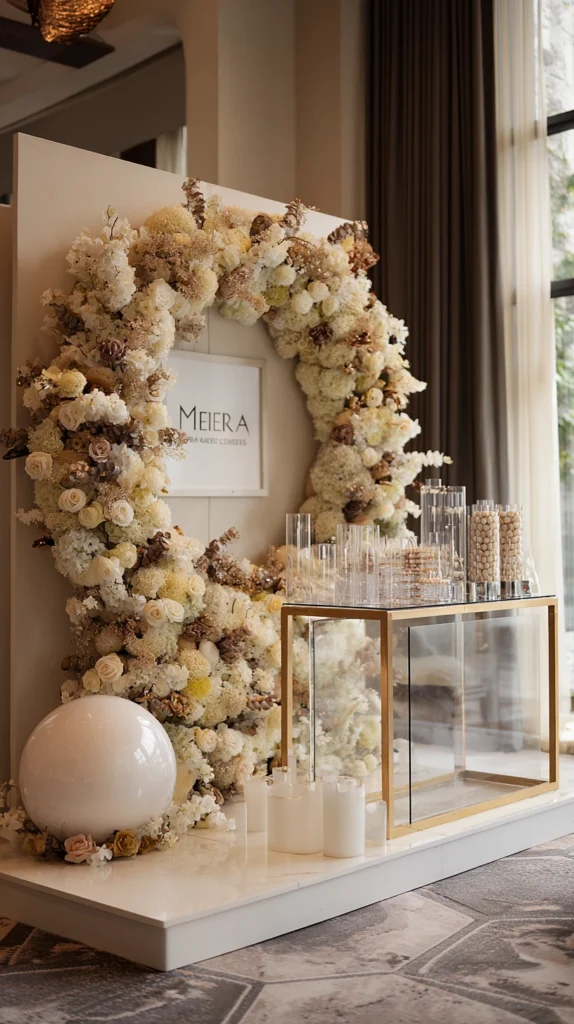
Positioning the donut wall near your guest book table, or incorporating a small sign area directly into the wall’s design, combines two reception elements into one cohesive station.
- Leave a blank section at the top or side of the wall for a welcome sign or guest book instructions
- Position the whole setup somewhere with natural traffic flow, since guests will already be walking past for both purposes
- This works best with the larger modular or A-frame structures, which have enough surface area to spare for signage
- Consider timing, since a guest book station typically needs to be functional from the very start of the reception, while the donut portion may not be loaded until later
13. A “Build Your Own” Topping Bar Beside the Wall

Adding a small topping station next to a wall of plain glazed donuts turns the display into more of an interactive activity than a simple grab-and-go dessert.
- Offer 3 to 4 topping options, like sprinkles, chocolate drizzle, crushed nuts, and powdered sugar
- Provide small tongs or spoons for each topping to keep the station tidy
- Works especially well at more casual, family-friendly receptions where the interactive element adds to the overall atmosphere
- Assign a small trash or wipe station nearby, since a topping bar generates more mess than a simple pre-glazed wall
14. A Miniature Version for Small or Intimate Weddings
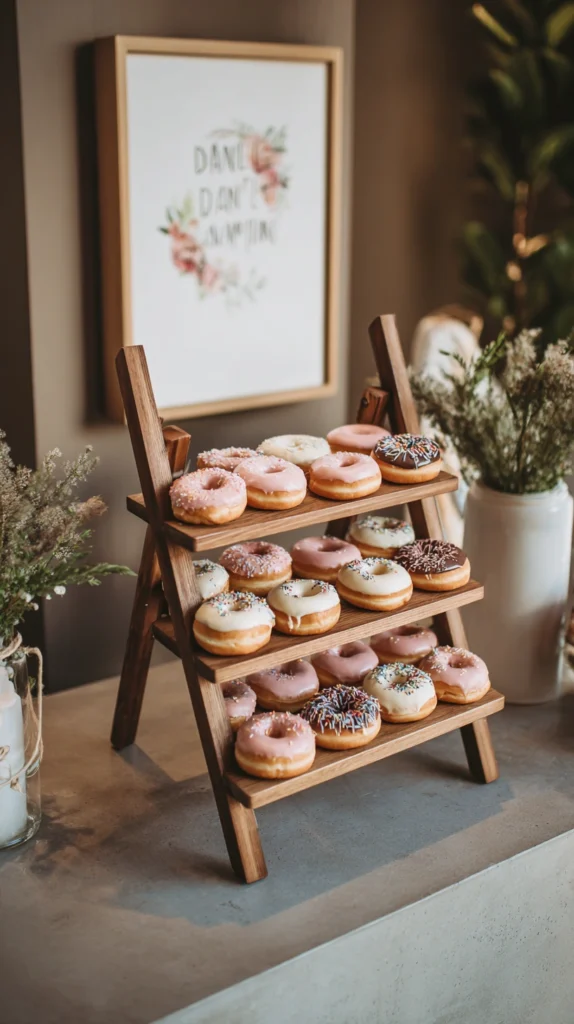
For smaller guest counts, a scaled-down tabletop version keeps the same fun factor without building an oversized structure for a room that doesn’t need it.
- A single pegboard panel, roughly 18 by 24 inches, propped on a small easel or tabletop stand
- 12 to 20 donuts total is typically enough for an intimate reception of 30 to 50 guests
- Pairs well combined directly with the dessert or cocktail table rather than needing its own dedicated space
- A smaller scale also makes this option realistic to build the morning of the wedding itself, without needing days of advance construction time
Working Out How Many Donuts You’ll Actually Need
A donut wall runs short faster than people expect, since guests often take more than one over the course of a reception.
- Plan for 1.5 to 2 donuts per guest as a baseline, adjusting up if the wall is your primary dessert rather than a supplement to a cake
- Keep a visible backup supply nearby, refreshed onto the wall periodically rather than loading everything at once and letting gaps show
- Order slightly more of your most popular flavor, since a handful of flavors always disappear faster than the rest
- If your reception spans several hours, consider staggering delivery or storage so later donuts stay fresher than a single early-morning batch sitting out the whole event
- Guest counts under 50 can generally round down slightly on the per-person estimate, since smaller groups tend to have less of the crowd-driven grabbing behavior larger receptions see
Sourcing Donuts Without a Custom Bakery Order
A custom bakery order isn’t the only way to fill a wall, and a few alternatives are worth considering depending on budget and timeline.
- A local grocery store bakery can often fill a large order at a fraction of a specialty bakery’s price, especially for classic glazed and basic flavors
- Wholesale club stores sometimes offer bulk donut trays that work well for the “fuller wall” approach, particularly with mini donuts
- A mix of homemade and store-bought can stretch a tighter budget further, using homemade for a few standout specialty flavors and store-bought for the bulk of the wall
- Order a small test batch from any new bakery source well ahead of the wedding date, confirming both taste and how well the specific glaze holds up sitting out at room temperature for a few hours
- Ask about delivery versus pickup logistics early, since a large donut order arriving late or getting jostled in transport can affect how presentable the wall looks once loaded
Setup Timing on the Wedding Day Itself
Donuts dry out and lose their fresh appeal faster than a lot of other wedding desserts, which makes timing worth planning carefully.
- Build and position the wall structure itself the day before or early on the wedding day, well ahead of guest arrival
- Load the actual donuts as close to reception start time as your venue timeline allows, ideally within one to two hours
- Assign someone specific, whether a coordinator or a willing family member, to restock the wall partway through the reception rather than assuming it will be checked automatically
- Keep unused donuts covered and stored in a cool spot until they’re needed for restocking, rather than leaving the full order sitting out from the very start
- Confirm with your venue whether the donut wall structure needs to be moved or stored somewhere specific during dinner service, if the display sits in a space that doubles as dining or dance floor area later in the night
Pairing a Donut Wall With or Instead of a Traditional Cake
Some couples skip a cake entirely, others keep a small cutting cake alongside the wall for photos and tradition.
- A small two-tier cutting cake paired with a full donut wall covers both the photo-op tradition and a larger, more casual dessert spread
- Skipping the cake entirely and going donut-only tends to work best at more casual, budget-conscious, or smaller receptions
- If keeping both, position them near each other rather than opposite ends of the room, so the dessert area reads as one cohesive section rather than two competing displays
- Consider whether your venue or catering contract requires a specific cake-cutting fee regardless of cake size, since this can affect whether keeping a small cutting cake alongside the wall actually saves money compared to skipping it entirely
Transporting the Wall to Your Venue
A finished wall still needs to survive the trip from wherever it was built to the actual reception space, and this step trips up more people than the build itself.
- Break modular or panel-based structures down for transport if possible, reassembling on-site rather than moving a fully built wall in one piece
- Wrap dowels or protruding pieces to prevent snapping during transport, especially in a packed vehicle
- Measure doorways and hallways at your venue ahead of time if the finished structure is large, since a wall that fits through your garage door might not fit through a venue’s service entrance
- Bring basic repair supplies, like extra wood glue and a small screwdriver, in case anything shifts or loosens during the move
Coordinating With Your Venue Ahead of Time
A few logistics questions specific to donut walls are worth confirming with your venue well before the wedding day.
- Ask whether the venue has restrictions on freestanding structures or wall-mounted decor, since some venues have specific policies about anything leaned against or attached to walls
- Confirm where the wall can be positioned relative to food service areas, since some venues have health code requirements about food display placement
- Check whether the venue can provide a table or surface for a backup donut supply near the main wall, if that space isn’t already accounted for in your layout
- Discuss setup and breakdown timing with your venue coordinator, since some spaces have strict windows for when decor can be brought in and removed
What to Ask Your Bakery or Vendor Before Finalizing
A short list of questions upfront prevents most of the last-minute surprises that come up with a donut wall specifically.
- Confirm whether custom colors or flavors carry an additional charge beyond the standard per-dozen price
- Ask about the latest possible delivery time relative to your reception start, since freshness matters more here than with a traditional cake
- Clarify whether the bakery can accommodate a mixed order of both mini and standard sizes if you’re combining display styles
- Ask specifically about any allergen information for toppings and glazes, since this is easy to overlook when placing a large bulk order
A Few Things That Trip Up First-Time Builders
A handful of small issues come up repeatedly with first-time donut wall projects, and knowing them ahead of time saves a round of troubleshooting.
- Dowels cut even slightly too long can make donuts sit too far forward, throwing off the wall’s overall balance once fully loaded
- Skipping a full test load before the wedding is the single most common reason people discover structural issues on the day itself rather than with time to fix them
- Underestimating how heavy a fully loaded wall actually gets, particularly with standard-size donuts across a large panel, which is why a sturdy mounting or stand matters more than it might initially seem
- Forgetting to account for humidity or outdoor heat at warm-weather receptions, both of which can affect how quickly glazes soften or donuts lose their fresh texture
A donut wall works because it gives guests something to do with their hands and something to talk about, which is more than most dessert tables manage. Whichever structure and styling combination you land on, the version that gets used and enjoyed will always beat the more elaborate one that guests were too intimidated to actually touch.
Build it a little sturdier than you think you need to, order slightly more than your initial estimate, and give yourself a genuine test run before the wedding day. Those three habits alone prevent the vast majority of issues that come up with this specific kind of reception display.