14 Kitchen Garden Window Box Ideas for Fresh Herbs Indoors
The window box changed how I cook more than any recipe collection ever did. Not the new knife set. Not the spice rack. Not the meal-planning app or the recipe cards or the reorganized pantry.
The herbs.
Because fresh herbs within arm’s reach did something the dried jars in the cabinet never could. Before it: recipes calling for basil or thyme, answered with a dusty jar of dried substitute or a trip to the store for a bunch that would wilt before it was half used. After it: a snip of whatever the recipe needs, growing three feet from the stove, every single time.
A kitchen window box is not a decorating detail. It is a cooking tool. A sill lined with pots turns a recipe’s ingredient list into a two-minute walk to the window instead of a shopping trip. The kitchen: no longer dependent on what is in the fridge, but on what is growing in it.
Here are 14 kitchen garden window box ideas for fresh herbs indoors — from the simplest single pot to the most fully outfitted growing wall — built on that understanding.
Why Indoor Herbs Change How a Kitchen Gets Used
The freshness gap
Without a window box:
Dried herbs, months old, losing potency with every week on the shelf.
Fresh herbs from the store: bought in bunches too large for one recipe, half thrown away.
The kitchen: working around what herbs are available, not what a dish actually calls for.
With a window box:
Herbs cut minutes before they are used, at peak flavor and aroma.
Only as much as the recipe needs, the rest left growing rather than wilting in the crisper drawer.
The kitchen: cooking driven by the recipe first, the herb always available to match it.
The light reality
Most kitchen windows are not naturally bright enough for the sunniest herbs year-round, particularly through winter. A south- or west-facing sill gets closest without help; anything less benefits from a small supplemental grow light.
The five-herb starting point
Basil, parsley, chives, thyme, and mint cover the large majority of everyday cooking needs and are also among the most forgiving herbs for an indoor beginner to keep alive.
The daily habit
A window box positioned directly in the cook’s sightline gets watered and harvested daily, almost without thinking. One positioned out of sight gets forgotten within a month.
The Four Window Box Types
Before choosing any design:
The single sill planter
One long trough-style planter sitting directly on the windowsill.
The simplest and lowest-cost option.
Suits a narrow sill or a household growing only a few herb varieties.
The tiered shelf unit
Multiple shelves stacked in front of the window, each holding several pots.
Maximizes the number of herbs grown in one window’s light.
Requires more floor or counter depth than a sill planter.
The hanging window garden
Pots suspended from the window frame or a mounted rod, rather than resting on any surface.
Frees the sill and counter entirely.
Best suited to a window that gets little direct traffic brushing past it.
The built-in box
A custom planter box built directly into the windowsill or a nearby cabinet, designed as part of the kitchen rather than added to it.
The most permanent and most integrated option.
Usually part of a larger kitchen renovation or custom cabinetry project.
1. The Classic Trough Planter on the Sill
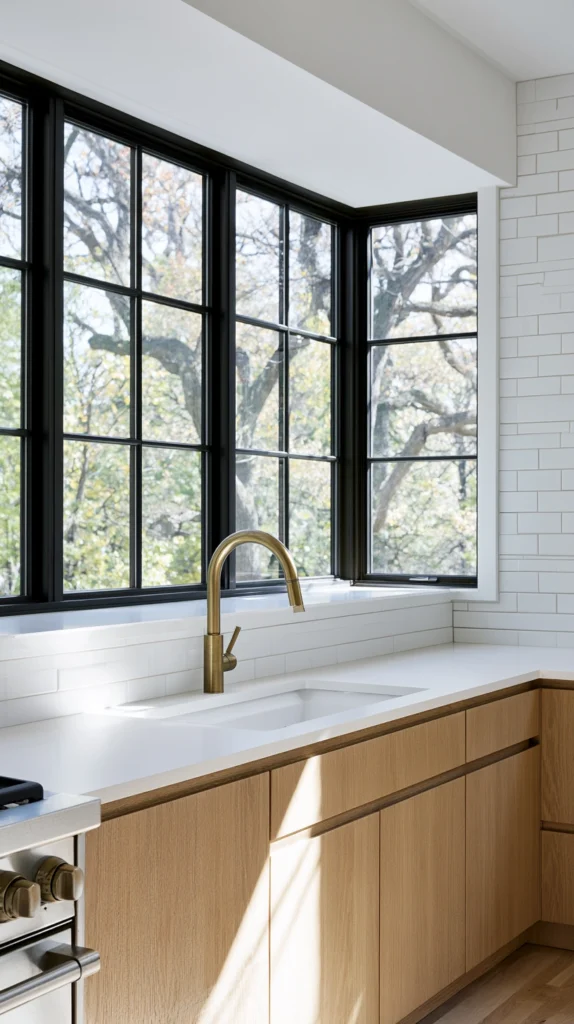
A single long, narrow planter box sitting directly on the windowsill, holding four to six herb varieties side by side.
Why the trough is the natural starting point
It requires no mounting, no extra shelving, and no structural changes to the kitchen — just a container the width of the sill and a sunny window.
The planter
A trough at least 6 inches deep, giving herb roots enough room to establish without crowding.
Drainage holes essential, paired with a matching drip tray to protect the sill beneath.
The herb selection
Herbs with similar water needs grouped together in the same trough, since a single planter shares one watering schedule across all its plants.
Basil and parsley pair well; rosemary and thyme, which prefer drier soil, are better suited to their own separate planter.
The spacing
Plants spaced with room to grow into, rather than packed tightly for an immediately full look — overcrowded herbs compete for both light and root space within weeks.
The placement
Centered in the sunniest section of the windowsill, rotated occasionally so growth does not lean permanently toward the light.
Cost breakdown: Trough planter with drip tray: $20–40 Herb starts (4–5 varieties): $15–30 Potting soil: $8–15 Total: $43–85
2. The Mason Jar Herb Row

A row of mason jars, each holding a single herb, lined up along the windowsill — a low-cost, easily expandable option using materials many kitchens already have on hand.
Why mason jars work well for this purpose
They are inexpensive or free, already the right size for a single herb plant, and their clear glass makes it easy to see when the soil needs water.
The jars
Wide-mouth mason jars, roughly pint or quart size, offering enough soil depth for most common culinary herbs.
The drainage problem
Mason jars have no drainage holes, so a layer of small stones or pebbles at the base is essential to keep roots from sitting in standing water.
The soil
A well-draining potting mix, watered carefully and in smaller amounts than a planter with drainage would need, since excess water has nowhere to escape.
The labeling
Small chalkboard tags or painted labels on each jar, useful once several herbs are growing side by side and the seedlings still look similar.
The row
Jars lined up in a single row along the sill, each one easily lifted and rotated individually, unlike a fixed trough planter.
Cost breakdown: Mason jars (5–6, often already owned): $0–20 Herb starts: $15–30 Potting soil and pebbles: $10–18 Total: $25–68
3. The Tiered Wire Shelf Herb Garden
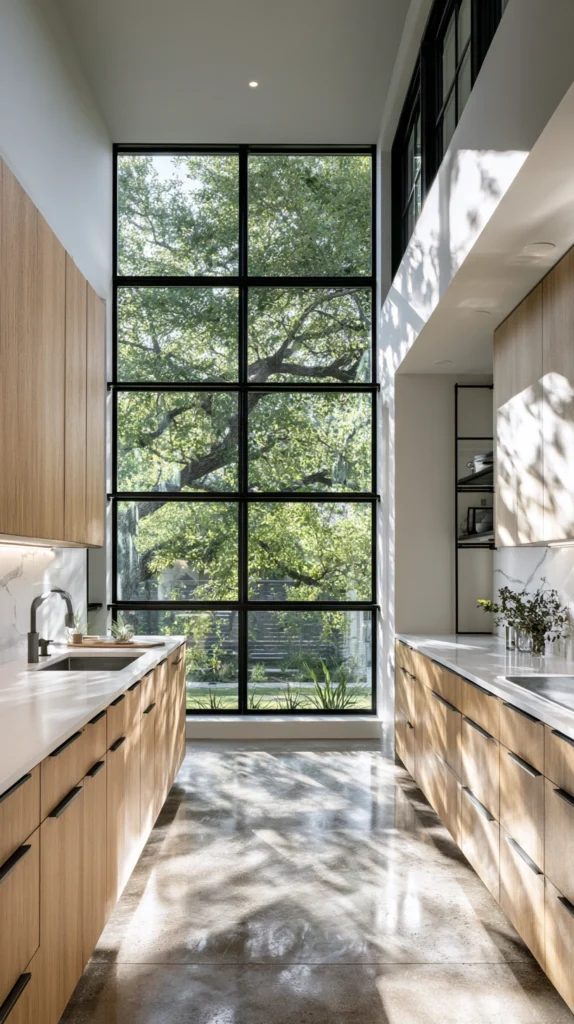
A tiered wire shelving unit placed directly in front of a kitchen window, holding rows of potted herbs across three or four levels.
Why tiered shelving multiplies the growing capacity
A single sill fits perhaps five or six small pots. A tiered shelf in front of the same window can hold fifteen to twenty, using the window’s light far more efficiently.
The shelf unit
A narrow wire or wood tiered plant stand, sized to fit closely in front of the window without blocking too much light from reaching the lower shelves.
The tier assignment
Sun-loving herbs on the top shelf, closest to the light; more shade-tolerant herbs such as mint or chives on the lower tiers, where light is naturally reduced by the shelves above.
The pots
Lightweight plastic or resin pots rather than heavy ceramic, since a fully loaded multi-tier shelf carries meaningful weight across several levels.
The drip trays
A tray beneath every shelf, not just the bottom one, since water dripping from an upper tier will otherwise stain or damage the shelf below it.
The rotation
Pots rotated weekly between the outer and center positions on each shelf, since the shelf edges typically receive more even light than the center.
Cost breakdown: Tiered shelf unit: $30–70 Pots (12–15, small): $25–50 Herb starts: $30–60 Drip trays: $15–25 Total: $100–205
4. The Hanging Window Herb Garden

A set of pots suspended from a rod or hooks mounted across the top of the window frame, freeing the sill and counter entirely.
Why hanging works well in a tight kitchen
In a small kitchen where counter and sill space is already at a premium, a hanging system adds growing space without consuming any horizontal surface at all.
The mounting
A tension rod fitted inside the window frame, or a curtain rod mounted just above it, strong enough to bear the weight of several filled pots.
The pots
Lightweight hanging planters with built-in drainage saucers, avoiding drips onto the floor or counter below.
The height staggering
Pots hung at slightly different heights along the rod, both for visual variety and to prevent taller herbs from shading shorter ones directly below them.
The watering routine
A small watering can with a narrow spout, since watering hanging pots at height is more awkward than reaching into a sill-level planter.
The herb selection
Trailing or compact herbs — thyme, oregano, small basil varieties — that suit a hanging pot’s shape better than taller, more upright herbs like dill.
Cost breakdown: Tension rod or curtain rod: $10–20 Hanging planters with saucers (4–5): $30–60 Herb starts: $20–40 Total: $60–120
5. The Built-In Windowsill Planter Box
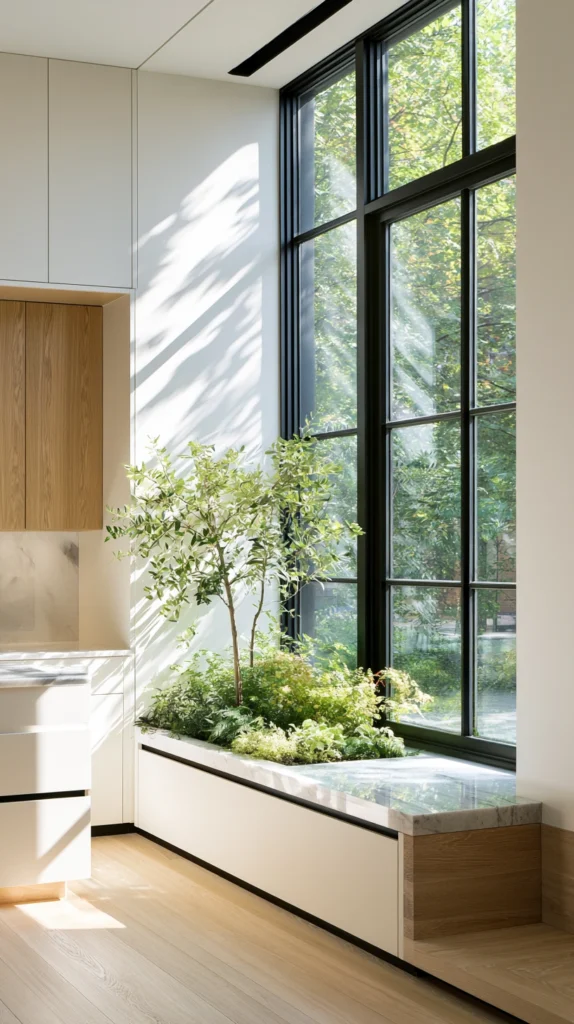
A custom-built planter box installed directly into the windowsill during a kitchen renovation or as a standalone carpentry project, designed as a permanent architectural feature.
Why a built-in outperforms an added planter
A built-in box is sized exactly to the window, sits flush with the surrounding trim, and reads as an intentional part of the kitchen’s design rather than an object placed on top of it.
The construction
A wood or metal-lined box built to the sill’s exact dimensions, with a waterproof liner protecting the surrounding woodwork from soil moisture.
The drainage
A drainage layer and a discreet overflow outlet, routed either to a hidden catch tray or, in some builds, directly to an exterior drain if the sill is above an exterior wall.
The depth
Built deeper than a standard purchased planter where the window allows, giving root systems more room and reducing how often the box needs repotting or replanting.
The finish
Matched to the kitchen’s existing cabinetry or trim, so the built-in box looks original to the room rather than an obvious later addition.
Cost breakdown: Custom carpentry and waterproof lining: $150–400 Herb starts and soil: $30–60 Total: $180–460
6. The Repurposed Wooden Crate Planter
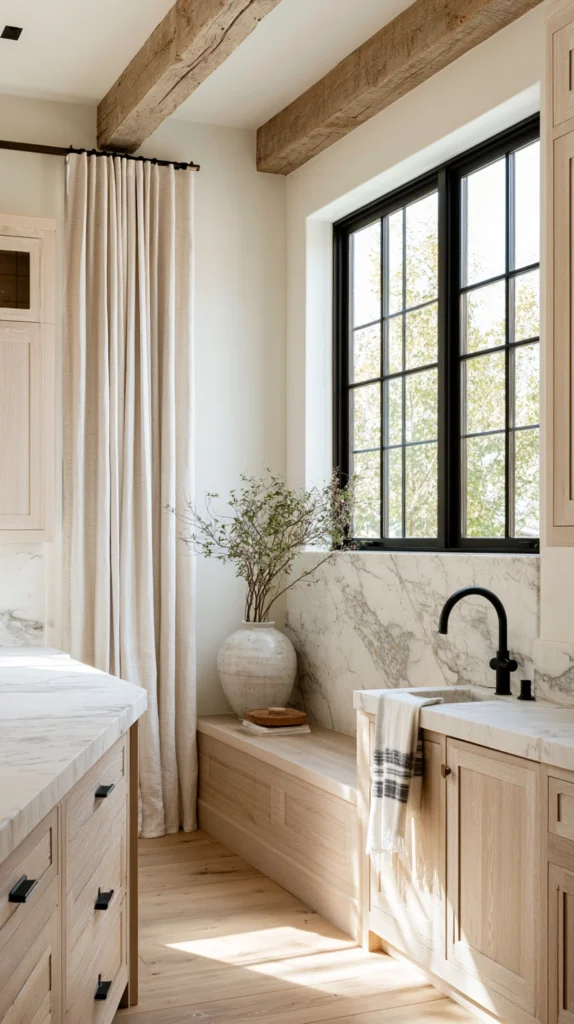
A small wooden crate, either purchased new for the purpose or repurposed from packaging, lined and planted as a rustic-style kitchen herb container.
Why crates suit a farmhouse or cottage kitchen aesthetic
Their rough, natural wood texture pairs well with kitchens leaning toward a rustic or vintage look, offering a very different visual result than a sleek ceramic or plastic planter.
The sourcing
Wine or produce crates, often available free or cheap from liquor stores, farmers markets, or furniture stores that receive shipments in them.
The liner
A plastic liner or a cut piece of pond liner, essential since most crates are not built to hold soil and moisture directly against untreated wood.
The drainage
Small holes drilled through both the crate and the liner at the base, with a tray beneath to catch runoff.
The arrangement
Several herbs planted together directly in the single crate, using dividers or simply spacing the plants if a more organized look is preferred.
The placement
Sturdy enough to sit directly on a windowsill or a nearby counter, depending on the crate’s size and the available surface.
Cost breakdown: Wooden crate: $0–15 Liner material: $8–15 Herb starts and soil: $25–45 Total: $33–75
7. The Self-Watering Window Planter
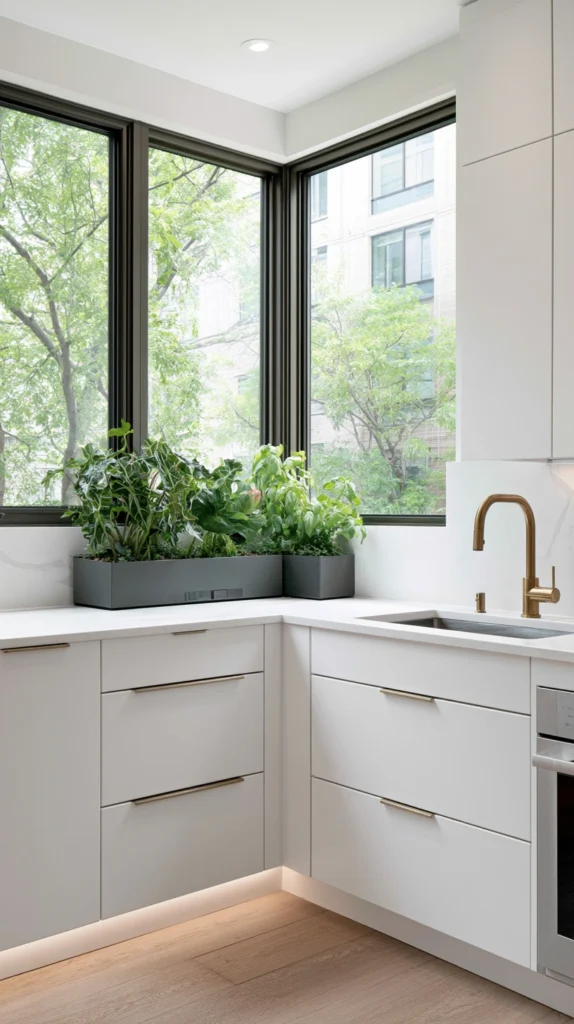
A planter with a built-in water reservoir, wicking moisture up to the roots as needed, reducing the frequency of manual watering and the risk of both over- and under-watering.
Why self-watering suits a busy kitchen routine
Herbs are easy to neglect on a hectic week, and a reservoir system buys several extra days of moisture buffer compared with a standard planter that needs checking daily.
The mechanism
A water reservoir at the base of the planter, with a wicking cord or capillary mat drawing moisture upward into the soil as it dries.
The water level indicator
Most self-watering planters include a small window or float gauge, showing the reservoir level without needing to lift the plant to check.
The refill schedule
Typically once every one to two weeks, rather than daily, depending on the planter’s reservoir size and the specific herbs’ water needs.
The herb suitability
Works well for consistently moisture-loving herbs like basil and parsley; less ideal for rosemary and thyme, which prefer to dry out between waterings.
The placement
Any bright windowsill, since the self-watering feature addresses watering frequency, not light requirements.
Cost breakdown: Self-watering planter: $25–50 Herb starts and soil: $20–40 Total: $45–90
8. The Grow Light Supplemented Window Box
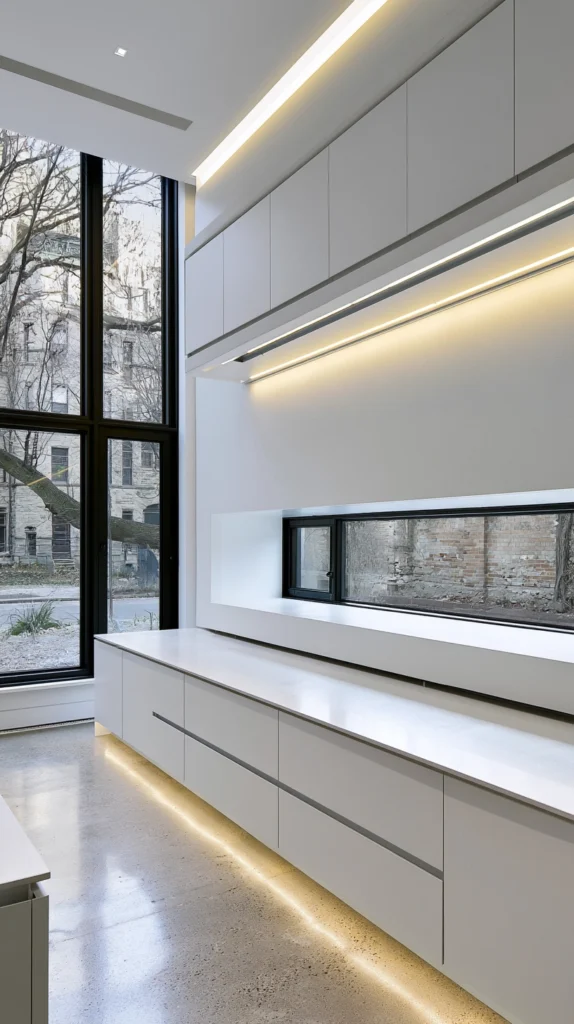
A standard sill or shelf herb garden fitted with a small supplemental grow light, compensating for a window that does not provide enough natural light on its own, especially in winter.
Why supplemental light matters for many kitchen windows
North-facing windows, or windows shaded by trees or nearby buildings, rarely provide the four to six hours of direct light most culinary herbs prefer, particularly through the shorter days of winter.
The light fixture
A small clip-on or under-cabinet LED grow light, positioned above or beside the herb planter rather than replacing the window entirely.
The timer
A simple outlet timer running the light for 12 to 14 hours daily removes the need to remember to switch it on and off manually.
The distance
Positioned close enough to provide meaningful supplemental light without scorching leaves — generally 6 to 12 inches above the plants, depending on the specific light’s intensity.
The color
A full-spectrum LED bulb rather than a standard household bulb, since ordinary lighting lacks the light wavelengths plants actually use for growth.
The result
Herbs that continue producing usable growth through winter months, rather than stalling or growing leggy from insufficient light.
Cost breakdown: Clip-on or under-cabinet grow light: $25–60 Outlet timer: $10–20 Total: $35–80
9. The Vertical Pocket Planter Wall
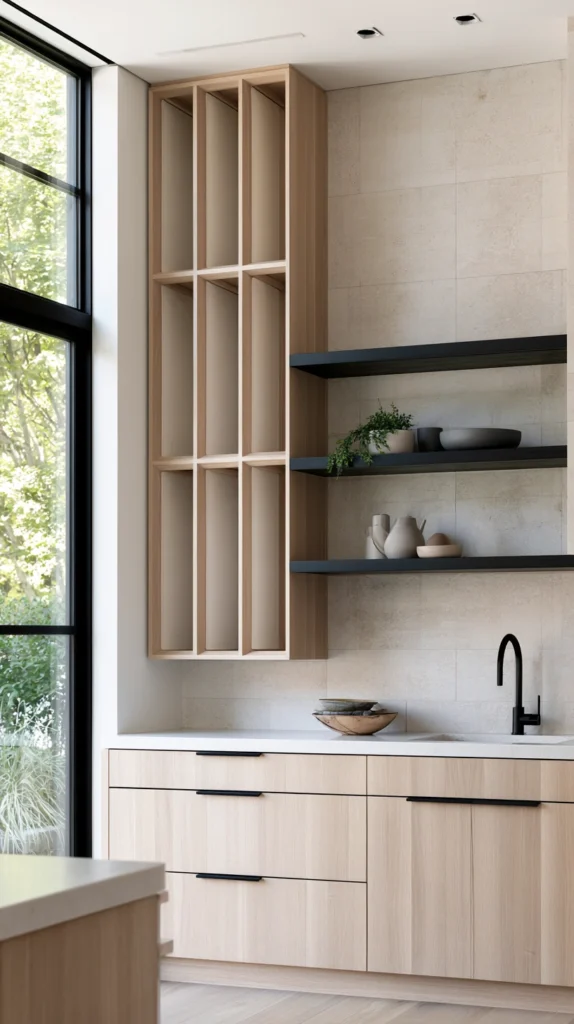
A fabric or felt vertical planter with multiple pockets, mounted on the wall beside a kitchen window, growing herbs upward rather than across a sill.
Why vertical pockets suit a wall beside, rather than on, the window
Where the sill itself is too narrow or already occupied by other kitchen items, a nearby wall with good indirect light from the window becomes usable growing space instead.
The planter
A felt or canvas pocket system, mounted with hooks or a simple wood batten, hung within a few feet of the window for adequate ambient light.
The pocket depth
Each pocket sized for a single small herb plant, since the fabric material offers less soil volume than a rigid pot of similar footprint.
The watering
Each pocket typically needs individual watering, since fabric planters generally lack the interconnected drainage a tray-based system provides.
The moisture protection
A waterproof backing behind the fabric, protecting the wall itself from moisture absorption over repeated watering.
The herb selection
Compact, shallow-rooted herbs — chives, thyme, small basil varieties — suited to the limited soil depth each pocket offers.
Cost breakdown: Pocket planter wall system: $30–70 Herb starts: $20–40 Waterproof backing: $10–20 Total: $60–130
10. The Repotted Nursery Herb Collection
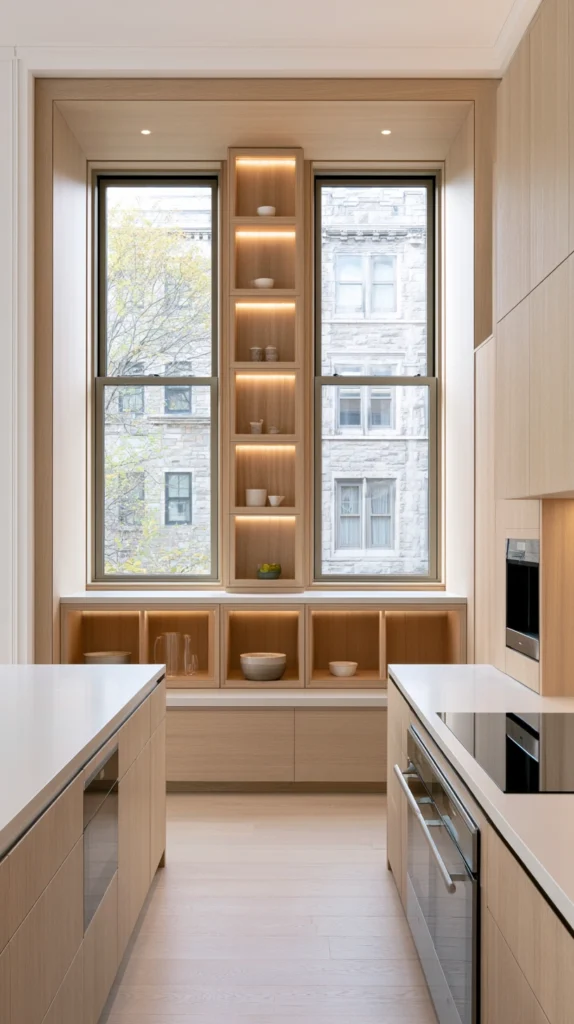
A window garden built entirely from herb plants purchased already established from a nursery or grocery store, repotted into matching containers for an immediately full and cohesive display.
Why starting from established plants suits an impatient cook
Growing herbs from seed takes weeks before the first harvest is possible. Nursery-bought plants can be harvested from within days of repotting, delivering the practical benefit immediately rather than after a full growing cycle.
The sourcing
Grocery store herb pots, garden centers, or farmers markets, all commonly selling herbs already several weeks into growth.
The repotting
Moved from the small original nursery pot into a larger container with fresh potting soil, giving roots more room than the tight grocery-store packaging allowed.
The immediate benefit
Repotted grocery-store herbs often struggle if not moved promptly — the small pots they arrive in are frequently overcrowded, and delaying the transplant shortens the plant’s usable lifespan.
The container matching
Uniform pots across the collection for a cohesive sill display, purchased separately from the plants themselves rather than kept in their original mismatched packaging.
The immediate harvest
Light harvesting can typically begin within a week of repotting, once the plant shows signs of settling into its new container.
Cost breakdown: Nursery herb plants (5–6): $15–35 Matching pots: $25–50 Fresh potting soil: $10–18 Total: $50–103
11. The Copper Pipe Herb Rack
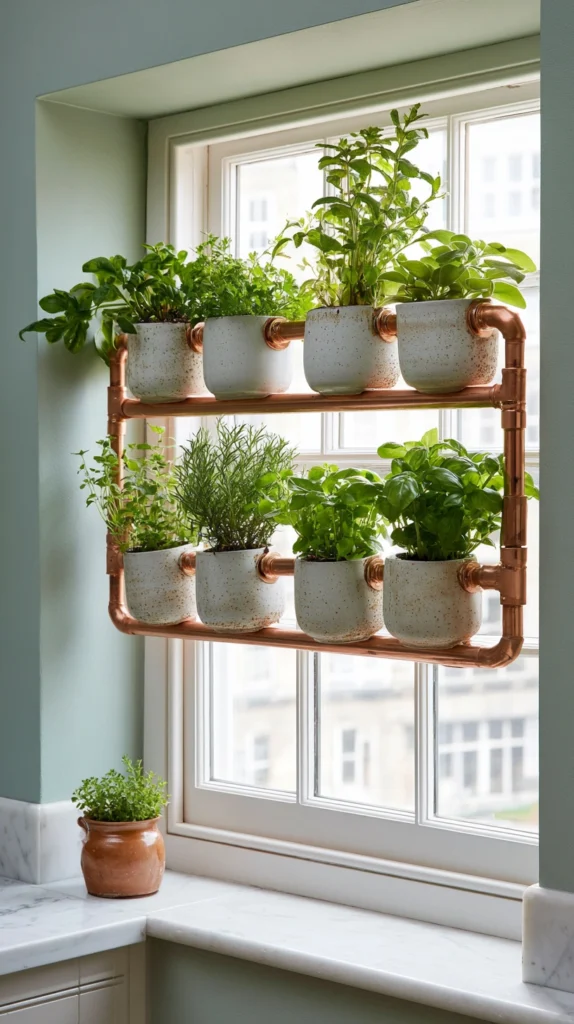
A custom rack built from copper piping, holding small pots along a horizontal or angled frame mounted beneath or beside the kitchen window — a design-forward option for a kitchen already featuring metal or industrial detailing.
Why copper suits a design-conscious kitchen
Copper develops a warm patina over time and pairs naturally with brass fixtures, hanging pots, and other metal details already common in many kitchens.
The frame
Copper pipe fittings assembled into a simple rack, either a straight horizontal rail or a slightly angled display frame, using standard plumbing fittings rather than specialized hardware.
The pot holders
Small rings or cradles soldered or clamped to the pipe frame, sized to hold standard small terracotta or metal pots securely.
The mounting
Wall-mounted brackets securing the finished rack beneath the window or on an adjacent wall, positioned within the window’s light reach.
The maintenance
Copper will darken and develop a patina with handling and humidity — some households prefer this aged look, while others may choose to polish the pipe periodically to keep the bright copper tone.
The pots
Small terracotta pots, which complement the copper’s warm tone better than plastic or brightly glazed ceramic.
Cost breakdown: Copper pipe and fittings: $30–60 Small terracotta pots: $15–30 Wall mounting brackets: $10–20 Total: $55–110
12. The Repurposed Rain Gutter Planter
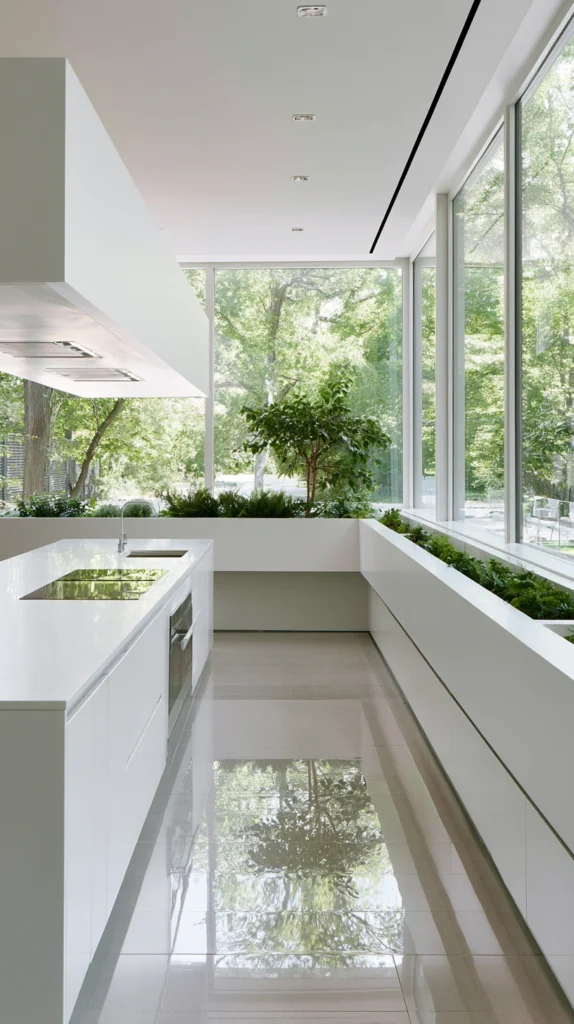
A length of vinyl or metal rain gutter, capped at both ends and mounted beneath the window, functioning as a continuous narrow planter for a row of herbs.
Why gutter makes an unusually practical planter
Gutter sections are inexpensive, already shaped as a long narrow trough, and simple to cap and mount — a design purpose-built for exactly the shallow, elongated footprint a windowsill herb garden needs.
The gutter section
A length of standard vinyl or metal gutter, cut to the width of the window and capped at both ends with the matching end pieces sold alongside gutter systems.
The drainage
Small drainage holes drilled along the base, spaced every few inches, paired with a mounted drip tray or a catch basin beneath.
The mounting
Wall brackets, the same type used for actual roof gutters, securing the planter beneath the window at a comfortable working height.
The soil depth
Standard gutter is relatively shallow, suiting shallow-rooted herbs like chives and thyme better than larger, deeper-rooted plants such as rosemary.
The visual result
A clean, continuous planted line beneath the window, particularly effective in a modern or minimalist kitchen.
Cost breakdown: Gutter section and end caps: $15–30 Mounting brackets: $10–20 Herb starts and soil: $20–40 Total: $45–90
13. The Multi-Zone Sun and Shade Herb Window
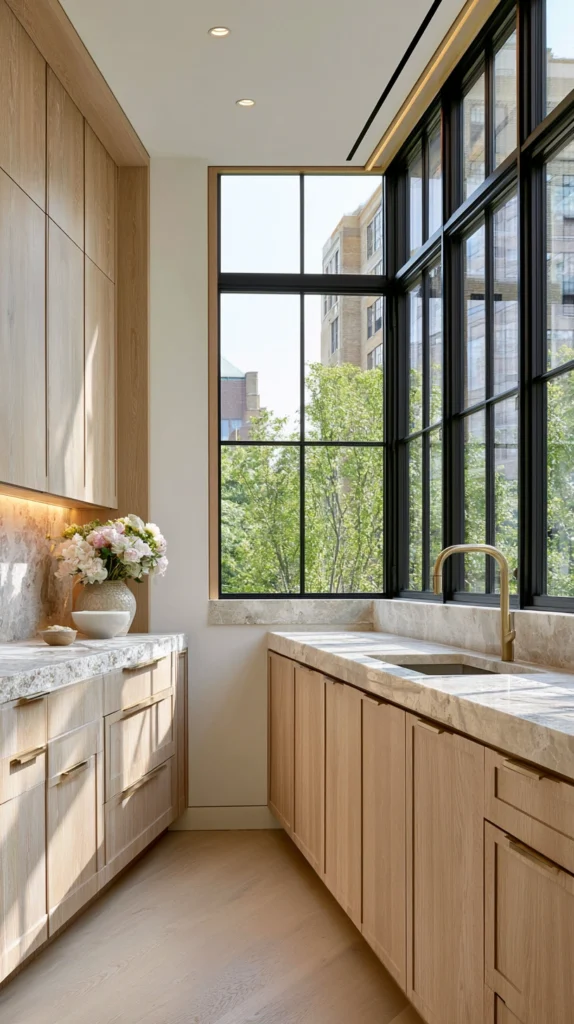
A window herb garden deliberately split into two zones — full sun and partial shade — matching each herb to the specific light level it actually receives across the width of the window.
Why zoning by light produces better results than one uniform setup
Even a single window rarely offers uniform light across its full width, particularly if one side is shaded by a nearby tree, wall, or building. Matching herbs to their actual light zone, rather than treating the whole sill identically, improves results significantly.
The light mapping
Observing the window over the course of a full day, noting which section receives direct sun and for how long, before placing any plants.
The sun zone
Basil, rosemary, and oregano, all of which need substantial direct light, positioned in the brightest section identified during mapping.
The partial-shade zone
Mint, chives, and parsley, more tolerant of lower light levels, positioned toward the dimmer end of the same window.
The dividing marker
A small physical divider — a change in pot style, a low decorative barrier — marking the transition between zones, more for organizational clarity than any functional necessity.
The seasonal adjustment
Positions reassessed seasonally, since the sun’s angle and the resulting light pattern across the window changes meaningfully between summer and winter.
Cost breakdown: Pots and planters (varied by zone): $30–60 Herb starts (6 varieties): $25–50 Total: $55–110
14. The Complete Kitchen Garden Window (The Fully Outfitted Setup)
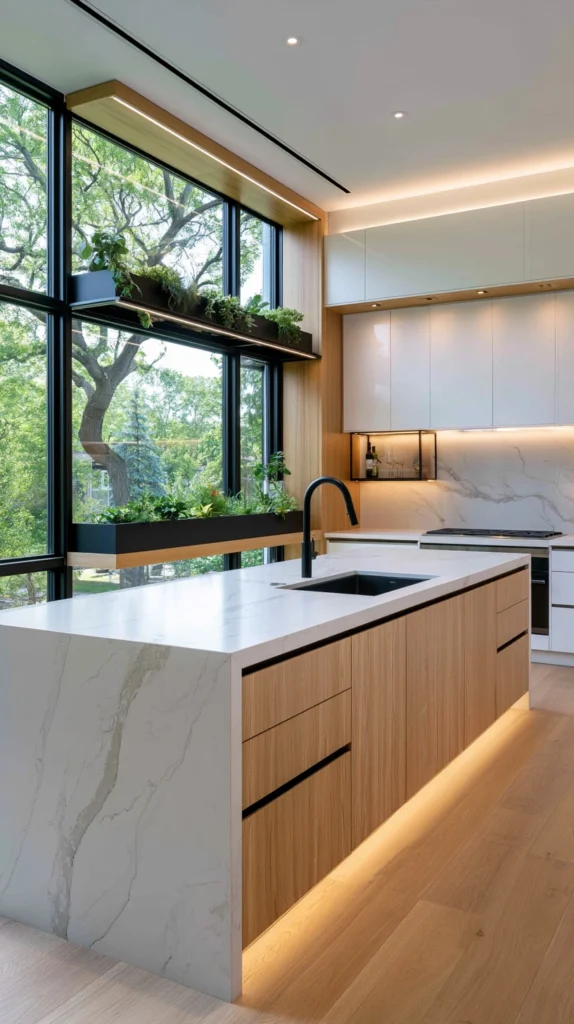
A complete window herb garden combining several of the approaches above — tiered growing space, supplemental light, self-watering elements, and a curated herb selection matched to the kitchen’s actual light conditions.
What separates the complete window garden from a single pot on the sill
A single pot: convenient, but limited. A complete kitchen garden window: an actual daily ingredient source, planned around what the household cooks most, how much light the window truly provides, and how consistently the herbs will actually be tended.
The elements of the complete kitchen garden window
The structure
A tiered shelf or a combination of a sill trough and hanging pots, maximizing the herb count the window’s light can support.
The light
Natural light from the window, supplemented with a small grow light for any section or season that falls short.
The watering system
A mix of self-watering planters for the thirstier herbs and standard pots for the drought-tolerant ones, matched to each plant’s actual needs.
The herb selection
Chosen around the household’s real cooking habits — the herbs a recipe actually calls for most often, not simply the most popular herbs in general.
The zoning
Sun-loving herbs in the brightest section, shade-tolerant herbs toward the dimmer end, mapped from real observation of the window’s light pattern.
The daily habit
Positioned directly in the cook’s sightline and reach from the primary work area, so watering and harvesting both happen without a special trip.
The complete design in action
A weeknight dinner in progress:
6pm: A recipe calling for fresh basil and parsley, both a step away from the cutting board rather than a fridge search away.
6:05pm: A quick snip from the sun-zone pots, the rest of the plants left growing for the next meal.
6:10pm: The grow light, on its timer, already supplementing the fading evening daylight for the next few hours.
The complete kitchen garden window: not a decorative touch, but a working part of how the kitchen actually functions, every day it gets used.
Cost breakdown for the complete setup: Assuming a starting point of an empty windowsill: Tiered shelf or trough and hanging combination: $60–150 Grow light and timer: $35–80 Self-watering planters (2–3): $75–150 Herb starts (6–8 varieties): $30–60 Standard pots for remaining herbs: $20–40 Total: $220–480
Phased over two or three seasons:
Season one ($60–120): A basic sill trough or a few mason jars Two or three of the most-used herbs
Season two ($60–150): Additional tiered shelving or hanging pots A grow light for winter months
Season three ($80–200): Self-watering planters Expanded herb variety A built-in or custom-finished planter box
The kitchen garden window: not a weekend project in its fullest form, but a genuinely useful cooking tool built with intention over time.
The Question Before Any Window Box Design
Before choosing a container, a mounting method, a herb selection:
What is the primary reason for wanting fresh herbs at hand?
If the answer is: the simplest possible start — the trough planter or the mason jar row.
If the answer is: a window that does not get enough natural light — the grow light supplemented setup.
If the answer is: maximizing variety in limited space — the tiered shelf unit or the multi-zone sun and shade window.
If the answer is: a busy schedule with inconsistent watering — the self-watering planter.
The design follows the window’s actual light and the household’s actual cooking habits, more than any single style preference. Every idea on this list solves that combination differently. The question is which combination fits this kitchen and this cook.
The single trough of basil and parsley on the sill: still changes how often fresh herbs make it into a dish. The complete window garden, planned with intention: a genuine daily ingredient source.
That daily use: the whole point of growing herbs indoors at all.
Getting Started This Weekend
The immediate kitchen garden solution:
Choose the two or three herbs used most often, not the most herbs possible.
Basil, parsley, and chives cover most everyday cooking — start there before expanding.
Watch the kitchen window for one full day before buying anything.
Note where the light actually falls and for how long, rather than guessing.
Start with nursery plants, not seeds.
The first harvest, within days rather than weeks, is what makes the habit stick.
Put the pots exactly where the cooking happens, not just where they look best.
The window box gets used because it is in reach, not because it is well placed for photographs.
The rest of the design: the elaboration of this moment.
The herbs: the beginning. The kitchen garden window: what grows and gets used in the cooking that follows.