7 Budget Graduation Party Ideas That Look Expensive
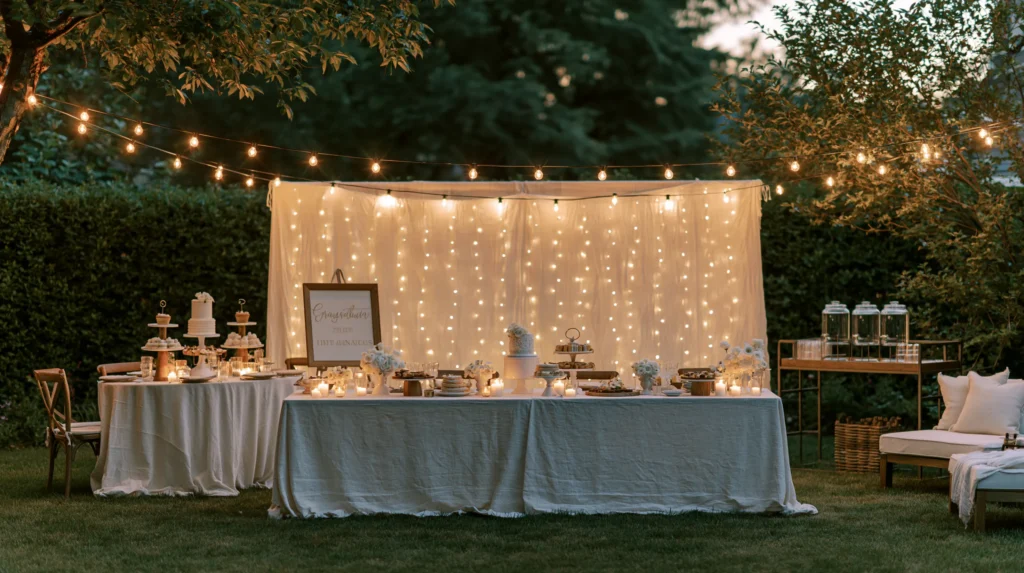
The gap between a $200 graduation party and a $2,000 one is usually smaller than people assume.
It’s rarely about spending more on more things. It’s about spending slightly more on a few specific details that carry the most visual weight, while cutting everything else down to the basics.
Here are 7 ideas built around that exact tradeoff, each one showing what the cheap version looks like, what the expensive-looking version actually costs, and where the money is worth spending.
The Core Principle Behind Every Idea Here
A few consistent rules make a budget party photograph and feel more expensive than it cost.
- Spend on the thing guests touch or stand near longest, not on decor spread thin everywhere
- Fewer, better materials beat more, cheaper ones every time
- Real texture, like wood or fabric, reads as expensive even in small amounts
- Consistent color palette costs nothing extra but changes the whole perception of the party
1. The Backdrop Everyone Photographs In Front Of
The cheap version: A plastic “Congrats Grad” banner taped to a blank wall, no other styling.
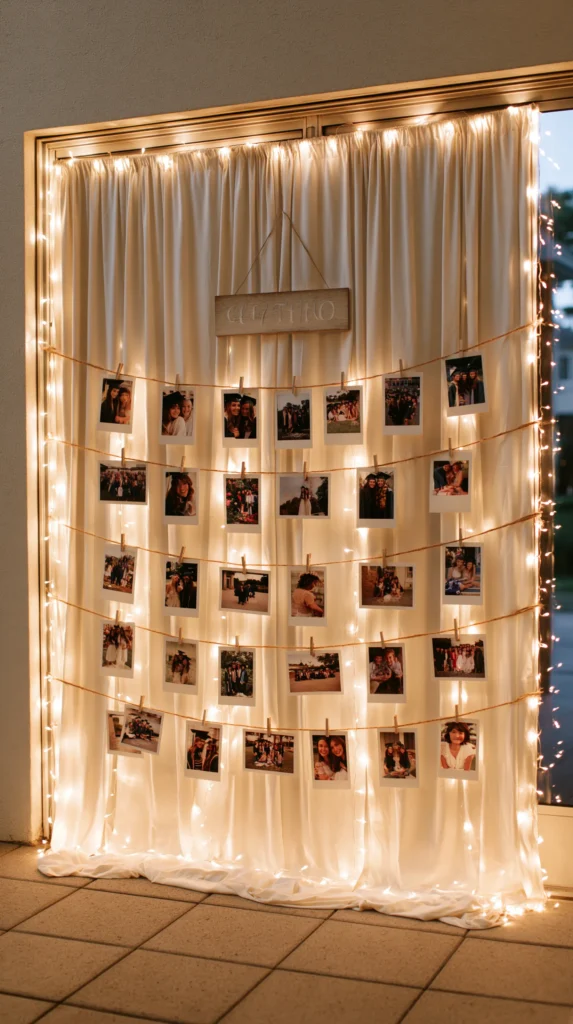
The expensive-looking version: A fabric or fringe backdrop with the grad’s actual photos woven in, framed with simple string lights.
How to build it for less:
- Use a plain curtain or fabric panel as the base, sourced from a thrift store or fabric remnant bin
- Print 10–15 photos and attach with small clips along a length of twine
- Add string lights around the border for evening visibility
- Position near good natural light so most photos won’t need flash
Why it reads as expensive: Real photos and fabric texture do more work than any printed banner, and the cost difference is minimal.
Cost: $25–$50, compared to $150+ for a professionally printed and rented backdrop.
2. The Dessert Table Styled Like a Bakery Display
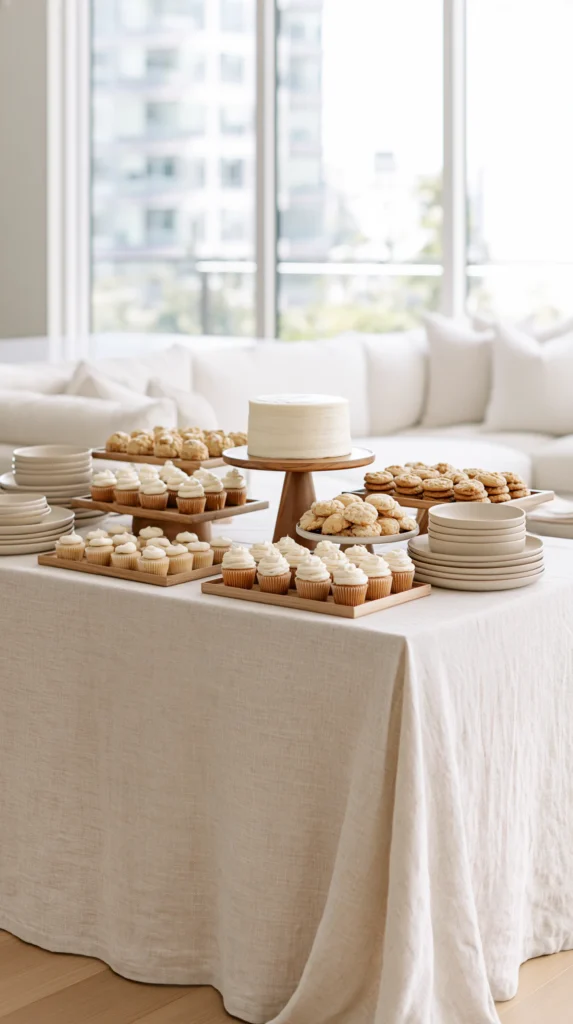
The cheap version: A single sheet cake on a folding table with paper plates stacked beside it.
The expensive-looking version: A small tiered display using risers, with a few homemade or store-bought treats arranged at different heights.
How to build it for less:
- Use overturned bowls or small boxes under a tablecloth as hidden risers
- Buy one nicer bakery item, like a small specialty cake, and supplement with homemade cookies or store-bought cupcakes
- Add a wood board or cake stand, even a borrowed one, as the visual anchor
- Keep the color palette to two tones so the display reads as coordinated, not mismatched
Why it reads as expensive: Height variation and a tight color palette are what professional dessert stylists actually charge for — replicating just those two things costs almost nothing extra.
Cost: $40–$70 total, compared to $150–$300 for a fully catered dessert table.
3. The Table Linens That Look Rented, Not Plastic
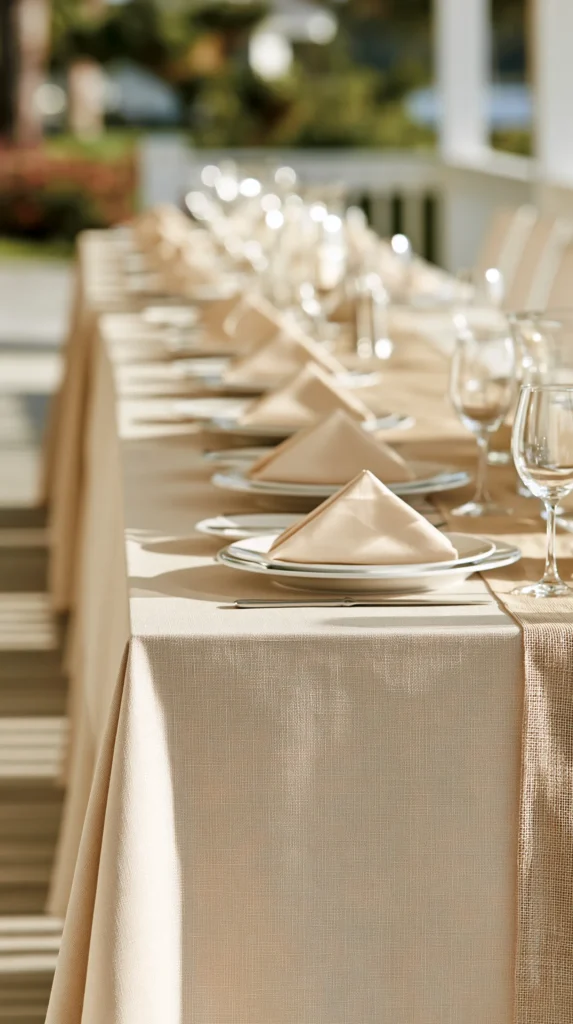
The cheap version: A plastic disposable tablecloth in a bright, printed graduation pattern.
The expensive-looking version: A plain linen-look tablecloth in a neutral tone with a simple runner down the center.
How to build it for less:
- Buy plain polyester or linen-blend tablecloths in bulk, which cost only slightly more than disposable printed ones
- Add a runner in the school’s accent color rather than covering the whole table in bright pattern
- Reuse the tablecloths for future events, since they’re not single-use like plastic
- Pair with simple cloth napkins instead of printed paper ones for another small texture upgrade
Why it reads as expensive: Solid neutral fabric reads as elevated regardless of price point, while printed plastic reads as a party store purchase no matter how nice the print is.
Cost: $30–$60 for enough linens to cover several tables, reusable afterward.
4. The Lighting That Changes the Whole Evening
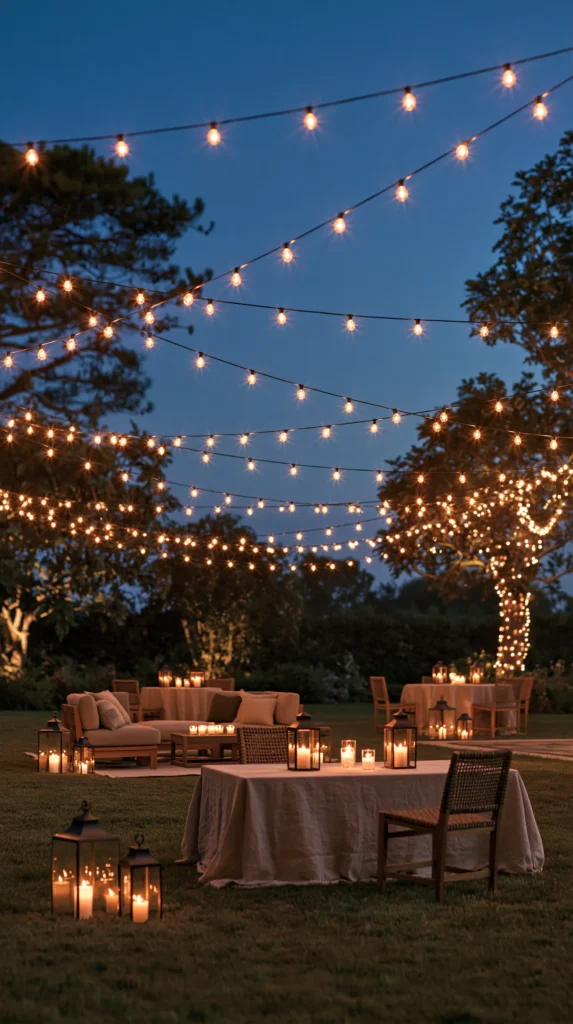
The cheap version: Standard porch lights or a single bright overhead fixture, harsh and flat.
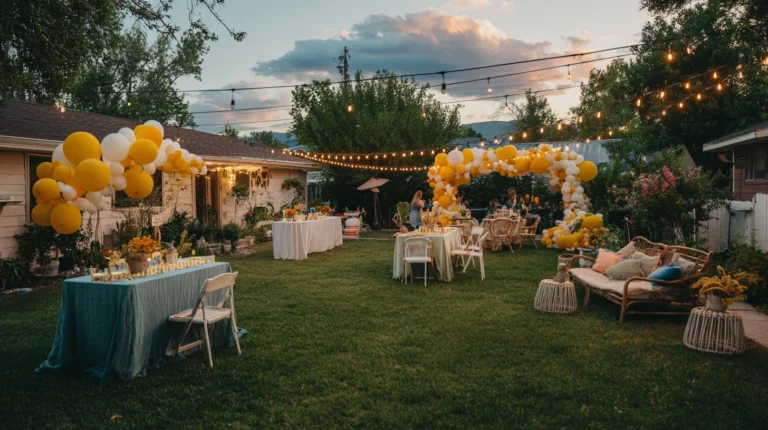
The expensive-looking version: Warm string lights layered at two different heights across the party space.
How to build it for less:
- String lights across two points, like a fence and a tree, rather than a single straight line
- Choose warm white bulbs specifically, not cool white, for a more flattering evening glow
- Add a few lanterns or candles at table height for a second lighting layer
- Put lights on a simple timer so they’re on before guests notice it getting dark
Why it reads as expensive: Lighting affects the mood of an entire space more than almost any other single purchase, and string lights are one of the cheapest ways to buy that effect.
Cost: $30–$60 for enough string lights to cover a mid-size backyard.
5. The Signage That Looks Custom-Made
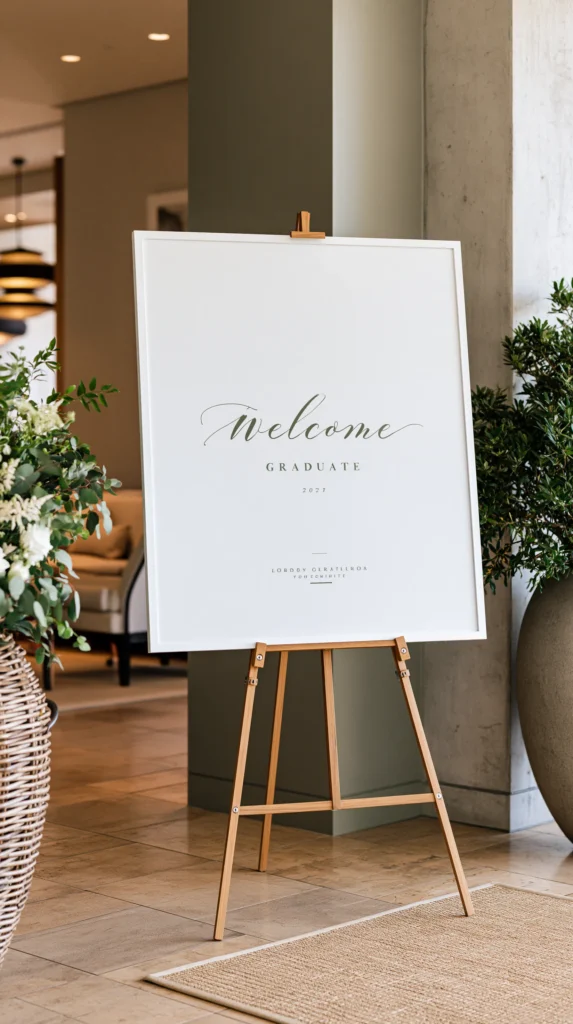
The cheap version: A store-bought foil banner spelling out “Congratulations Graduate” in generic lettering.
The expensive-looking version: A single custom sign with the grad’s name and year, in the school’s colors.
How to build it for less:
- Order a simple printed vinyl banner from an online print shop, which costs surprisingly little for a one-time custom design
- Alternatively, paint a wood board by hand if any household member has decent lettering skills
- Keep the design simple: name, year, maybe a small graduation cap icon, nothing more cluttered
- Position it as the party’s main focal point rather than scattering several smaller signs around
Why it reads as expensive: A single custom detail signals more intentional planning than several generic mass-produced ones, even though it often costs less than buying multiple pre-made banners.
Cost: $20–$40 for a custom printed banner or sign.
6. The Drink Station That Looks Like a Bar Cart
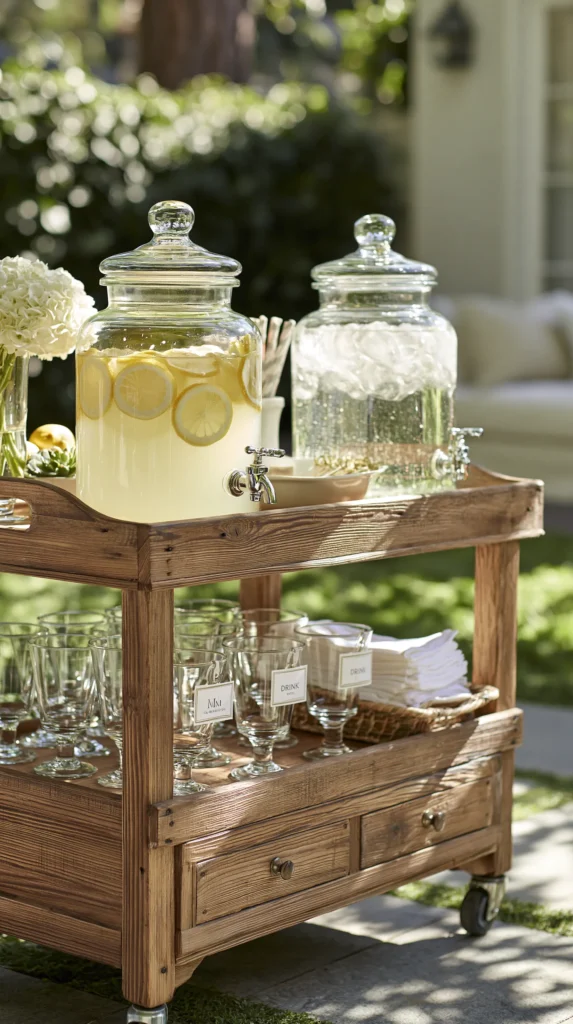
The cheap version: A cooler of canned sodas sitting on the ground near the food table.
The expensive-looking version: A small styled drink station with a few glass dispensers and a simple sign.
How to build it for less:
- Use large mason jars or a borrowed glass beverage dispenser instead of serving directly from cans or bottles
- Make one or two infused water or lemonade options rather than buying many different canned drinks
- Add a small chalkboard or printed sign labeling each drink
- Elevate the whole station slightly using a small table or cart rather than placing it on the ground
Why it reads as expensive: Glass and a small amount of styling effort make a drink station look like a catered detail rather than a cooler someone grabbed from the garage.
Cost: $15–$35 for dispensers, ingredients, and a simple sign.
7. The Seating Area That Feels Lounge-Like
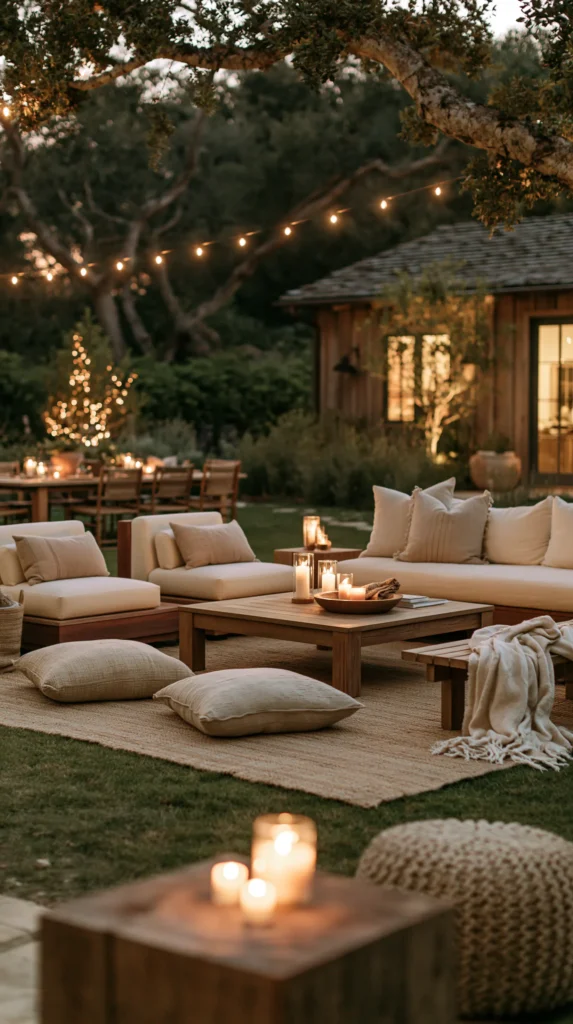
The cheap version: A single row of folding chairs lined up against a fence, facing nothing in particular.
The expensive-looking version: A small cluster of mismatched seating around a low table, styled like an actual lounge area.
How to build it for less:
- Pull a few outdoor chairs, benches, or even patio cushions on the ground into a loose circle
- Add a small low table, even a repurposed crate, in the center
- Include a throw blanket or two for evening warmth, which also adds visual texture
- Position away from the main food line so it reads as a distinct, intentional space
Why it reads as expensive: Grouped, intentional seating signals real planning, while a straight row of folding chairs reads as an afterthought regardless of chair quality.
Cost: $0–$25 if using furniture already on hand.
Where to Actually Source These Materials Cheaply
Sourcing matters as much as the idea itself when working with a tight budget.
- Thrift stores and estate sales are the best source for fabric, glass dispensers, and mismatched seating pieces
- Online marketplace listings often have string lights, folding tables, and even leftover decor from other people’s recent parties at a steep discount
- Print shops rather than party stores for custom signage, since a one-time vinyl banner order is often cheaper than a pre-made “generic name” version from a retail chain
- Borrowing from family or friends for anything used only once, like a beverage dispenser or extra folding chairs, avoids buying something that then needs storage afterward
A Realistic Timeline for Pulling This Together
Spreading the work out over a few weeks prevents a last-minute scramble and gives better odds of finding cheaper secondhand materials.
- 3–4 weeks before: Source secondhand items like linens, seating, and glass dispensers
- 2 weeks before: Order the custom sign and any printed photos for the backdrop
- 1 week before: Confirm string lighting works and test the full setup once
- Day before: Assemble the backdrop, set up seating, and do a final walkthrough of the space
A Few Signs You’re Overspending on the Wrong Things
A budget can quietly get eaten up by items that don’t actually contribute much to how expensive the party looks or feels.
- Multiple small decor purchases that don’t tie into a single consistent color palette
- Disposable, single-use items purchased new every time instead of reusable versions bought once
- Spending disproportionately on food quantity rather than food presentation, when guests often remember how something looked more than exactly how much was available
- A rented item, like a photo booth or backdrop, that could be replicated at a fraction of the cost with the DIY approach outlined above
Comparing Cheap vs. Expensive-Looking Costs Side by Side
Here’s every idea from this list with its full cost comparison in one place.
| Idea | Cheap Version Cost | Expensive-Looking Version Cost |
| Photo backdrop | $10 (banner only) | $25–$50 |
| Dessert table | $30 (single sheet cake) | $40–$70 |
| Table linens | $15 (disposable plastic) | $30–$60 |
| Lighting | $0 (porch light only) | $30–$60 |
| Signage | $15 (generic banner) | $20–$40 |
| Drink station | $20 (cooler of cans) | $15–$35 |
| Seating area | $0 (folding chairs only) | $0–$25 |
What this table shows: In several cases, the “expensive-looking” version costs barely more than the cheap default, and in the drink station and seating examples, it can genuinely cost the same or less.
Choosing Which Three Ideas to Prioritize on a Tight Budget
If the full list isn’t realistic, a smaller combination still moves the needle significantly.
- Highest visual impact for lowest cost: lighting and the custom sign, both under $60 combined
- Best for photos specifically: the backdrop and the dessert table, since these are what guests actually photograph most
- Best if entertaining a longer, all-day event: the lounge seating area and drink station, since these matter more for guest comfort over time
- Best if the party is primarily evening-focused: lighting first, since it affects how every other element in the space actually reads once the sun goes down
Matching Ideas to Your Actual Guest Count and Space
Not every idea scales the same way depending on how many people are attending and how much space is available.
| Guest Count | Priority Ideas |
| Under 20 | Photo backdrop, custom sign, lounge seating |
| 20–50 | Add the dessert table and lighting |
| 50+ | Add the drink station and table linens, since larger groups need more structured serving areas |
A smaller, more intimate gathering can lean harder into the seating and backdrop ideas, since guests will actually spend time in those specific spots. A larger open house benefits more from the ideas that serve a crowd efficiently, like the drink station and dessert table.
A Simple Budget Breakdown for a Full Party
Putting several of these ideas together, here’s roughly what a full budget-conscious but expensive-looking setup might cost.
- Photo backdrop: $35
- Dessert table styling: $50
- Table linens: $40
- String lighting: $45
- Custom sign: $30
- Drink station: $25
- Lounge seating: $15
That totals roughly $240 for a full party’s worth of styling, well under what a single professionally styled element, like a rented backdrop alone, often costs on its own.
What to Skip Entirely to Fund These Upgrades
A few common graduation party purchases are worth skipping so the budget can go toward the ideas above instead.
- Themed disposable plates and napkins in a printed pattern, which cost more than plain versions and don’t add much visual value
- Multiple small decorative banners scattered around, when one strong custom sign does more work
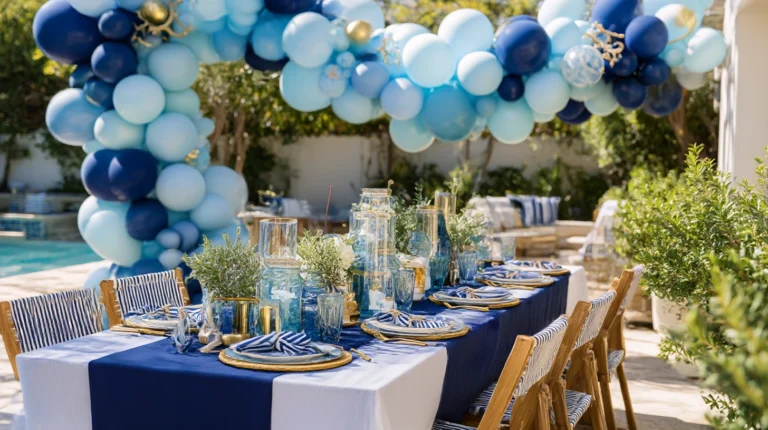
- A large helium balloon arch, which is expensive, temporary, and often the first thing that looks deflated and tired by the end of the party
A Quick Checklist Before the Party Starts
A final walkthrough catches anything that might undercut the effort put into the ideas above.
- Confirm the backdrop is positioned where natural light will actually hit it during peak party hours
- Check that string lights are tested and working before guests arrive, not right as it gets dark
- Make sure the custom sign is placed somewhere it will actually be seen, not tucked in a corner
- Do a five-minute walk-through as if you were a guest, checking sightlines to the dessert table, seating area, and drink station
Getting More Than One Use Out of What You Buy
A genuine budget advantage of these particular ideas is that almost none of them are single-use, unlike most standard party store purchases.
- Linens, once purchased, can be reused for birthdays, holidays, or any future gathering
- String lights work for graduation, then transition easily into a summer barbecue or fall gathering without any additional cost
- A glass beverage dispenser becomes a permanent kitchen or entertaining item rather than something thrown away after one use
- Even the custom sign can sometimes be reused as a keepsake for the grad’s dorm room or first apartment afterward
Factoring in this reuse value changes the real cost comparison even further in favor of the ideas on this list, since a one-time $240 investment across several reusable items often works out cheaper over a few years than repeatedly buying disposable themed party supplies for every single event.
What This Actually Means for Your Next Party
The same core principle, spend where guests linger and look, applies far beyond graduation parties specifically.
- Birthday parties, retirement send-offs, and baby showers all benefit from the same lighting, seating, and signage upgrades
- The materials purchased here, once owned, become a small reusable party kit rather than a one-time purchase
- Future events become both cheaper and faster to plan, since the sourcing and styling work is already done
That reuse math is worth mentioning to anyone hesitant about spending even a modest budget-conscious amount, since it reframes the purchase as a one-time investment in party supplies generally, not a single-use expense tied only to this one graduation.
A graduation party doesn’t need a large budget to look considered. It needs a handful of specific upgrades applied where guests will actually notice them, with everything else kept simple and out of the way. The parties that read as expensive almost never actually were — they just spent their smaller budget on the two or three details that carried the most visual weight.