12 Backyard Grilling Area Ideas That Will Transform Your Outdoor Space
A dedicated grilling area does more for how often a backyard actually gets used than almost any other single upgrade, since good outdoor cooking space naturally draws people outside for meals rather than just the occasional weekend cookout. The right setup turns grilling from a chore involving trips back and forth to the kitchen into a genuinely enjoyable part of the outdoor living space.
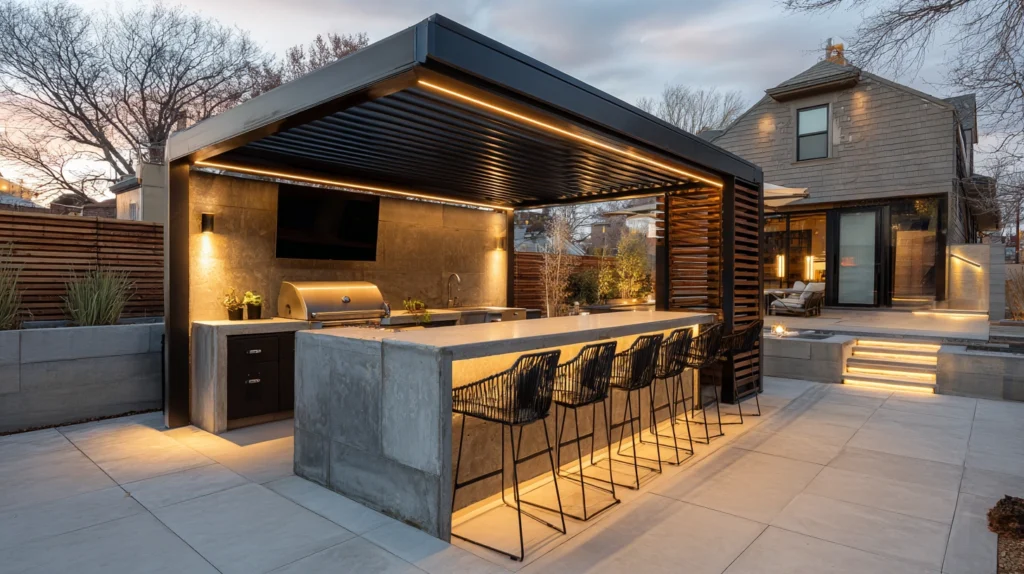
Below are 12 backyard grilling area ideas, from simple standalone upgrades to full outdoor kitchen builds, with real numbers on dimensions, material cost, and budget so the space matches both your cooking habits and your budget.
Planning Your Grilling Area
Space needed by setup type:
- Basic grill station: 8×10 feet minimum
- Grill plus prep counter: 10×14 feet
- Full outdoor kitchen: 12×16 feet or larger
Placement basics:
- Keep at least 10 feet from the house for smoke and safety clearance
- Position away from prevailing wind direction relative to seating areas
- Ensure easy sightlines to the dining or seating area so the cook isn’t isolated
1. Build a Simple Paver Patio Pad for the Grill
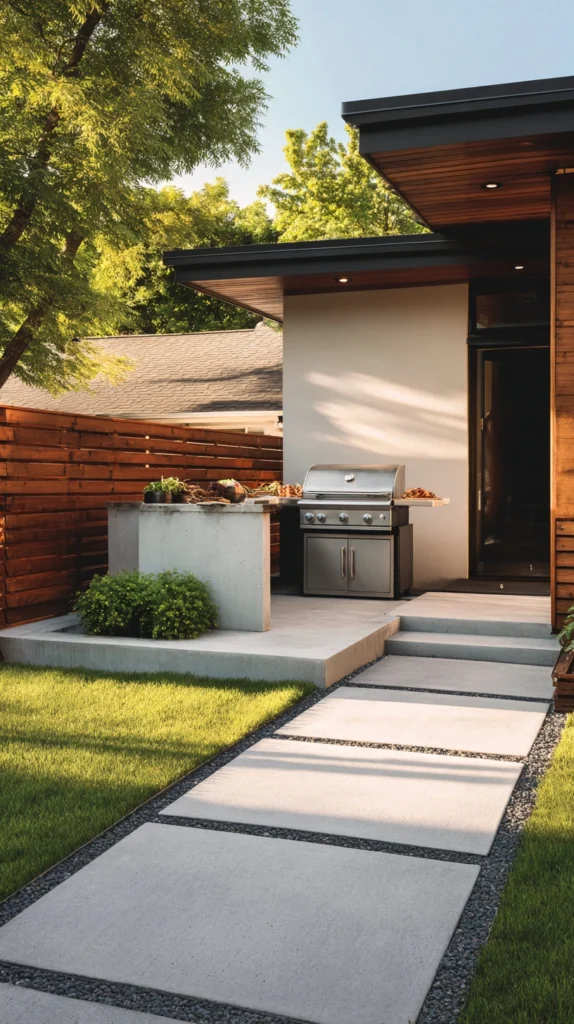
Even before adding any built-in features, a dedicated paver or concrete pad specifically for the grill gives it a stable, level surface and visually separates the cooking zone from the rest of the yard. Standard grill pads run 8×10 feet, enough room for the grill itself plus space to move around it safely.
Budget: $10-20 per sq ft for a basic paver installation, or roughly $800-1,600 for an 8×10 foot pad. Choosing pavers rather than a simple gravel base provides a more stable, level surface specifically important for a grill, which needs to sit perfectly level for safe and even cooking.
This is one of the most foundational upgrades on this list, since nearly every other idea here benefits from starting with a proper hardscape surface rather than grilling directly on grass or an uneven dirt patch. A pad sized generously enough to include a small prep table or a few chairs nearby, rather than just the grill’s exact footprint, makes the space more functional from the start.
2. Add a Built-In Grill Island With Stone or Brick Veneer
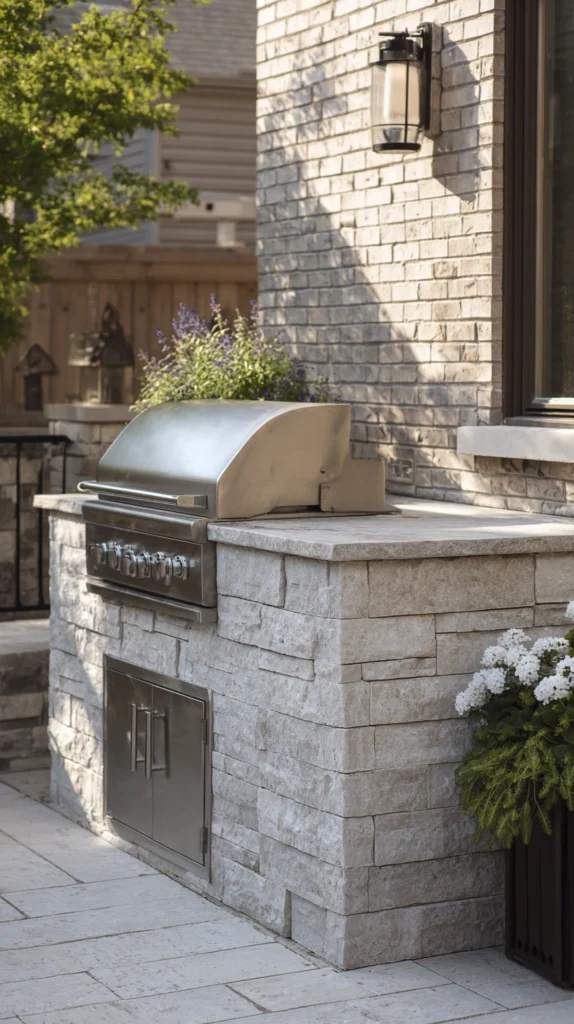
A built-in grill island, faced in stone or brick veneer with a slide-in grill insert, transforms a basic freestanding grill into a genuine architectural feature of the backyard. Standard grill islands run 8-10 feet long and 24-30 inches deep, sized to house the grill plus adjacent counter space.
Budget: $2,500-6,000 for a mid-range built-in grill island including the grill insert, structural framing, and stone veneer facing, varying significantly based on grill quality and the extent of additional counter space included. This is one of the larger investments on this list, but it also delivers one of the most dramatic transformations, turning a simple cooking appliance into a genuine outdoor kitchen centerpiece.
Choosing a slide-in grill insert specifically designed for built-in installation, rather than attempting to build around a standard freestanding grill, ensures proper ventilation and heat clearance around the unit. This project is generally best handled by a professional outdoor kitchen contractor, given the gas line work, structural framing, and veneer installation involved.
3. Add a Prep Counter With Storage Beneath
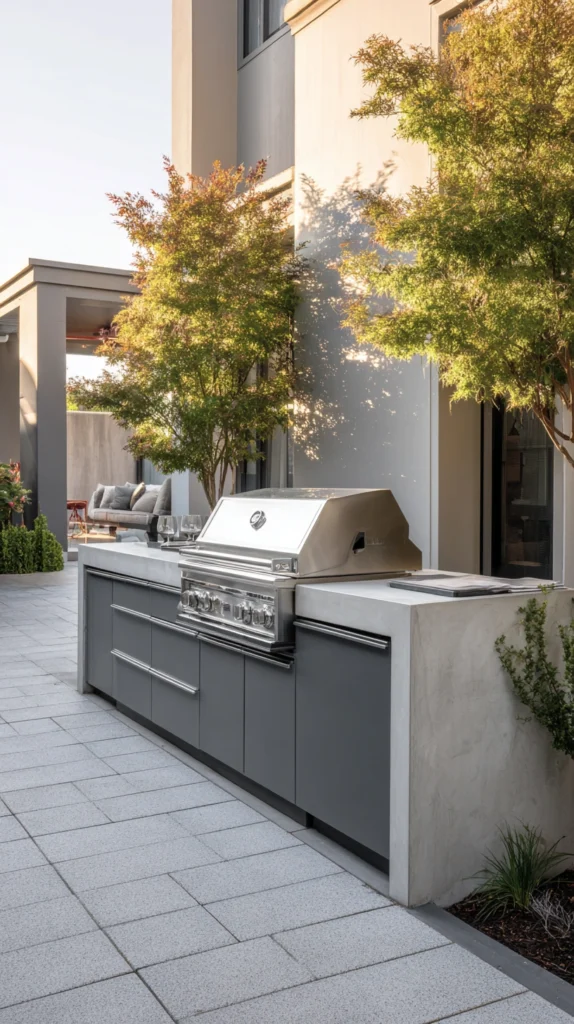
A simple counter positioned adjacent to the grill, even without a full outdoor kitchen build, gives you a place to set down plates, tools, and ingredients without needing to walk back into the house repeatedly during cooking. Standard prep counters run 4-6 feet long and 24 inches deep, positioned directly beside or facing the grill.
Budget: $400-1,200 for a simple built counter with weatherproof cabinetry beneath, significantly less than a full outdoor kitchen island while still delivering much of the practical benefit. Choosing a weatherproof counter material — sealed concrete, stainless steel, or a composite specifically rated for outdoor use — matters more here than indoor countertop choices, given constant sun and weather exposure.
This is one of the more practically impactful upgrades on this list relative to its cost, since the lack of adjacent counter space is one of the most common frustrations people have with a basic standalone grill setup. Storage cabinets beneath the counter, even simple weatherproof versions, provide a place to keep grilling tools, extra propane, or serving dishes without cluttering the counter surface itself.
4. Install a Pergola or Shade Structure Over the Grilling Area
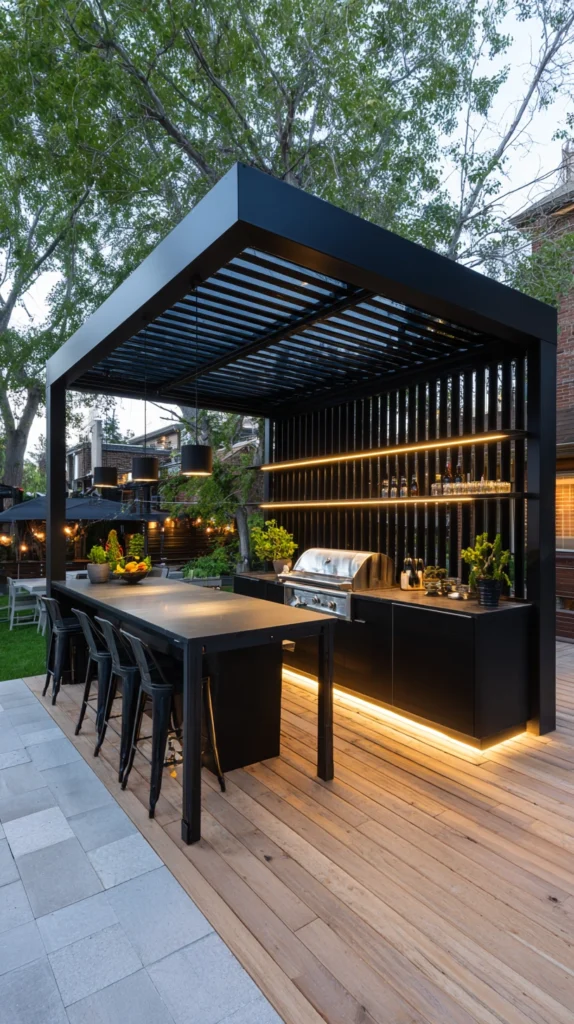
A pergola or simple shade structure positioned over the grilling zone protects both the cook and the equipment from direct sun and light rain, extending how comfortably the space can be used across more hours and more weather conditions. Standard pergolas for this purpose run 10×12 to 12×14 feet.
Budget: $800-2,500 for a quality wood or metal pergola structure, depending on size and material. This structure should be positioned with adequate clearance and ventilation for the grill specifically, since enclosed or fully covered structures require careful attention to smoke ventilation and fire safety clearance from any overhead material.
A retractable canopy or a simple lattice roof that allows some airflow is generally a safer choice directly over a grilling area than a fully solid roof, given the heat and smoke a grill produces during use. This addition significantly improves the comfort of cooking outdoors during peak summer sun or light rain, both of which otherwise discourage regular outdoor grilling.
5. Add a Pizza Oven as a Secondary Cooking Feature
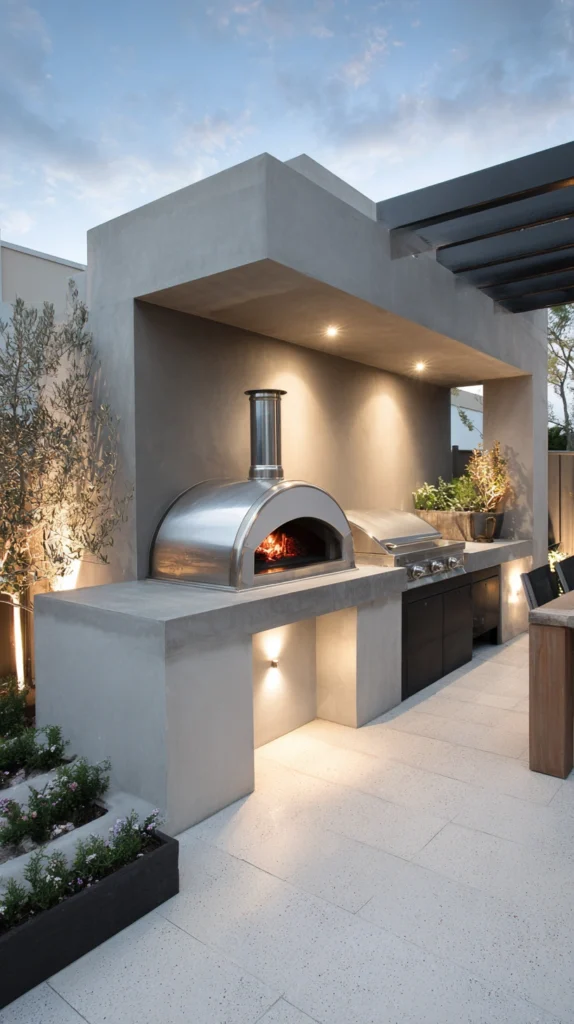
A wood-fired or gas pizza oven, positioned near the main grill, expands the outdoor kitchen’s cooking capability well beyond standard grilling and creates a genuine entertainment feature guests enjoy watching and participating in. Standard outdoor pizza ovens run 24-40 inches wide, depending on whether it’s a smaller portable unit or a larger built-in model.
Budget: $500-1,200 for a quality portable wood-fired pizza oven, or $3,000-8,000 for a fully built-in masonry pizza oven as part of a larger outdoor kitchen structure. A portable pizza oven offers most of the cooking capability and entertainment value at a fraction of the cost and installation complexity of a built-in masonry version.
This addition works particularly well for households that entertain regularly, since a pizza oven turns cooking into an interactive, social activity in a way that standard grilling often doesn’t, with guests frequently gathering around to watch and help with toppings. Positioning the pizza oven a few feet from the main grill, rather than directly adjacent, gives each cooking zone its own working space without guests and cooking equipment crowding into the same footprint.
6. Build a Bar Seating Area Facing the Grill
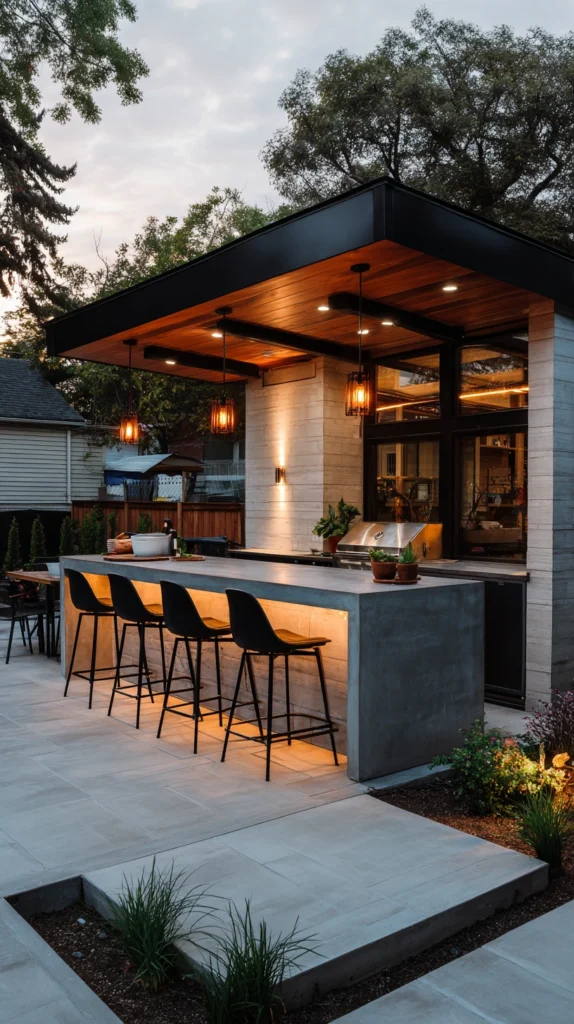
A small bar counter with stools, positioned to face the grill directly, lets guests socialize with whoever is cooking without needing to stand awkwardly to the side or crowd into the actual cooking space. Standard bar counters for this purpose run 6-8 feet long, seating 3-4 guests comfortably.
Budget: $600-1,500 for a built bar counter with stool seating, or less if incorporating simple freestanding counter-height furniture rather than a permanent built structure. Positioning this seating area roughly 3-4 feet back from the grill itself provides enough clearance for safe cooking while still keeping conversation easy and natural.
This is one of the more socially impactful additions on this list, since it directly addresses the common problem of the person grilling feeling isolated from the rest of the gathering happening elsewhere in the yard. Weatherproof stools with a comfortable back rest, rather than basic backless versions, encourage guests to actually linger at this counter rather than just perching briefly before moving elsewhere.
7. Add Task Lighting for Evening Grilling
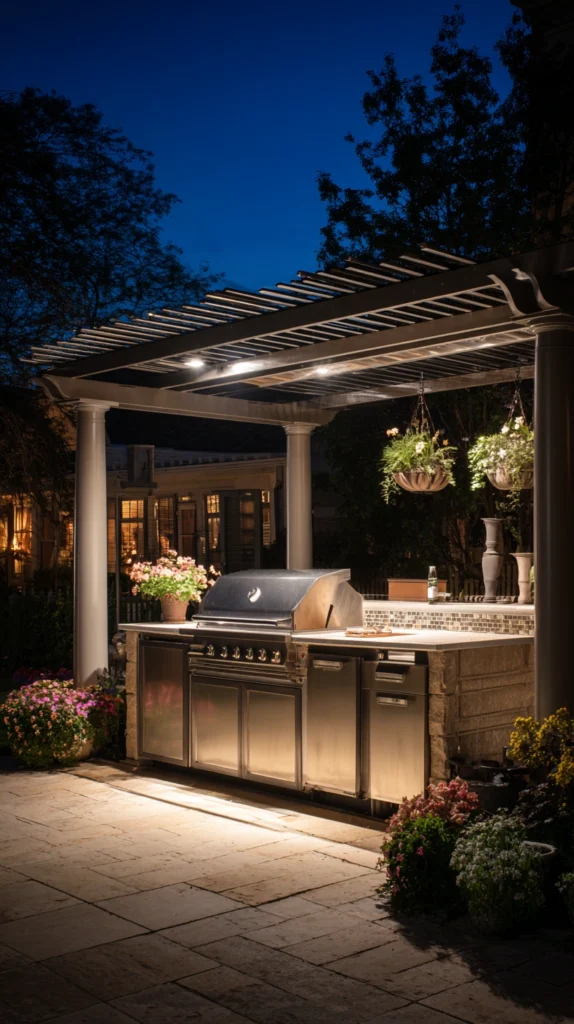
Dedicated lighting positioned directly over or near the grill solves one of the most common practical frustrations with outdoor cooking, since standard yard or patio lighting rarely provides adequate illumination for safely monitoring food on the grill after dark. Standard grill task lighting includes either a dedicated fixture mounted above the cooking area or a clip-on grill light attached directly to the unit.
Budget: $30-80 for a quality clip-on grill light, or $100-250 for a dedicated overhead fixture wired specifically for the grilling zone. Choosing a bright, neutral white light for this specific task area, rather than the warmer, dimmer ambient lighting used elsewhere in a backyard, ensures food doneness and safety can actually be judged accurately in the evening.
This is one of the more overlooked but genuinely practical upgrades on this list, and it’s relatively inexpensive to add even to an otherwise basic grilling setup without a larger renovation. Positioning this light so it doesn’t create glare directly in the cook’s eyes, angled instead onto the grill surface itself, matters for both comfort and safety during use.
8. Add a Dedicated Trash and Recycling Station
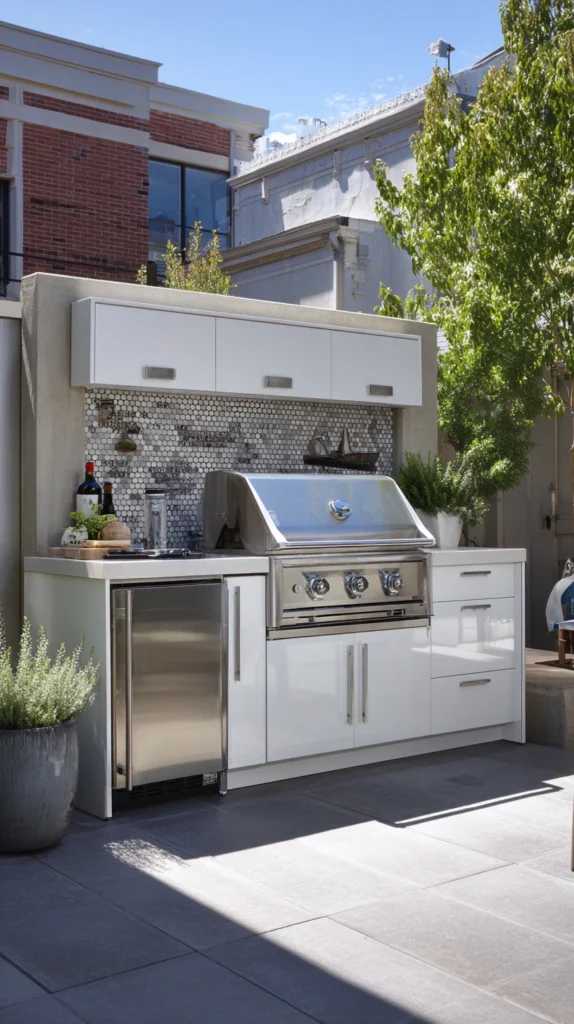
A small enclosed or semi-enclosed station for trash and recycling bins near the grilling area keeps cleanup convenient without requiring trips back to the main house trash cans during a cookout. Standard outdoor trash stations accommodate 2-3 standard-sized bins within a roughly 3×2 foot footprint.
Budget: $150-400 for a simple wood or composite enclosure housing a couple of trash and recycling bins. This is one of the more purely functional additions on this list, addressing a genuine practical need rather than adding to the space’s visual appeal, though a well-built enclosure can still look tidy and intentional rather than like exposed bins sitting out.
Positioning this station within easy reach of both the grill and any prep counter reduces how often anyone needs to walk across the yard mid-cookout to dispose of packaging or food scraps. This is a good addition to plan alongside the prep counter and grill island ideas described earlier, integrating it into the same overall footprint rather than treating it as a separate, disconnected element.
9. Build a Small Herb Garden Within Reach of the Grill
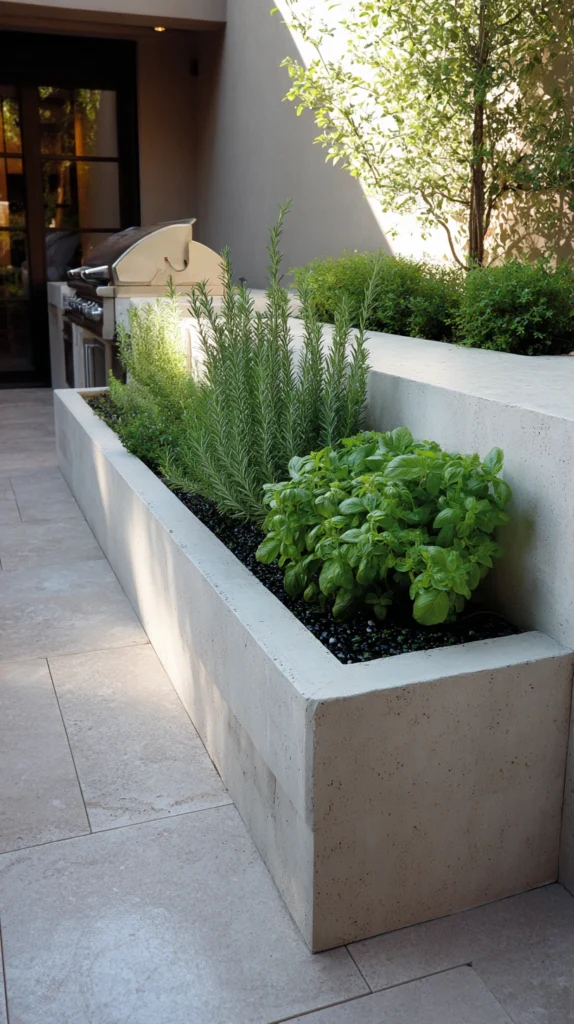
A few pots or a small raised bed of cooking herbs — rosemary, thyme, basil — positioned within arm’s reach of the grill puts fresh ingredients directly at hand during cooking. Standard herb garden setups use 3-5 pots or a small 2×4 foot raised bed section.
Budget: $40-100 for a small collection of potted herbs and containers, one of the more affordable additions on this list relative to how much it improves the actual cooking experience. Choosing hardy, heat-tolerant herbs suited to full sun exposure ensures the garden thrives in a spot that’s also, by necessity, positioned near a heat-generating grill.
This is a small but genuinely useful upgrade, and having fresh herbs within a few steps of the grill often means they actually get used regularly during cooking rather than being an afterthought trip back into the kitchen. Positioning this garden along the edge of the prep counter or grill pad, rather than directly behind the grill where heat exposure could stress the plants, keeps both the herbs and the grill’s ventilation clearance working properly.
10. Add a Smoker or Second Grill for Expanded Cooking Options
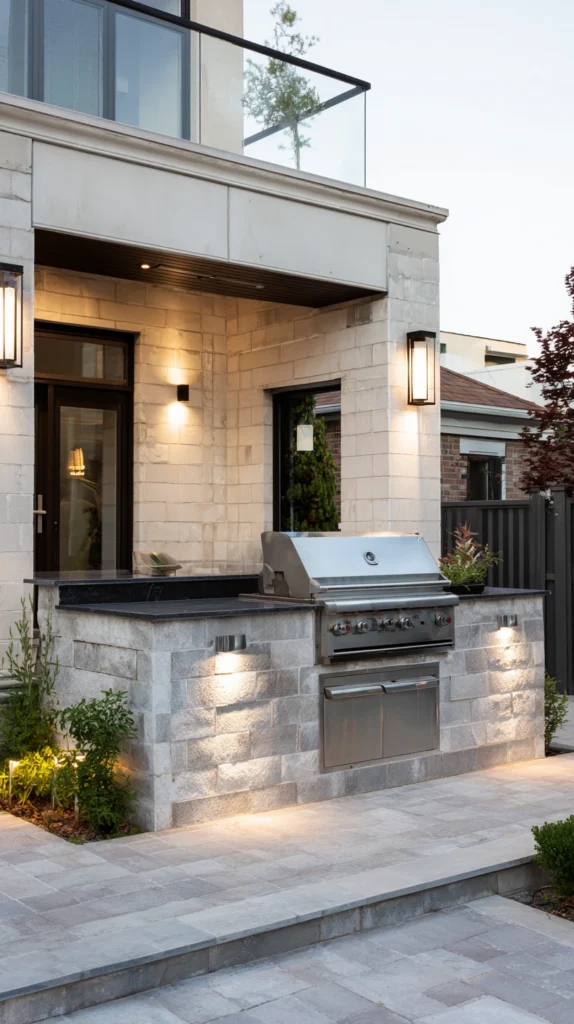
Positioning a dedicated smoker alongside the primary grill expands what the outdoor cooking area can produce, appealing particularly to households that regularly cook larger cuts of meat requiring longer, low-temperature cooking than standard grilling allows. Standard smokers run 20-30 inches wide, sized similarly to many freestanding grills.
Budget: $200-600 for a quality standalone smoker, a moderate investment that significantly expands the cooking area’s overall versatility beyond what a single grill can accomplish. Positioning the smoker a few feet from the main grill, with its own adequate ventilation clearance, prevents the two units from interfering with each other’s airflow and heat management during simultaneous use.
This is a good addition for anyone who already grills regularly and is looking to expand into a wider range of outdoor cooking techniques, rather than a necessary starting point for someone building a first grilling area. This upgrade also extends the visual and functional presence of the cooking zone, making it read as a more serious, dedicated outdoor kitchen space rather than a single grill sitting alone.
11. Create a Covered Storage Solution for Grilling Tools and Supplies
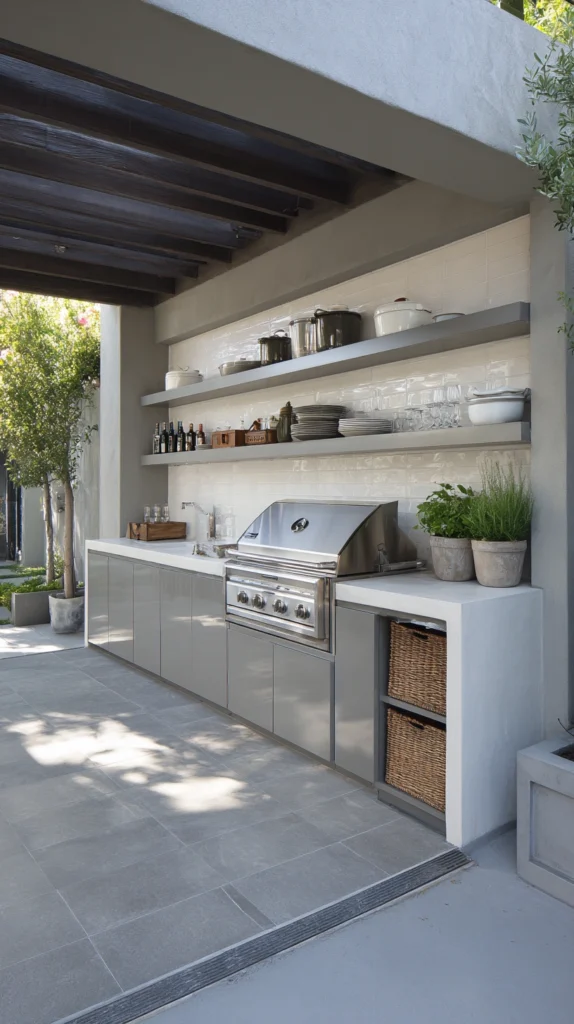
A weatherproof cabinet, deck box, or built-in storage unit near the grill keeps tools, extra propane tanks, charcoal, and grilling accessories organized and protected from weather without needing to haul everything back and forth from an indoor location each time. Standard outdoor storage units run 3-5 feet wide, sized to hold a reasonable collection of grilling tools and supplies.
Budget: $100-350 for a quality weatherproof storage cabinet or deck box, a practical, moderately priced addition that significantly improves the day-to-day convenience of maintaining a grilling area. Choosing a storage unit specifically rated for outdoor use, rather than a general indoor storage cabinet, ensures it holds up to sun and moisture exposure without warping or rusting prematurely.
This is one of the more overlooked but genuinely useful additions on this list, since a grilling area without adequate tool storage often ends up cluttered with loose items left out between uses. Positioning this storage unit within the same overall footprint as the prep counter and trash station keeps the whole grilling zone feeling organized and cohesive rather than scattered across the yard.
12. Add a Sink for True Outdoor Kitchen Functionality
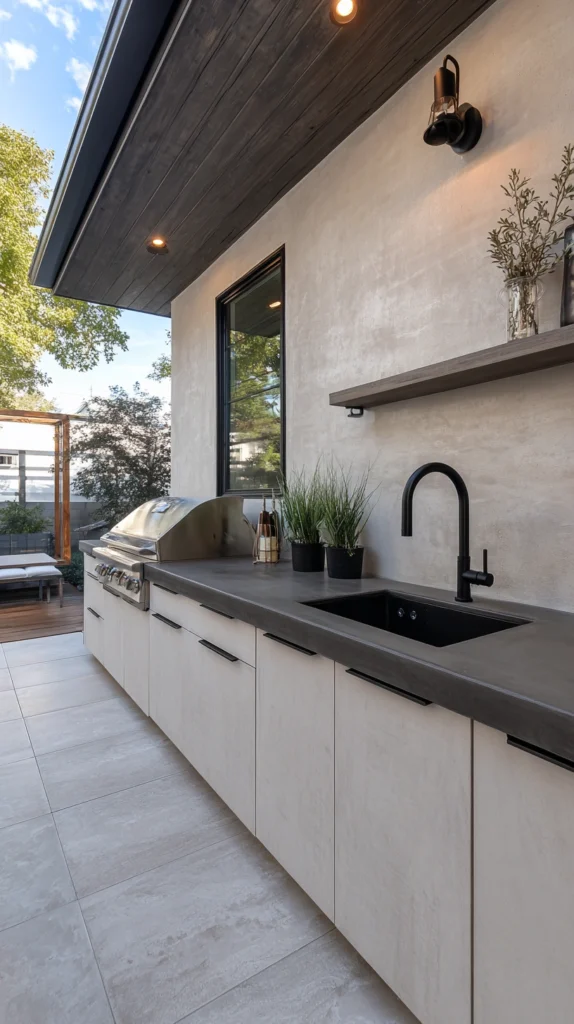
A small outdoor sink, plumbed with running water, is one of the more significant upgrades on this list but also one of the most functionally transformative, allowing food prep, hand washing, and basic cleanup to happen entirely outdoors without trips inside. Standard outdoor kitchen sinks run 15-18 inches, appropriately scaled for a compact prep and cleanup station rather than a full kitchen sink.
Budget: $800-2,500 for a small outdoor sink including plumbing work, varying significantly based on how far the grilling area is from existing water lines and how complex the plumbing run needs to be. This project generally requires a licensed plumber, particularly for any work involving connecting to the home’s existing water supply and drainage system.
This is one of the biggest investments on this list, but for households that entertain and grill frequently, it’s often cited as one of the single most functionally valuable additions to a backyard grilling area, since it genuinely eliminates the need to go back inside during a cookout. This upgrade works best as part of a more comprehensive outdoor kitchen build, since the plumbing work involved is more cost-effective when planned alongside other structural additions like a built-in island or counter.
Quick Start Project List
This weekend, under $150:
- A clip-on grill light: $40
- A small herb garden in pots: $50
- A basic weatherproof storage box for tools: $60
Budget-Friendly Version
Lowest-cost ways to start:
- A gravel or paver pad instead of a full patio installation
- Freestanding counter-height furniture instead of a built bar
- A portable pizza oven instead of a full masonry build
- Simple potted herbs instead of a dedicated raised bed
Success Indicators
- The person grilling doesn’t feel isolated from the rest of the gathering
- Tools, supplies, and trash all have a defined, convenient spot
- The space can be used comfortably in the evening with adequate lighting
- Weather (sun, light rain) no longer discourages regular outdoor cooking
- The area gets used weekly, not just for occasional big cookouts
Remember
Start with a proper level surface (a paver or concrete pad) before adding any built structures, prioritize a prep counter and adequate lighting early, since these solve the most common everyday frustrations with basic grilling setups, position seating so guests can socialize with whoever is cooking rather than standing off to the side, add storage and a trash station within the same footprint to keep the whole area feeling organized, and build toward a full outdoor kitchen in stages rather than trying to complete every upgrade in a single project.